-
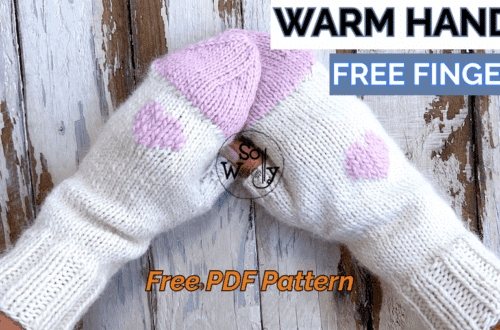
How to knit the Half Linen stitch pattern (4 rows only!)
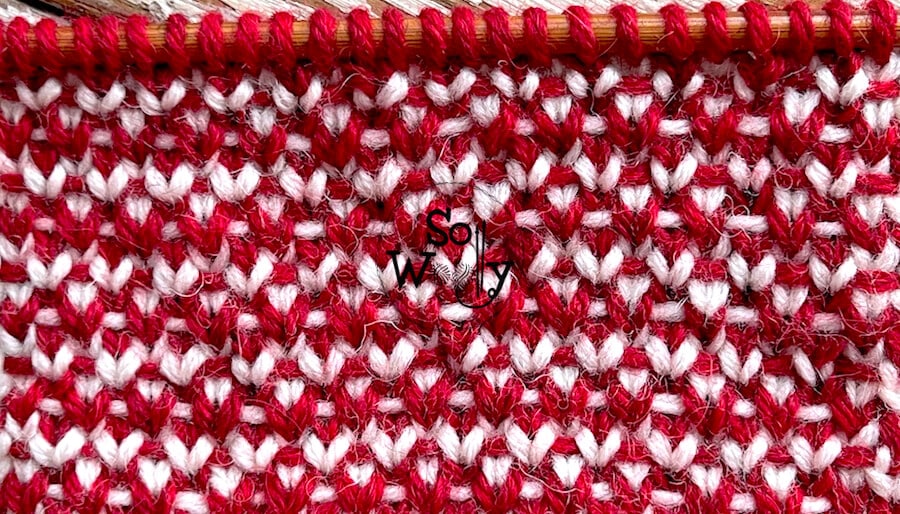
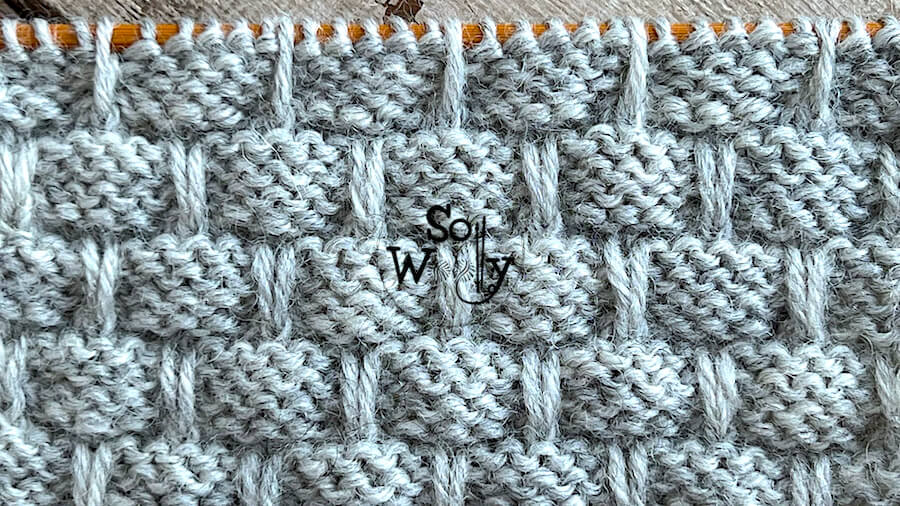
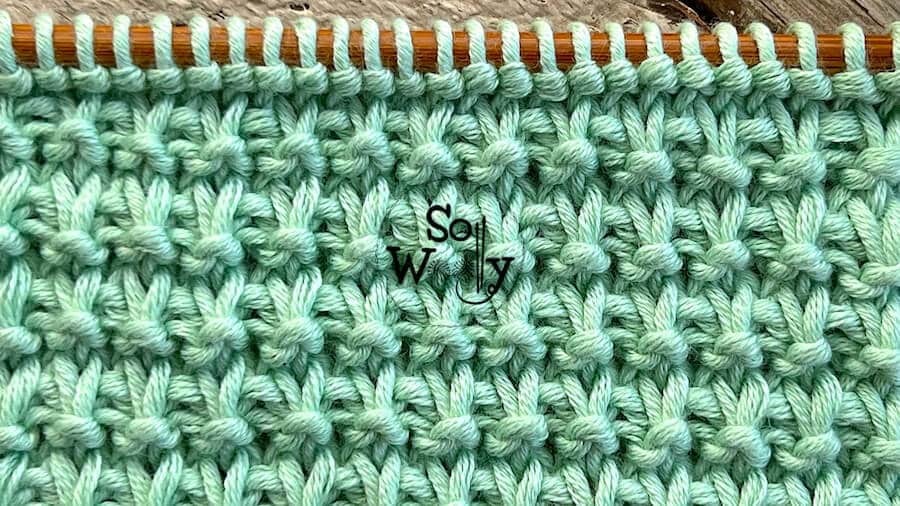
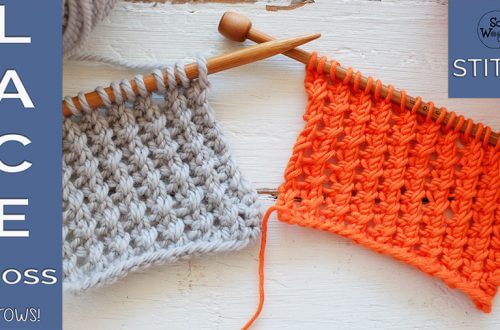
In this tutorial, you’ll learn how to knit the Half Linen stitch (known as the Woven stitch when knitted in one color). It’s fun to knit, and it’s a four-row repeat pattern, two of which are plain purl rows. The other techniques required are the knit stitch, and the slipped stitch, nothing that we haven’t practiced before 😉 In addition, I love that it’s similar to the Fair Isle (Jacquard) technique, but it’s much easier, and by combining red and white, you’ll get a pretty Christmas look! This is why it can be used for hats, cushions, placemats, table runners, and even sweaters or cardigans. Before I continue, let me…
-
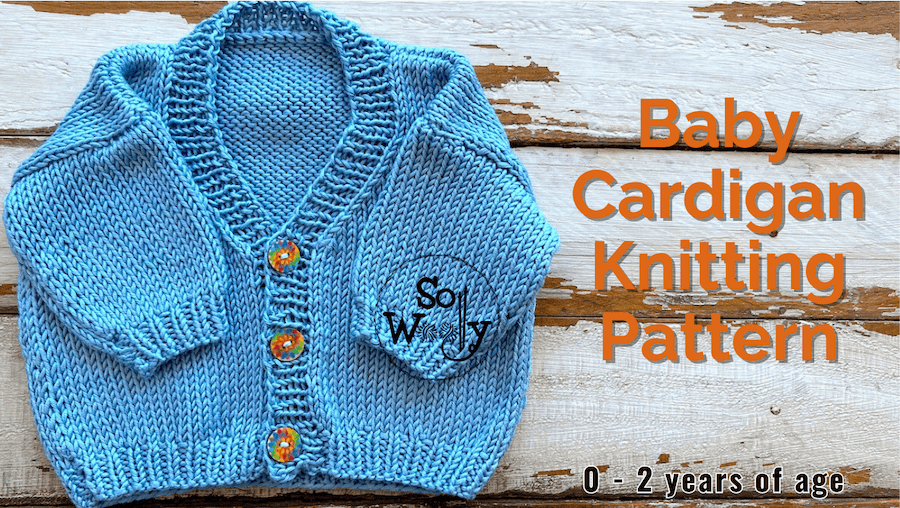
How to Knit a Baby Cardigan (0-3 months to 2 years)
Today, I’m sharing how to knit a Baby Cardigan (flat / back and forth). It’s a 5-piece bottom-up construction, super easy to knit, ideal for beginners. Actually, the only techniques required are knit and purl, pick up and knit, and bind off. Besides, the Baby Cardigan is knitted in Stockinette stitch, except for the hem, cuffs, and buttonhole edge, where will be doing the 1×1 Rib stitch. However, if you are not a fan of purling, you can change the Stockinette stitch sections for Garter stitch 😉 Finally, I’ll show you in the video tutorial how to join the pieces (right front, left front, back, and sleeves) using the mattress…
-
How to knit the Textured Ribbons stitch pattern
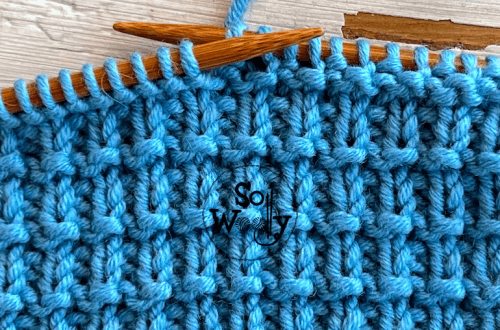
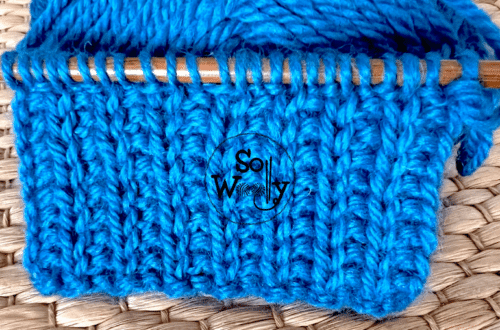
Today, I’m sharing how to knit the Textured Ribbons stitch… another classic of the knitting world. It has a lovely texture to it, perfect for large pieces, such as sweaters, cardigans, vests, blankets, etc., yet suitable for accessories too, such as hats, mittens, and socks. Actually, it’s a way to create little rectangles, divided by slipped stitches; it reminds me of one of the Waffle stitch patterns we’ve practiced in the past. Although it’s not identical on both sides, they look pretty, so I’d say it’s a reversible stitch. Furthermore, it doesn’t curl! So if you want to knit a scarf, go ahead! In addition, the Textured Ribbons stitch looks like…
-
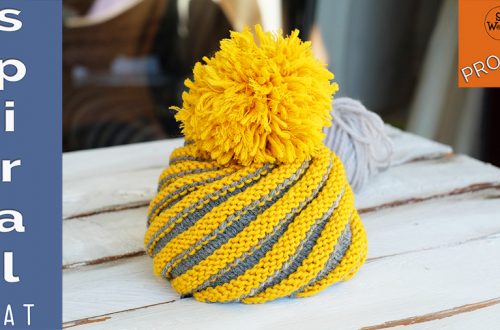
How to knit the Garter Slip stitch (4 rows and no purling!)
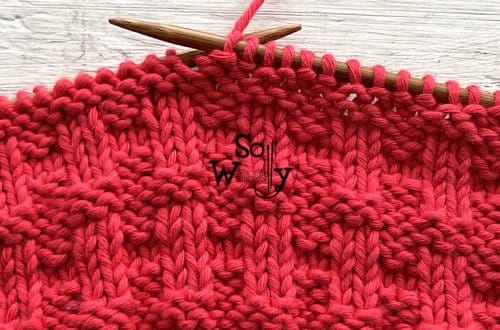
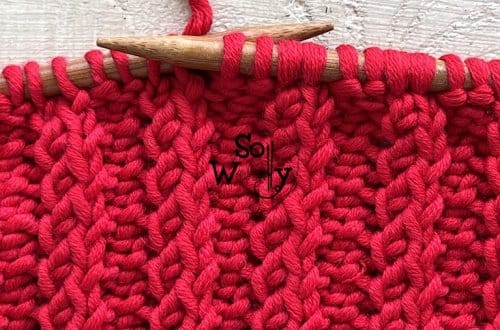
Today, I’m sharing how to knit the amazing Garter Slip stitch 🙂 It’s a four-row repeat pattern, two of which are plain knit rows, so it’s easy to knit and memorize. In addition, the Garter Slip stitch looks great not only on the right side; it has an interesting texture on the so-called wrong side, so to me, it’s a reversible pattern. Actually, it’s a great stitch for scarves and infinite cowls, among other projects such as blankets, dishcloths, and baby stuff, because there is a third advantage to it: It stays flat! Furthermore, is a little bit stretchy, yet firm and spongy at the same time… Besides, it makes…
-
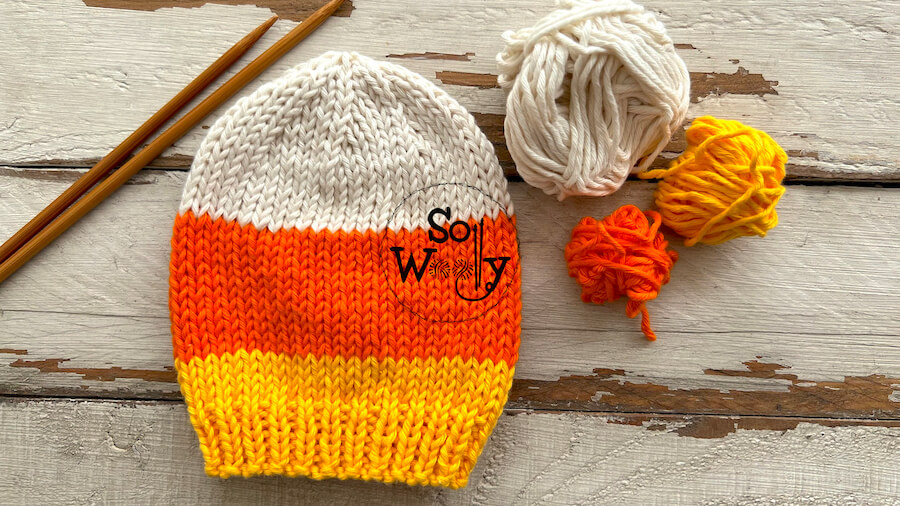
Easy Candy Corn Hat For Halloween Knitting Pattern + Video
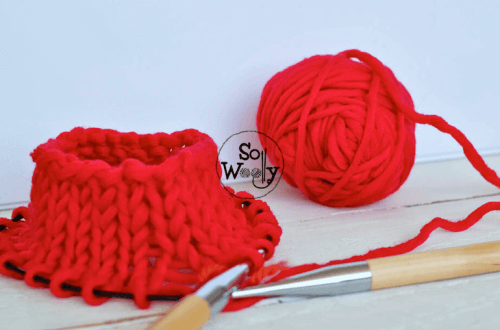
Today, you’ll learn how to knit a super easy Candy Corn Hat for Halloween, step by step. As many of you already know, this tricolor candy was invented in Philadelphia in 1880 and became a symbol of Fall and Halloween. The pattern comes in all sizes: From 0 – 3 months of age to adults, and it’s totally beginner-friendly. Actually, the only techniques required are cast-on, knit and purl, and knit two stitches together (nothing else, not even cast-off). So, if you are trick or treating this year, I suggest you start knitting for the whole family 🙂 In conclusion, there is no time to lose! Grab your needles and…
-
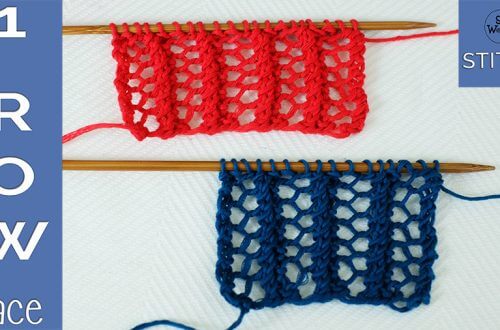
How to knit the Eyelet Ridge stitch (2 rows only!)
Today, you’ll learn how to knit the Eyelet Ridge stitch, step by step 🙂 It’s a two-row repeat pattern, easy to knit, and easy to memorize (it’s pretty intuitive). The Eyelet Ridge stitch creates a little bit of volume and has a great texture to it. Although is not identical on both sides, the so-called “wrong side” looks good too, so to me, it’s a reversible pattern. This is why it’s ideal for scarves, infinite cowls, the sleeves of a cardigan or sweater, and moreover, blankets. If this is your choice, please think of adding a Seed stitch or Irish Moss stitch edge, at least on the sides of the…
-
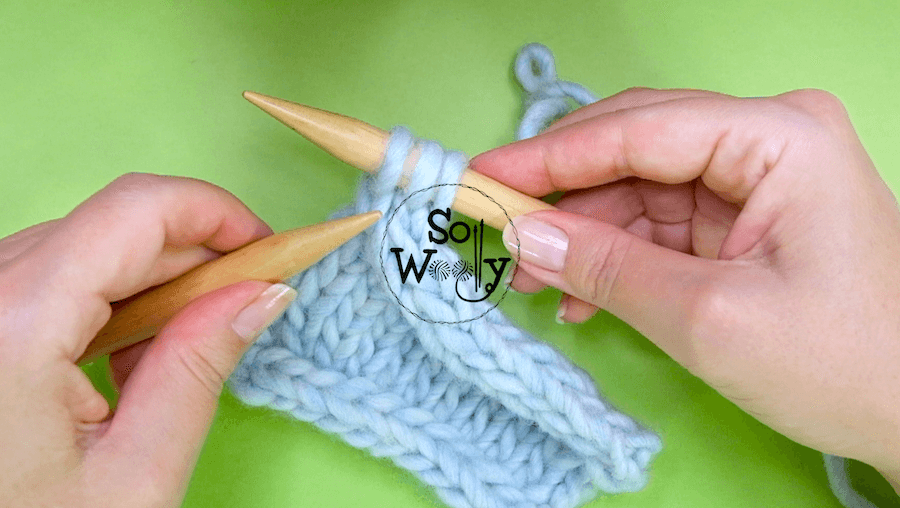
How to do The I-Cord Bind-Off (Knitting Technique)
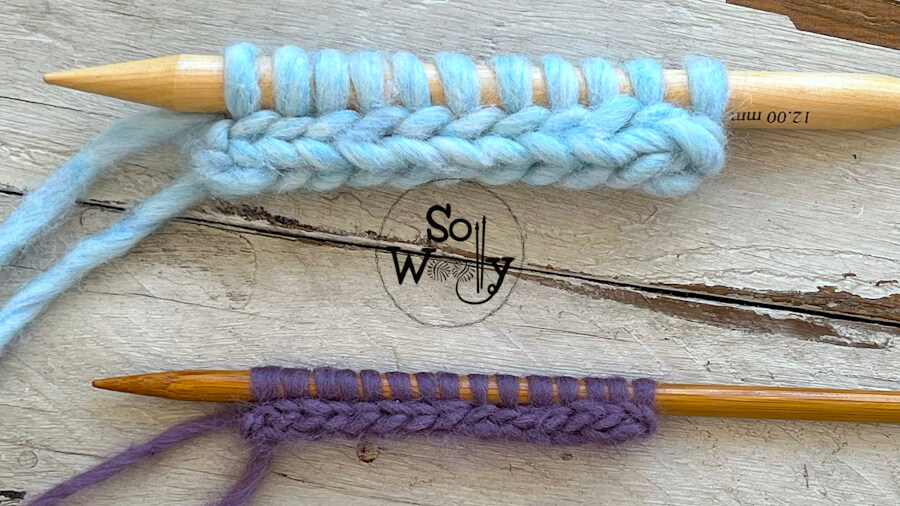
In this post, you’ll learn how to do the i-cord bind-off (or cast-off, whatever you prefer). Honestly, I love the gorgeous round and firm edge that it creates… In fact, in previous tutorials, we have practiced many ways to use it: Firstly, I showed you how to knit an i-cord edge for the sides of your projects. Secondly, we learned how to knit an i-cord (like a little tube made out of three stitches). Thirdly, I shared how to do the i-cord cast-on. I think it’s a pretty way to start and finish a blanket, for example, but it’s also perfect for the neckline of a sweater 😉 So, grab…
-
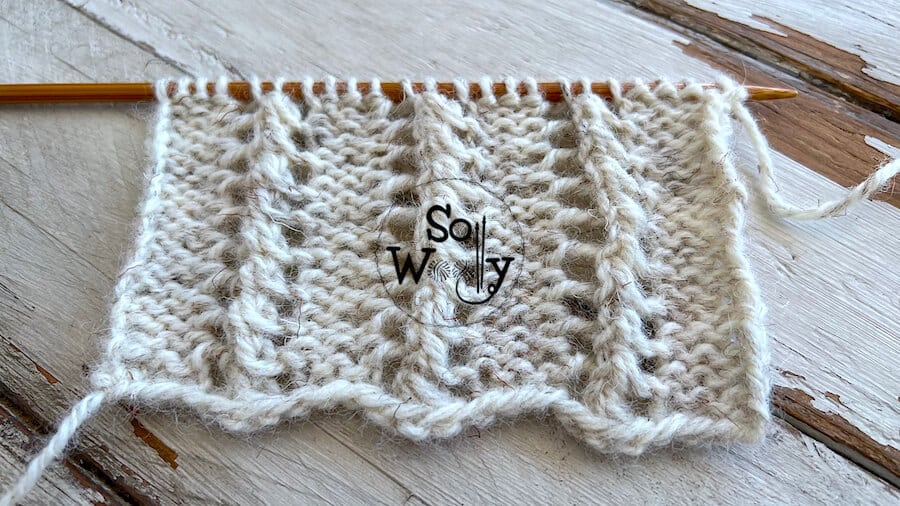
How to knit a Fancy Lace stitch (4 rows only!)
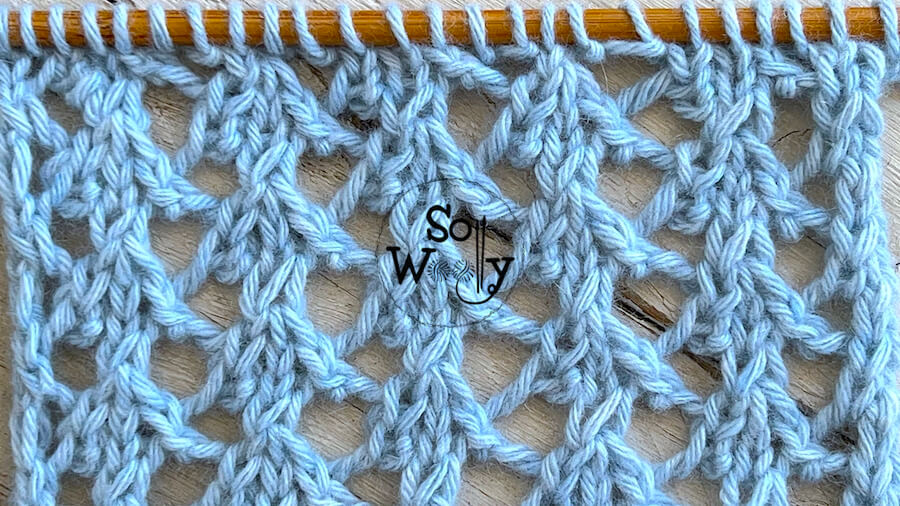
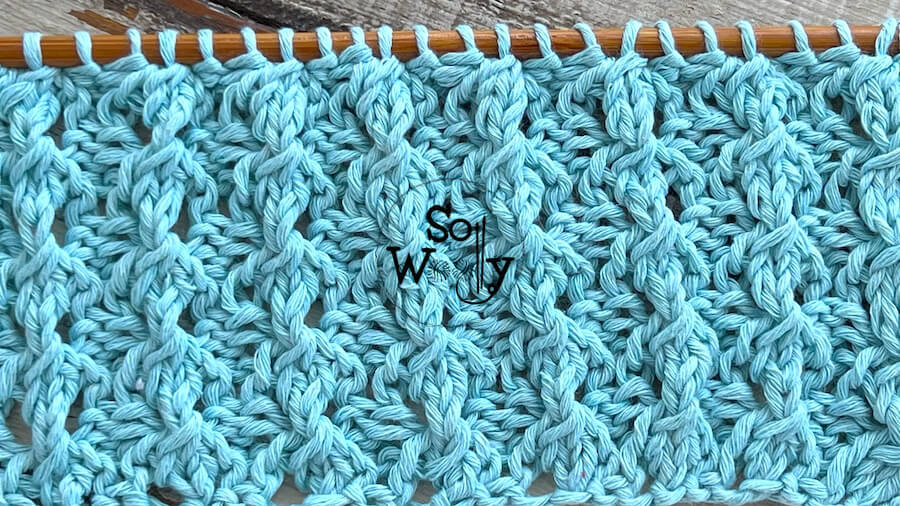
In this tutorial, you’ll learn how to knit a lovely Fancy Lace stitch. It has a romantic, vintage look, perfect for shawls, wraps, scarves, and even seasonal cardigans and sweaters. However, if your garment should stay flat, add a nice edge on each side of the piece, or block it once it’s finished. The Fancy Lace stitch is a four-row repeat pattern, and to me, a great opportunity to practice and improve several techniques. In fact, we’ll be doing the single and double yarn over, the simple decrease, knitting three stitches together, and knitting two stitches together. In addition, in the video tutorial, I’ll explain how to purl and knit…
-
How to Knit an I-Cord and The I-Cord Cast-On Method
In this post, I’m sharing how to knit an i-cord, and how to use it to do the i-cord cast-on method. Actually, in a previous tutorial, I shared how to knit an I-Cord Edge as you go, for the sides of a garment. The i-cord is a tube made out of three stitches, which can be used to make ties for booties, and hats, or for example to make the handles of a bag. In addition, an i-cord can be used to make the stems or stalks of a pumpkin or pumpkin hat. Besides, you can use it to make the cast-on edge, to create a pretty, steady, and round…
-
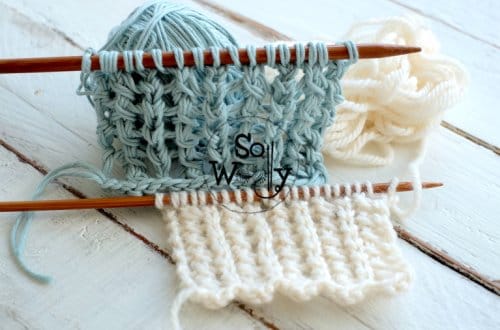
How to knit the Bubble Rib stitch (4 rows only!)
Today, I’m sharing how to knit the Bubblelicious Rib stitch, step by step. It’s a four-row repeat pattern, easy and fun to knit (because if you can knit and purl, I’m sure you can do it :). In fact, the other techniques required are the yarn over (before a knit stitch and a purl stitch, which are different, so I’m explaining how to do both of them in the video tutorial). And how to purl three stitches together. That’s it! Besides, the Bubble Rib stitch has a lovely texture to it, adding a little more volume to the fabric. I think it’s the perfect pattern for baby stuff, yet it…
