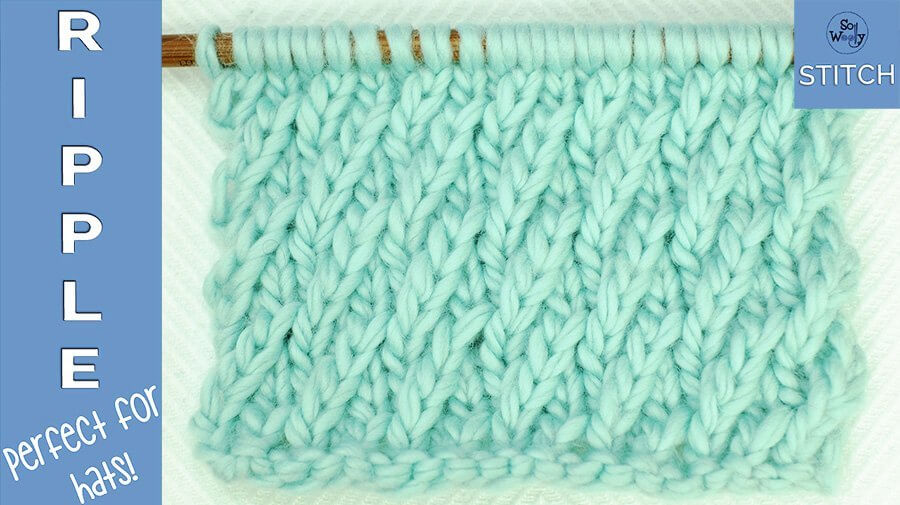
How to knit the Ripple stitch: Perfect for hats, cowls, and sweaters
In today’s lesson, you will learn how to knit the Ripple stitch. A lovely cross pattern, easy to knit, great for many Winter garments: Hats, cowls, sweaters…
There are only four rows (two of them are purl rows), and two steps to memorize.
It’s not reversible, and I have to warn you, it tends to roll. So, if you are thinking about knitting a scarf with the Ripple stitch, I suggest you add a generous knitting edge, to prevent the inevitable curling.
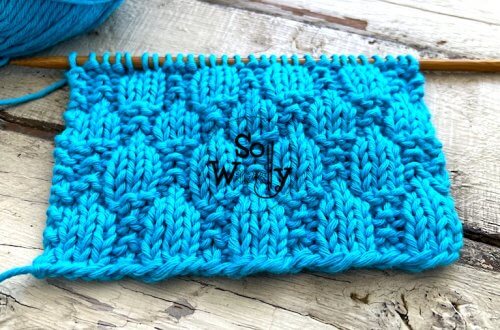
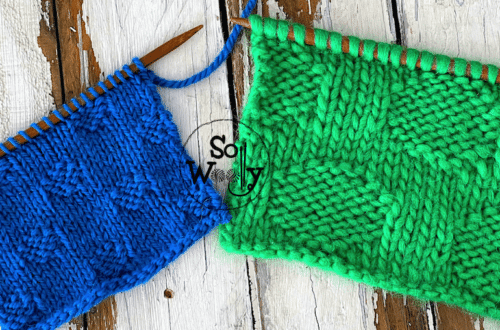
It has a great texture to it, and it’s similar to the Spine stitch, or to the Crossed Check stitch.
Abbreviations
CO: Cast on
k: Knit
p: Purl
k2tog: Knit two stitches together
RS: Right side of the work
BO: Bind off

How to knit the Ripple stitch
CO multiples of 3; i.e. 3 * 4 = 12 stitches.
1º row (RS): *k2tog, don’t drop them, knit the 1º stitch again, and take them off, k1*. Repeat from * to * to the end.
2º and 4º rows: Purl across
3º row: *k1, k2tog, don’t drop them, knit the 1º stitch again, and take them off*. Repeat from * to * to the end.
These four rows create the pattern. Repeat them until you reach the desired length.
When finished, BO purlwise, after a row 3.
Enjoy the video:
I hope you like it! Don’t forget to subscribe to my email list, so you won’t miss a tutorial ;D!
Hugs and happy knitting!
So Woolly – Carolina