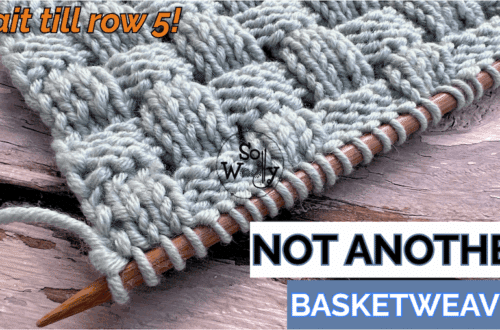
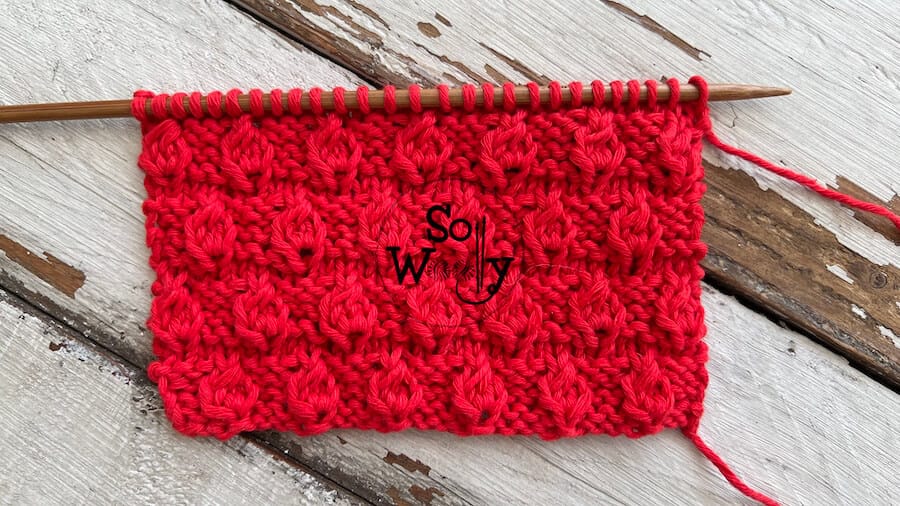
How to knit the adorable Hazelnut stitch pattern
Today, you’ll learn how to knit the Hazelnut stitch, a beautiful pattern that evokes nature, just like the Acorn stitch we practiced a while ago.
Honestly, I love these kinds of patterns: Flowers, leaves, and fruit designs are always pretty eye-catching, and we can use them in a lot of projects.
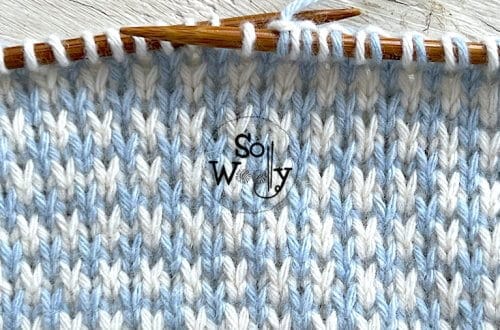
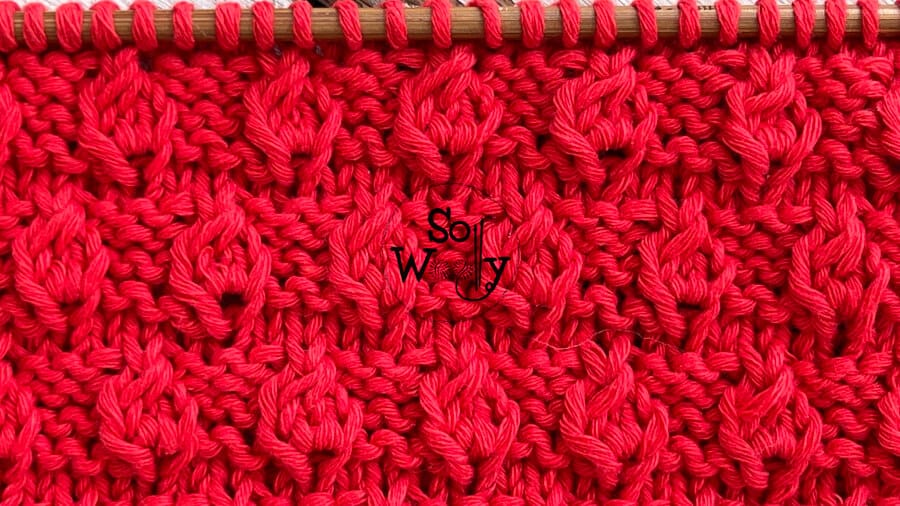
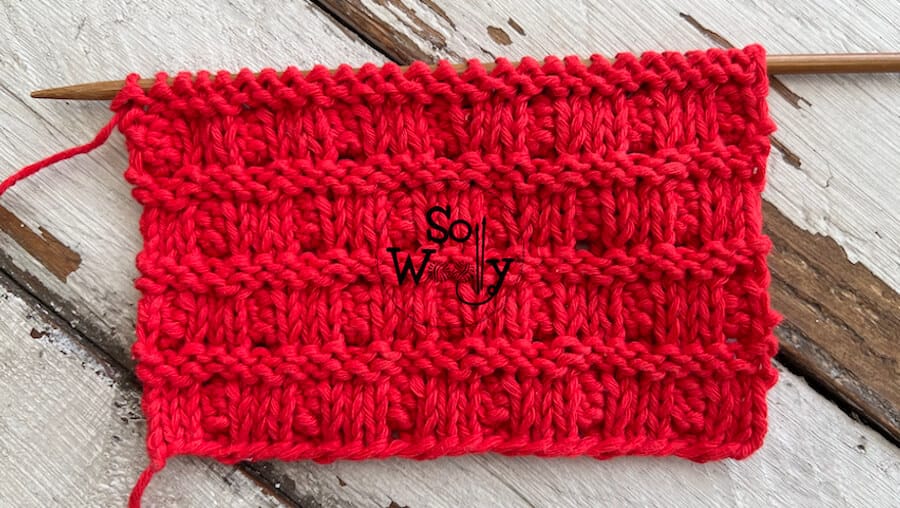
The Hazelnut stitch has a rich texture to it, and although is not reversible, the other side of the work looks pretty too (similar to the Tiles stitch).
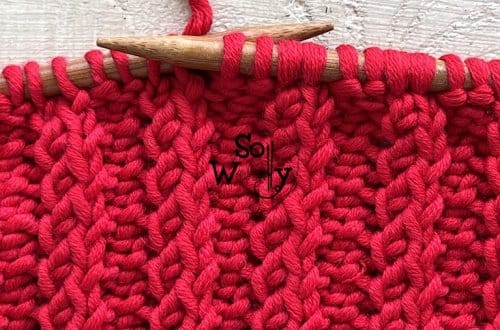
In fact, I kitted a swatch in 100% cotton yarn, and it doesn’t curl or bend.
However, if you want to knit a big project such as a blanket or even a scarf, I’d suggest to make a swatch first 😉
I don’t know why swatches are so underrated…
They shouldn’t be!
Why?
On one hand, they are the only way to know in advance if the pattern we are knitting looks good on that yarn.
Sometimes we imagine one thing, and the result is totally different!
On the other hand, after knitting the swatch, we find out that those are not the proper needles and a smaller/larger size is needed…
In addition, a swatch can tell us right away of the fabric is going to curl or not.
Finally, and to me one of the most important reasons to knit a swatch is to know my gauge:
When knitting hats, socks, sweaters, gloves, etc., you need to know how many stitches per inch/cm you are getting.
Otherwise, you wouldn’t be able to measure, so the risk is that after working many hours, the project is too small or too big.
What a waste of time and effort!
Wouldn’t you better take 20 minutes to knit a swatch, rather than spend 10 hours in something that won’t fit?
So, it’s time to knit an adorable swatch!
Grab your needles, and a bit o yarn, and let’s get busy 🙂
Abbreviations
CO: Cast on
st: Stitch
RS: Right side
K: Knit
P: Purl
p3tog: Purl three stitches together
yo: Yarn over
WS: Wrong side
BO: Bind off
N.B.:
The odd rows form the right side of the work.
The are no edge (selvage) stitches included in the stitch count; if you like to have them, add two stitches.
How to knit the Hazelnut stitch pattern
CO multiples of 4 + 3 st; i.e.: 4 * 4 = 16 + 3 = 19 st
Row 1 (RS): *P3, [K1, yo, K1] into the next st*. Repeat from * to *, to last 3 st, P3
Row 2: K3, *P3, K3*. Repeat from * to *, to end
Row 3: *P3, K3*. Repeat from * to *, to last 3 st, P3
Row 4: K3, *p3tog, K3*. Repeat from * to *, to end
Rows 5 and 11: K across
Rows 6 and 12: P across
Row 7: P1, *[K1, yo, K1] into the next st, P3*. Repeat from * to *, to last st, P1
Row 8: K1, *P3, K3*. Repeat from * to *, to last 4 st, ending with P3, K1
Row 9: P1, *K3, P3*. Repeat from * to *, to last 4 st, ending with K3, P1
Row 10: K1, *p3tog, K3*. Repeat from * to *, to last 4 st, ending with p3tog, K1.
These twelve rows create the pattern. Repeat them until the desired length is reached.
When finished, BO purlwise, after row 11 (WS).
This is the other side of the work:
Enjoy the video tutorial:
How to knit the Hazelnut stitch
Thank you for watching!
Hugs, hazelnuts, and happy knitting,
Carolina – So Woolly