-
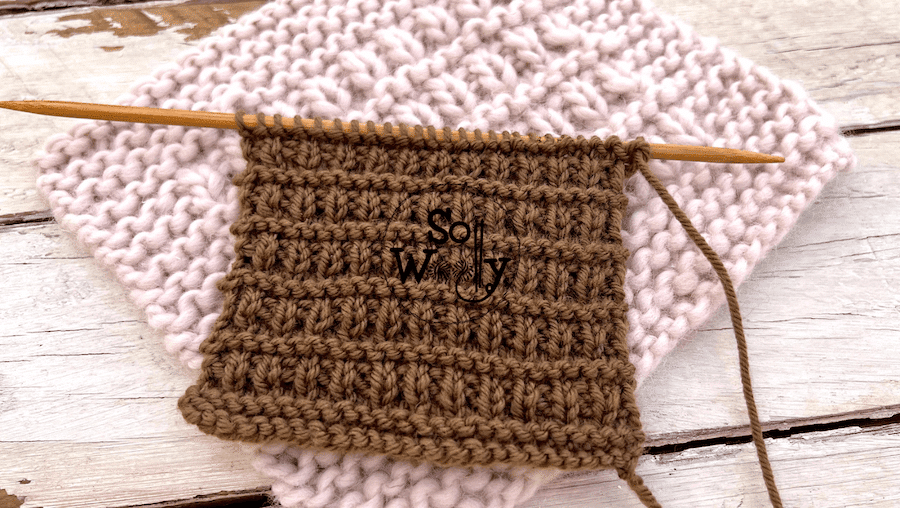
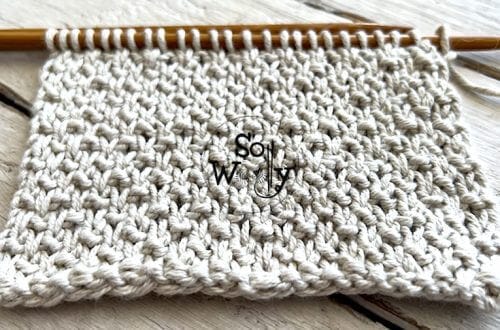
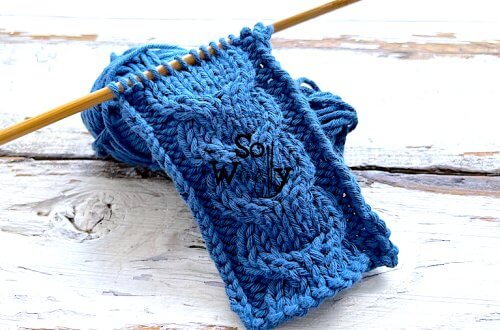
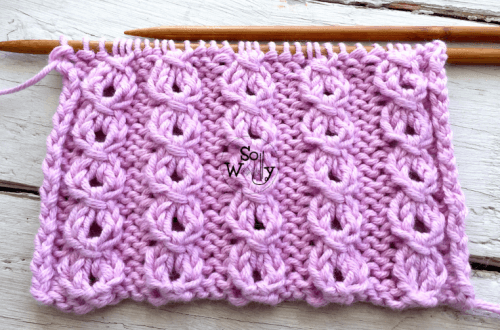
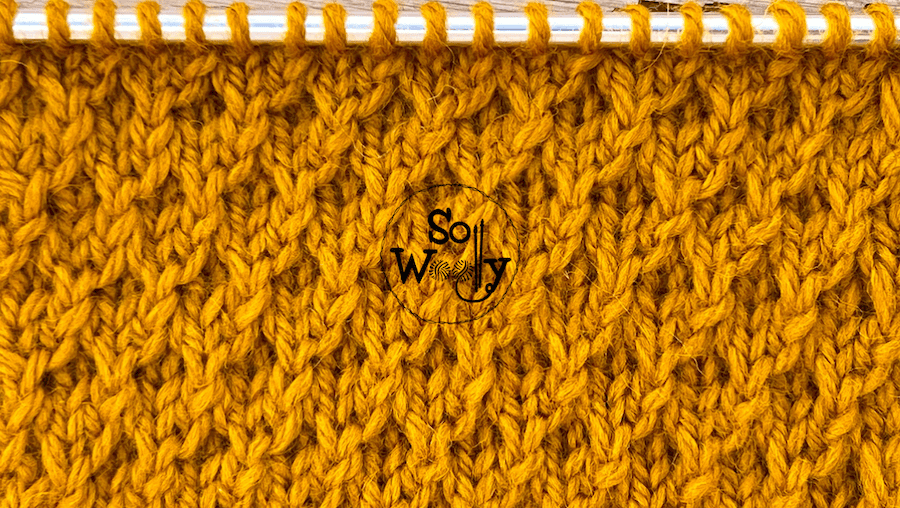
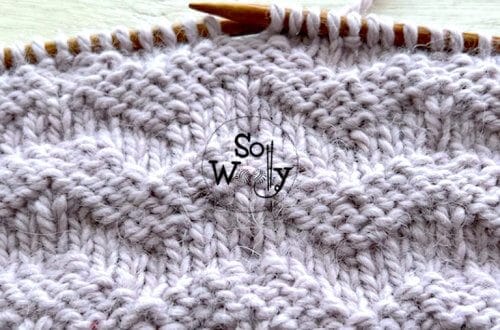
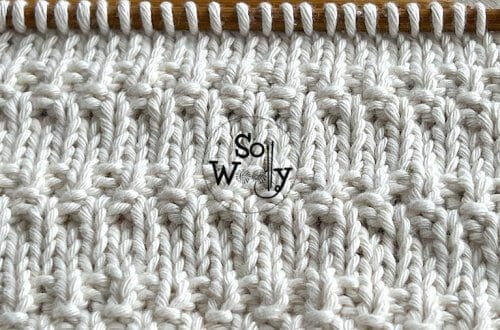
How to Knit an Easy Vintage Knit & Purl Stitch + Video
In this tutorial, I’m sharing how to knit a vintage knit and purl stitch, pretty easy to knit, ideal for beginners. I’m sure that if the only techniques you know are knitting and purling, you can do it! By the way, the stitch pattern was sent to me by one of my followers from Canada (thank you!). It reminds me of the infamous Hurdle Stitch we practiced last Christmas. It’s a six-row repeat pattern, it looks good also on the wrong side, and doesn’t curl… Exactly what my doctor advised me 🙂 That’s why this vintage stitch is perfect for a wide range of projects, not only for blankets, scarves,…
-
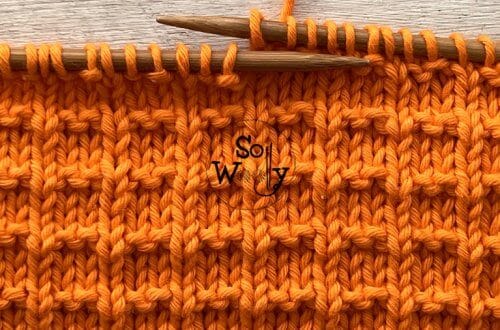
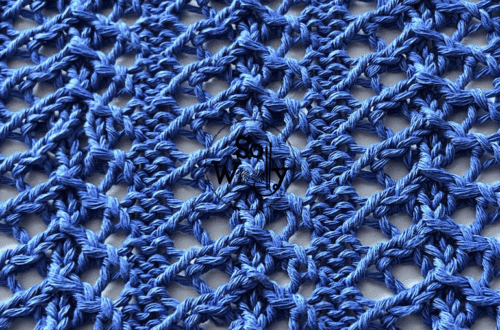
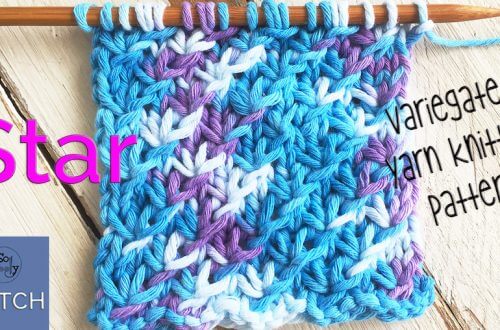
How to Knit the Open Star Stitch (it’s so cute!)
Today, you’ll learn how to knit the Open Star stitch pattern (similar to the Twisted Knot Stitch we practiced a while ago). It’s an easy four-row repeat pattern, perfect for those knitter who love texture <3 If you thought that the Seed stitch is one of them most textured patterns, you knit to practice this one! In fact, two of the four rows are plain knit rows, and the other two involve 2 simple steps, which will be repeated time and time again. Moreover, it doesn’t curl, it’s great for dishcloths, scarves, or baby blankets. But also for many other projects, such as hats, sweaters, or even mittens. However, before…
-
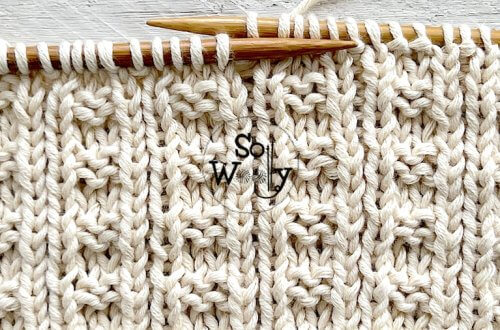
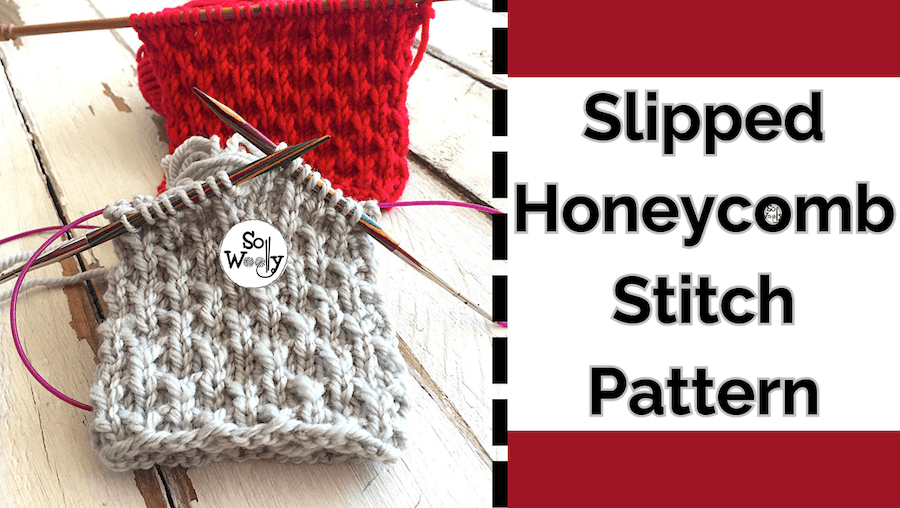
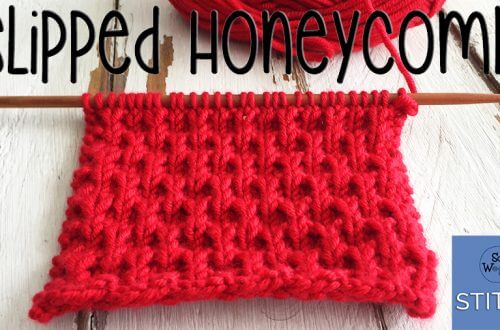
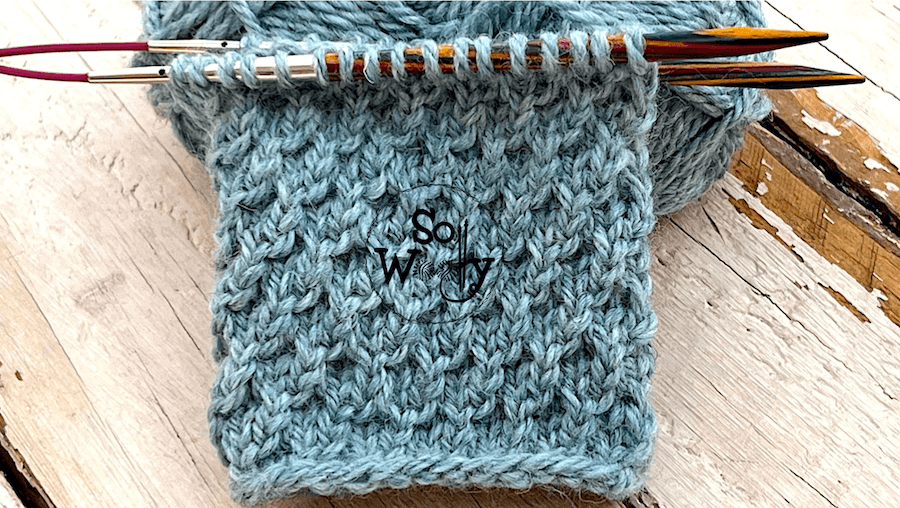
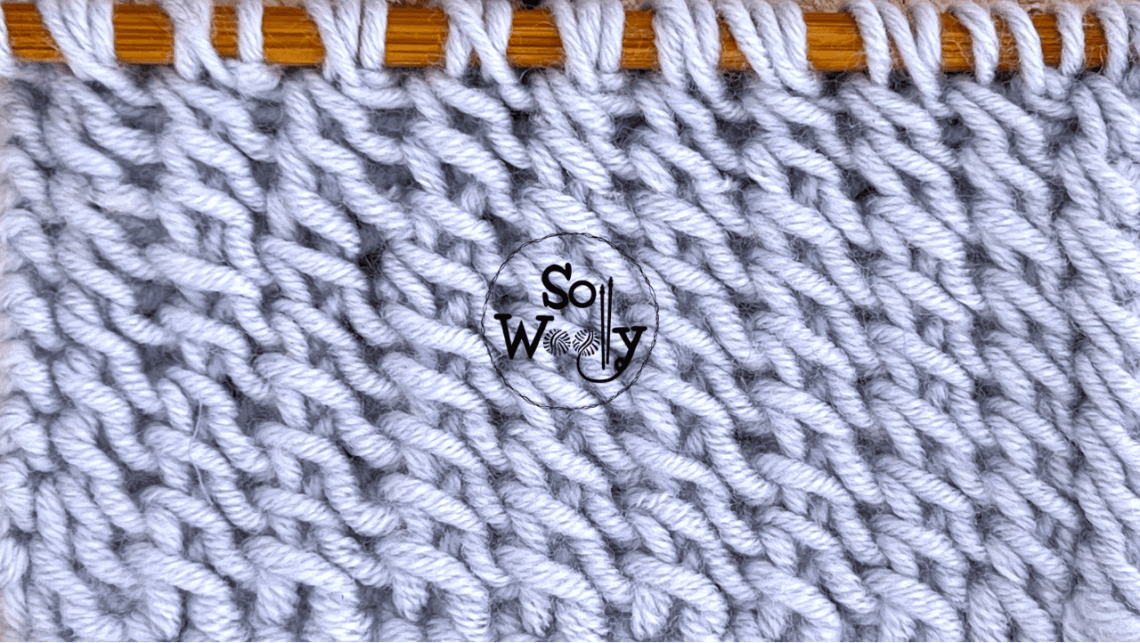
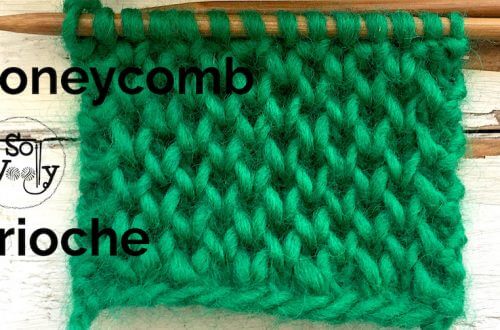
How to Knit the Slipped Honeycomb Stitch in the Round
Today, I’m sharing how to knit the Slipped Honeycomb Stitch in the round (with circular needles). In my last tutorial, I asked if you’d like me to post more patterns in the round, and I’m glad to see that many of you are interested 😉 So I remember that I shared how to knit this pattern a while ago, using straight needles (flat or back and forth). The truth is that it’s pretty; perfect for hats, gloves, socks, and sweaters, for both, baby and adults garments. Actually, it’s easier when knitting in the round, you’ll see how quickly you can memorize it 😉 However, if this is your first time,…
-
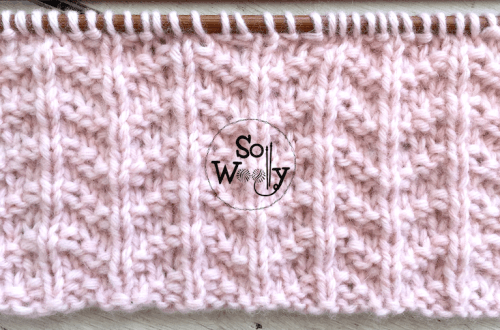
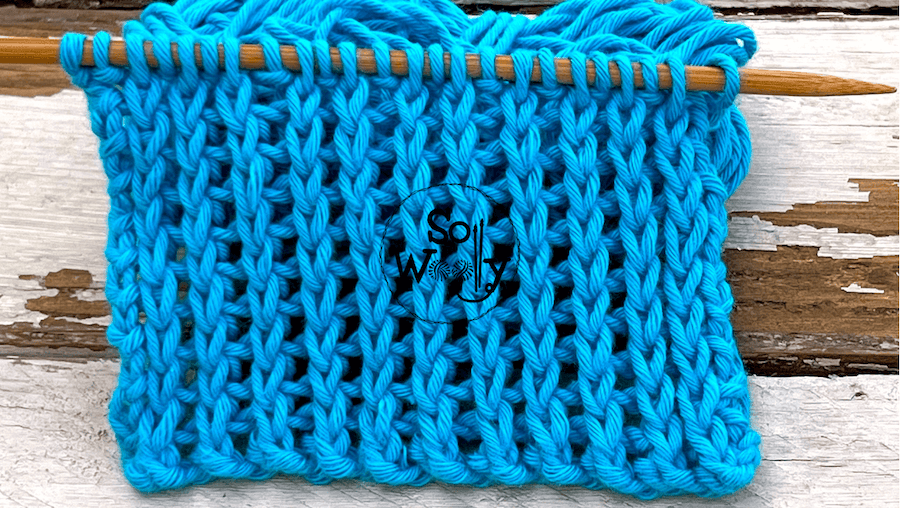
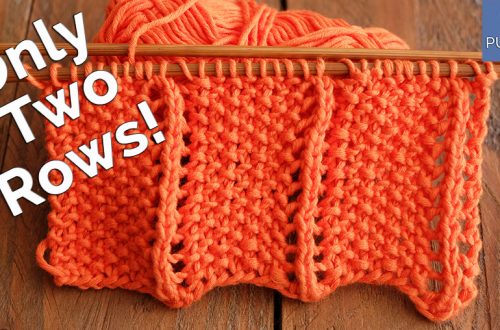
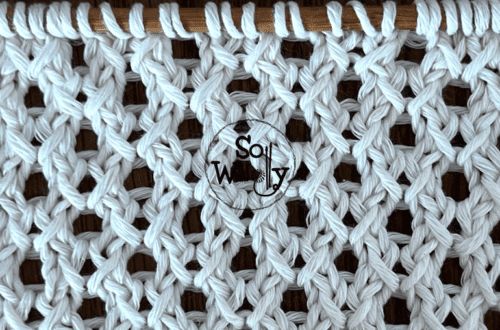
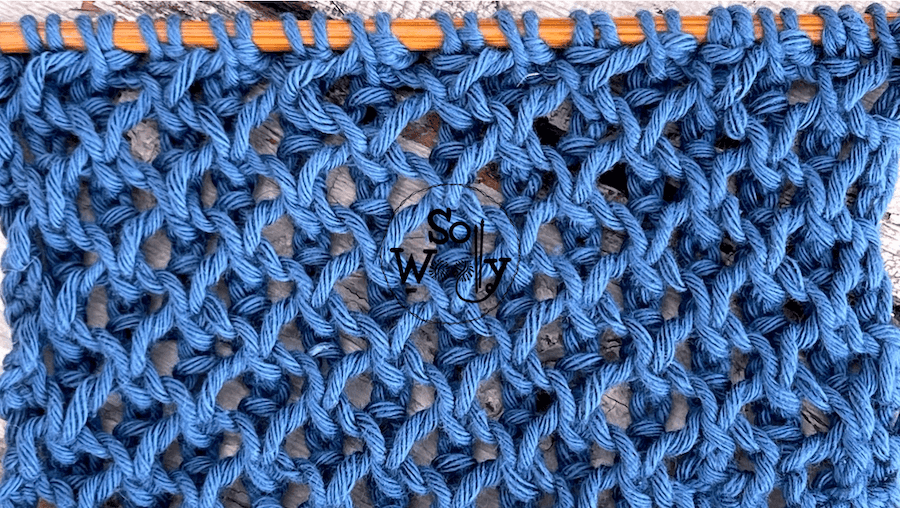
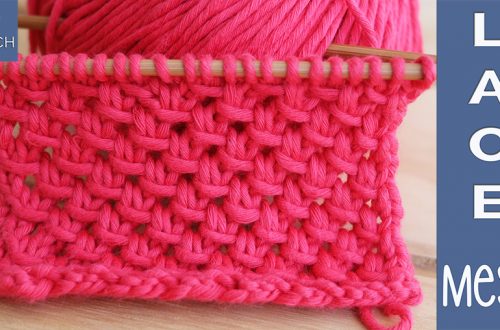
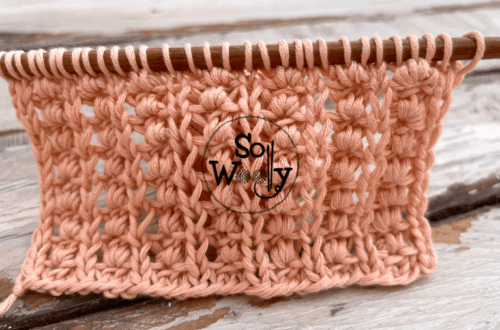
How to Knit a Pretty Lace Stitch (2-row-repeat)
Today, you’ll learn how to knit a pretty lace stitch, ideal for beginners. It’s a two-row repeat pattern, which includes easy steps that I’m sure you’ll memorize quickly! Although both sides are different, they look very pretty, so I’d say it’s a reversible stitch pattern. Besides, I think this lace stitch is a great pattern for seasonal sweaters and tops. It reminds me of another one that we practiced a while ago… The good news is that today’s pattern is easier 🙂 However, if you want to use it for a scarf, cowl, or any other garment that should stay flat, don’t forget to add a nice edge on each…
-
How to Knit Diamonds in the Round (with circular needles)
As per your request, today, you’ll learn how to knit diamonds in the round. Last week, I shared the easiest diamond pattern I’ve seen so far (knitted flat or back and forth)… And many of you asked for the circular version. So, there you go 🙂 Before starting, please note that there are a couple of changes when comparing both versions. For example, when knitting diamonds in the round, you don’t have to purl, so the purl stitches and the purl rows change to knit stitches and knit rounds. In addition, although the repeat is the same, we’ll invert those 2 steps in rounds 4 and 8. Anyways, it’s a…
-
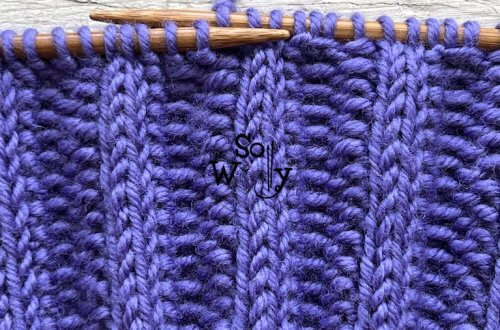
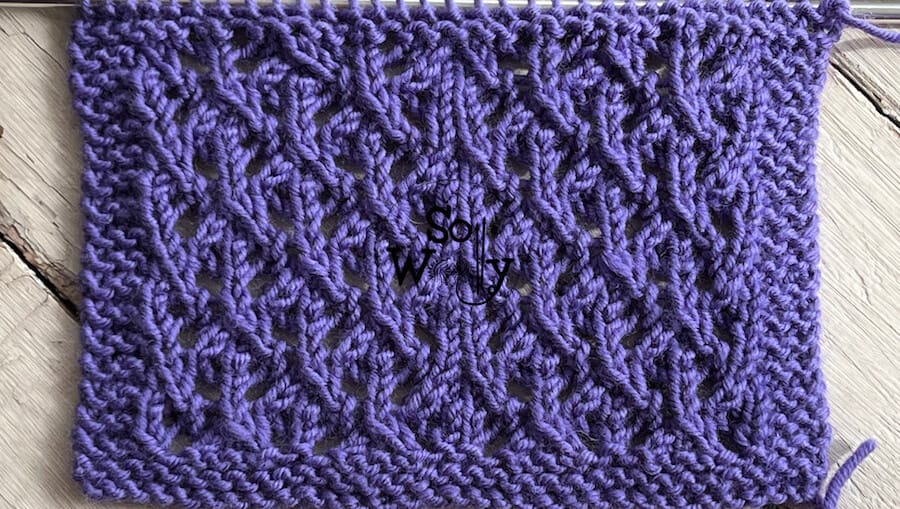
How to Knit the Double Eyelet Rib Stitch
Today, you’ll learn how to knit a lovely pattern that combines columns of lace in a Reverse Stockinette fabric: The Double Eyelet rib stitch. It’s an easy four-row repeat pattern, similar to the Lace Columns stitch we practiced a while ago. If you haven’t tried to knit lace before, this one involves a basic increase and the two most used decreases, so it’s a nice opportunity to start 😉 Furthermore, there’s only one row where we’ll decrease and increase; the others, are plain knit and purl rows. Besides, its design works for both, clothing and accessories (i.e.: tops, sweaters, scarves, wraps, etc.). However, before starting, I’d like to share a…
-
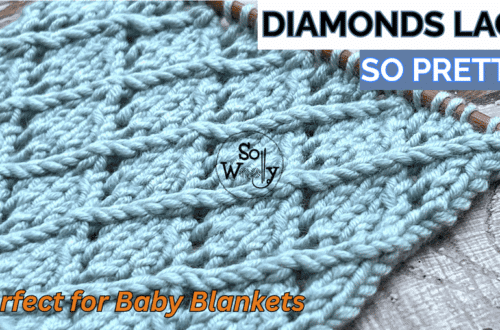
How to Knit the Easiest Diamond Pattern (+ video)
Today, you’ll learn how to knit the easiest Diamond Stitch I’ve seen so far… Why? In essence, the repeat is short (just 2 steps)! We’ve practiced several diamond patterns in the past (find the links further down), and they involve counting more stitches, and constantly changing knits and purls, so we need to be more vigilant 😉 Moreover, in this case, easy isn’t a synonym of ordinary, or simple. This Diamond stitch has an adorable texture to it, and it will work for both, children’s and adults’ projects. However, it tends to curl at the bottom. So we have two options when knitting a garment that should stay flat: First,…
-
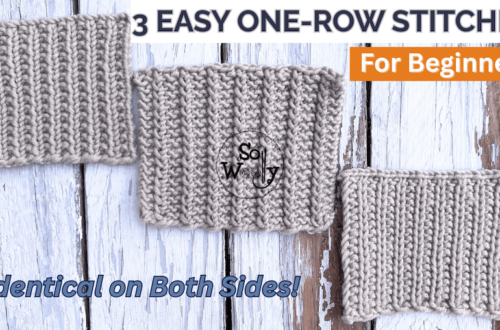
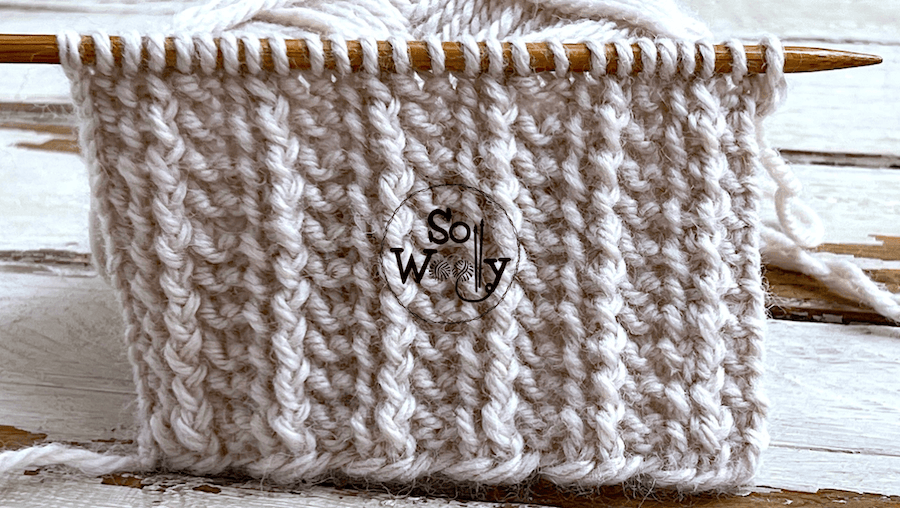
How to Knit an Amazing Herringbone Stitch (1 row!)
In this tutorial, I’m sharing how to knit and bind off, an amazing, yet simple, Herringbone stitch 🙂 It’s a one-row repeat pattern, super easy and fun to do (the only techniques required are knit, purl, slip one stitch, and knit two stitches together). We’ve practiced a few Herringbone stitch patterns in the past, some of them involve two rows, and one of them it’s another one-row repeat pattern. However, this one is something special. Why? Well, because both sides are identical, and we have to memorize only 3 steps! Besides, it has a lovely texture to it (to me, it’s a 3D stitch pattern); it’s spongy and cozy. So,…
-
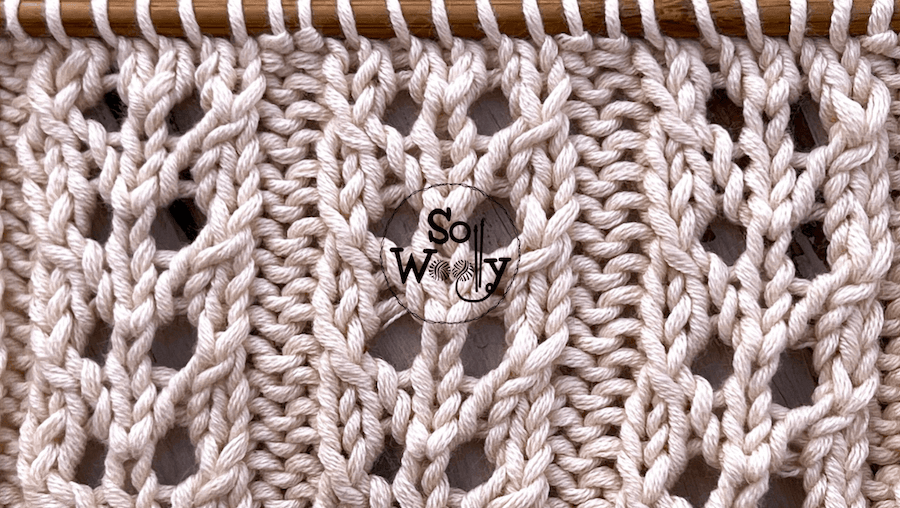
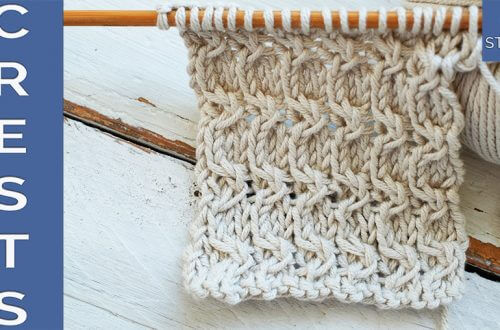
How to Knit Reversible Lace (easy 4 row-repeat pattern)
In this tutorial, you’ll learn how to knit an amazing lace stitch, full of advantages…YAY! First, it’s a four-row repeat pattern, easy to do and memorize. After some rows, you’ll know exactly what to do, because we will be repeating the same steps time and time again. Second, although both sides look totally different, to me it’s a reversible lace pattern. They are so pretty that both can be used as the right side indistinctly, you just have to choose your favorite 😉 Honestly, its texture is something that I hadn’t seen before: The pattern looks raised on both sides (it’s another 3D stitch pattern). Third, it doesn’t curl, so…
-
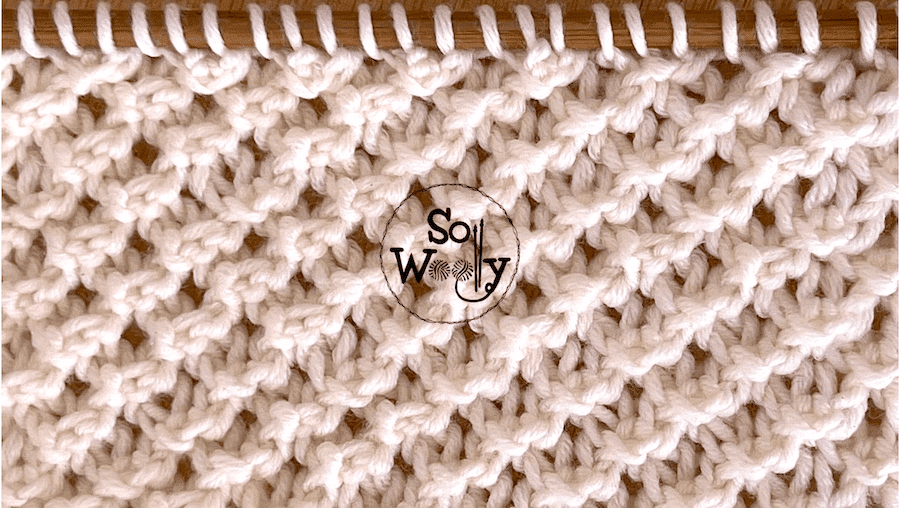
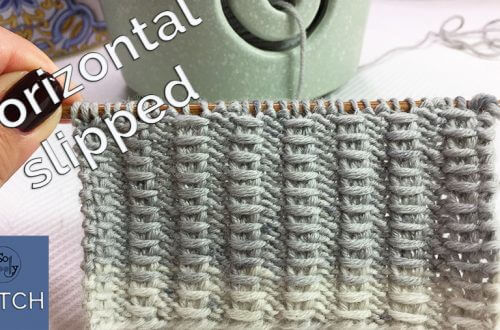
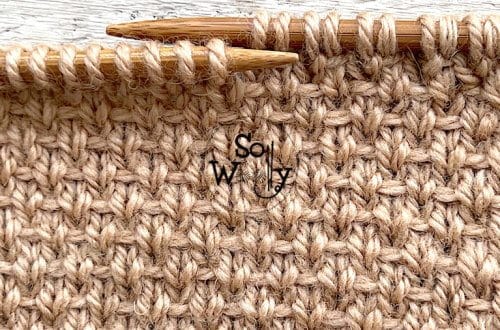
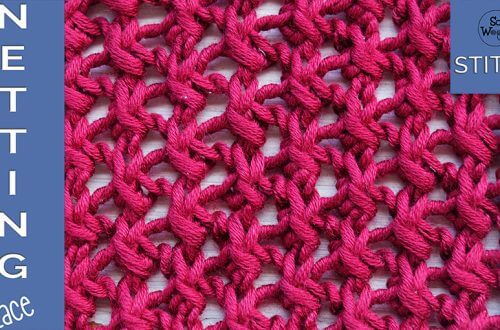
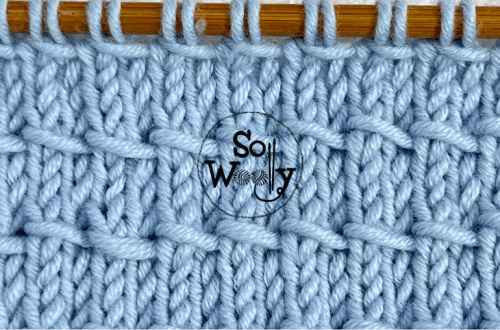
How to Knit a Super Textured Stitch + video (2 rows)
Today, I’m sharing how to knit a super textured stitch, that’s reversible, and doesn’t curl! It’s a two-row repeat pattern, and if you can knit and purl, you can do it 😉 Although both sides look different, they look pretty (really textured), so I say it’s a reversible stitch pattern. Besides, this super textured stitch pattern lays flat no matter what! So, it’s perfect for a wide range of projects: It will work not only for scarves and infinite cowls, but also for blankets, hats, and even cardigans or sweaters. Furthermore, it’s an amazing pattern for dishcloths, placemats, or a table runner. Finally, in the video tutorial, I’ll show you…