How to Knit in the Round: The Magic Loop Revisited
In my last tutorial, I shared how to knit in the round, and today, I’m revisiting the Magic Loop technique.
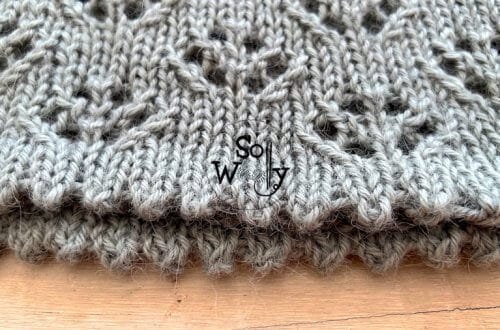
We learned how to cast on, the Stockinette stitch, and how to bind off without a jog.
However, I made a mistake when showing the Magic Loop… I learned it the “inside out way”, and over the years, I knitted dozens of projects, and never realized it!
After the first 2-3 rounds, I turned the sock (or the hat inside out), because I was facing the wrong side of the work, to be facing the right side.
I was so used to it, that I never thought about it.
So, a couple of my little Woollies made me see it, and today, I’m sharing exactly what to do.
But before the step-by-step process, I’d like to make a small introduction to the Magic Loop:
It’s a technique that allows us knitters to knit a small piece no matter how long the cable (cord) is.
Although nowadays there are short cables and needles so you don’t have to use the Magic Loop, not all of us indeed have access to them.
So this technique comes in handy because, with one cable length, you can knit anything from socks to sweaters.
How to Do The Magic Loop
Before starting, I’d like to say that for the Magic Loop, the longer the cable, the better!
For example, when knitting socks, a 32-inch (80 cm approx.) cable would be my choice #ad
“As an Amazon Associate, I earn from qualifying purchases.”
How to set the Magic Loop Initial Position:
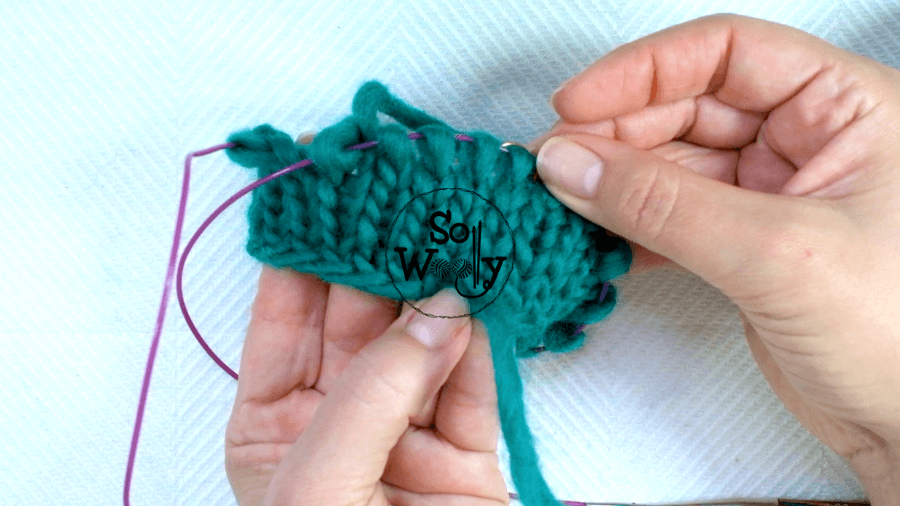
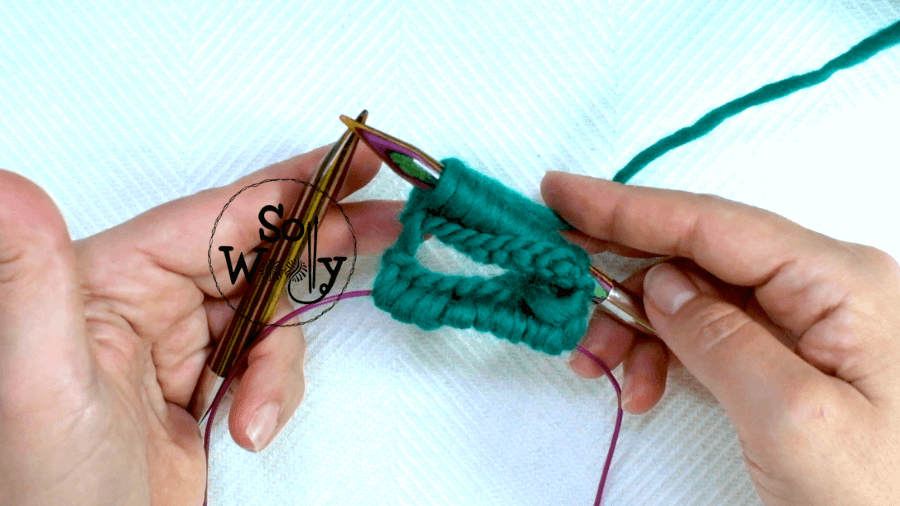
Once you have cast on, split the stitches in half, leaving each half in each needle.
The needles are one on top of the other (the needle that carries the working yarn is at the back).
Both tips are towards the right side, and the stitches are not twisted (you’re facing the wrong side of the cast-on row); the cable is on the left side.
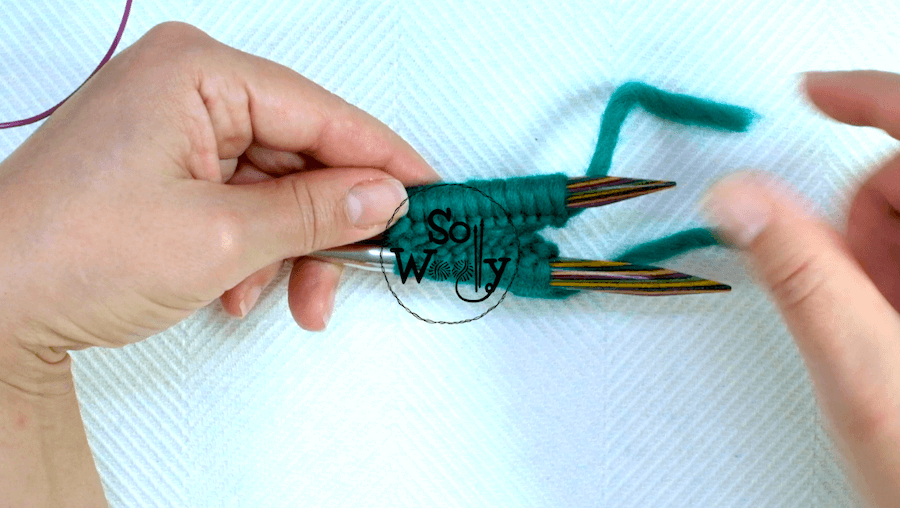
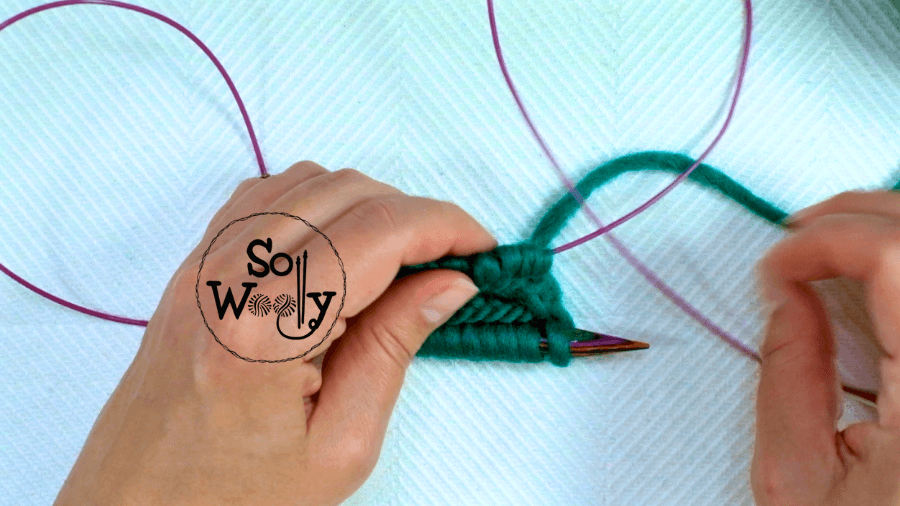
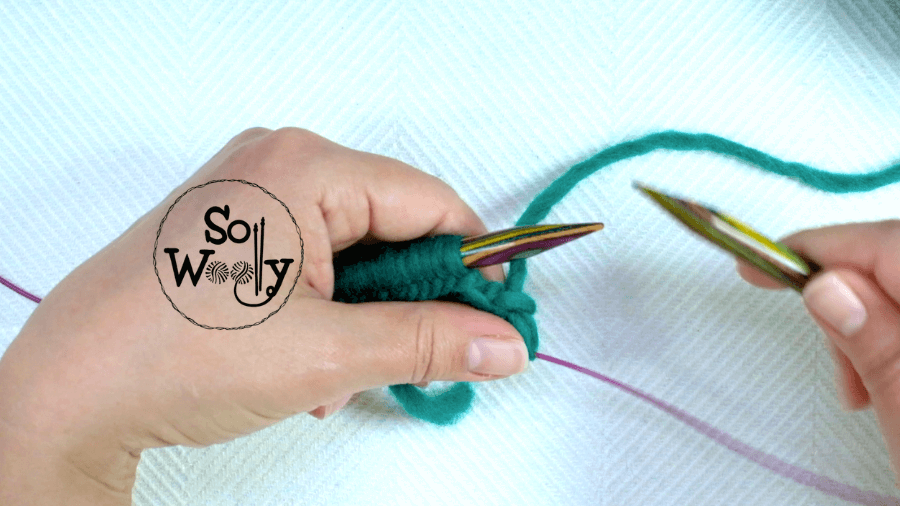
Now pull the back needle, leaving a piece of cable (cord) on each side (there are 2 magic loops, one on the right, and one on the left side).
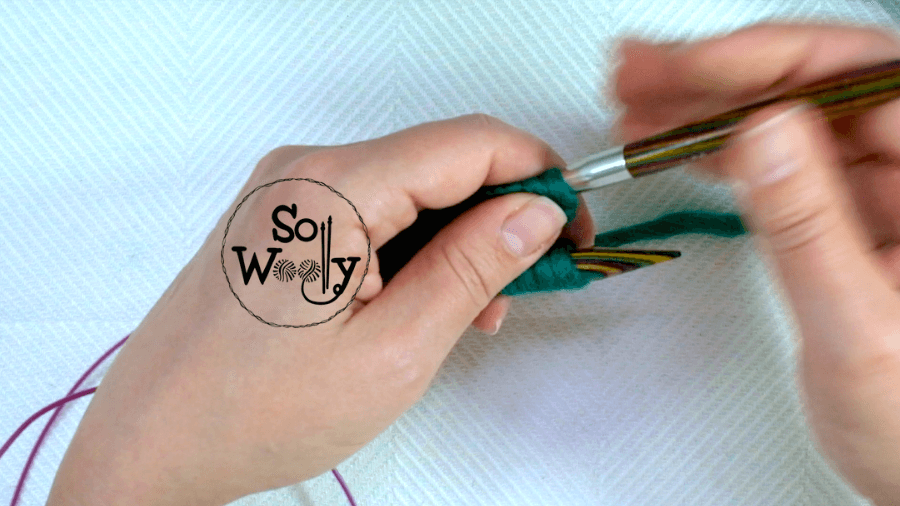
Place a marker to show where a new round begins and knit the first stitch from the front needle to join in the round.
Give the yarn a little tug, to avoid a loose strand, and knit until there are no more stitches on the front needle.
You complete the first half of your first round.
Turn the work (the needle that has the stitches already knitted is at the front now).
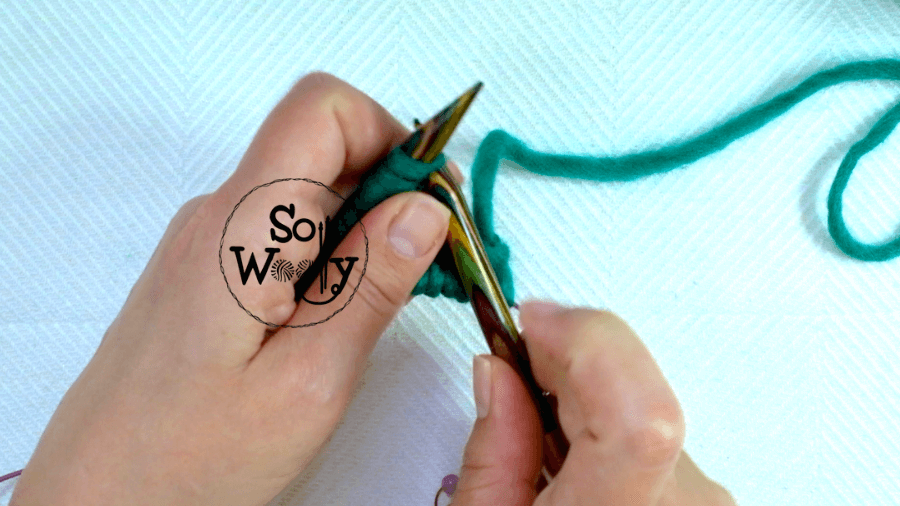
Pull the cable from the back needle, both tips are looking at the right, and the cable is on the left side.
Now, pull the cable from the front needle, and start knitting the stitches from the back needle.
Once this first round is finished, slip the marker, and go back to the initial position.
That’s it! It will take some time to get used to it, but I assure you that after a couple of tries, you’ll be able to finish a little tube.
Click on the next link and watch how to do the Magic Loop:
The Magic Loop Revisited
Thank you for watching!
Happy knitting in the round 🙂
Carolina – So Woolly