How to do the Increases-Decreases in the Fisherman’s Rib stitch
In this tutorial, I’m sharing how to do the double increases and decreases when knitting the Fisherman’s Rib stitch.
Previously, I showed you how to knit the classic version, without purling, in the round, and how to fix mistakes (you’ll find the links to all those tutorials down below).
And the truth is that since then, many of you asked me how to shape a project while keeping the pattern, that is to say without breaking it.
Fortunately, a couple of days ago I remembered that it was still on my list of pending, so there you go!
Before we start, I’d like to mention a couple of simple rules, that will help you out in the process:
First, the increases and decreases will be made facing the right side of the work.
Second, they always will be worked into the k1bo (the “knit one below column” of stitches).
Third, to keep track of the pattern, we’ll increase or decrease two stitches at a time, this is why they’re called double increases or double decreases.
Fourth, they’ll work also when knitting the Fisherman’s Rib stitch in the round.
Last but not least, although many knitters could think that they’re complicated to do, it’s the opposite: they’re easy and intuitive, plus they look very pretty 😉
So, grab your needles, and some yarn, and let’s practice!
Abbreviations
st: Stitch
RS: Right side of the work
K: Knit
P: Purl
K1bo: Knit one stitch from the row below (insert the needle into the stitch from the previous row and knit).
sl1bo: Insert the needle into the stitch from the row below, and pass it onto the right-hand needle (you’ll have 2 loops/stitches)
k2tog: knit two stitches together
passo: pass the slipped stitches over
WS: Wrong side of the work
Using my US 11 (8 mm) bamboo dpn’s (perfect for swatches, dishcloths, socks, hats, gloves, etc.) #ad
“As an Amazon Associate, I earn from qualifying purchases.”
How to do the Double Increase in the Fisherman’s Rib stitch
Row 1 (RS): *Into the same st, K1bo, yo, K1bo*. 2 st have been increased, so you’ll have 3 st.
Repeat from * to *, as many times as you need.
Row 2: When you get to the 3 st, P1, K1, P1.
Next row: Work a normal RS row, K1 (edge), P1, K1bo*. Repeat to last 2 st, ending with K1, K1 (edge).
How to do the Double Decrease in the Fisherman’s Rib stitch
Row 1 (RS): *Sl1bo, k2tog, passo, P1*. 2 st have been decreased.
Repeat from * to *, as many times as needed.
Row 2: It’s like a normal WS row, K1 (edge), *K1bo, P1*. Repeat from * to *, to last 2 st, ending with K1bo, K1 (edge).
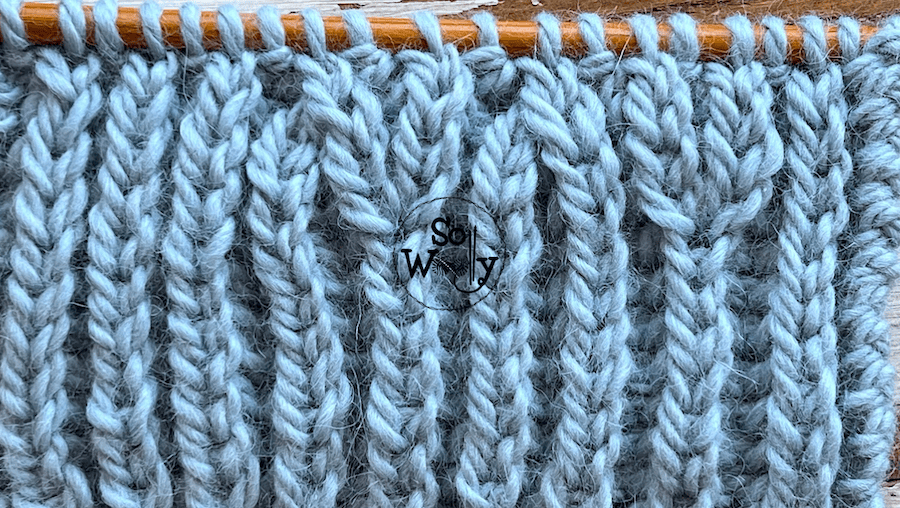
When you get to the spot where the double decrease was made, you’ll see a thick bump, and this will be the P1.
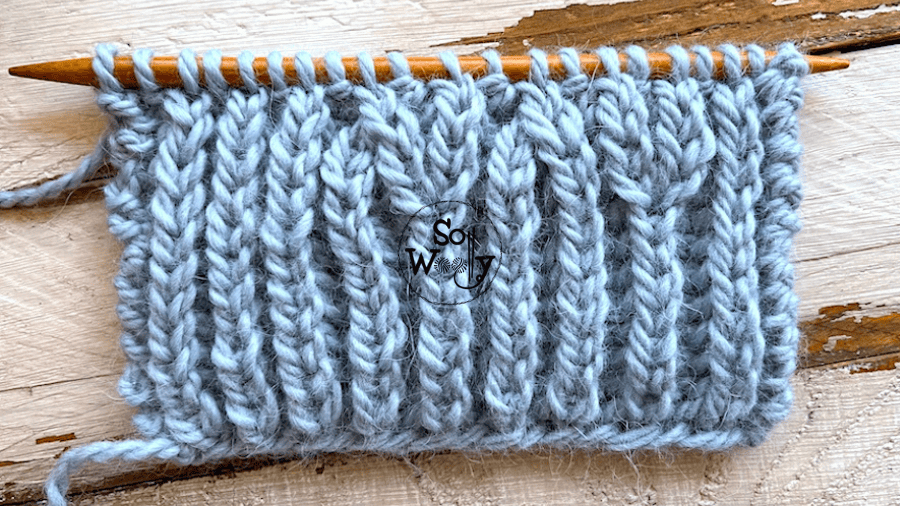
This is the other side of the work (WS):

Enjoy the video tutorial:
How to do the Increases and Decreases when knitting the Fisherman’s Rib stitch
I hope it helps!
Thank you for watching, and don’t forget to share the love 😉
Hugs, and happy knitting…
Carolina – So Woolly
Click on the following links to see the previous posts:
Fisherman’s Rib stitch without purling
Fixing mistakes when knitting the Fisherman’s Rib stitch