How to Knit the Easiest Diamond Pattern (+ video)
Today, you’ll learn how to knit the easiest Diamond Stitch I’ve seen so far…
Why?
In essence, the repeat is short (just 2 steps)!
We’ve practiced several diamond patterns in the past (find the links further down), and they involve counting more stitches, and constantly changing knits and purls, so we need to be more vigilant 😉
Moreover, in this case, easy isn’t a synonym of ordinary, or simple.
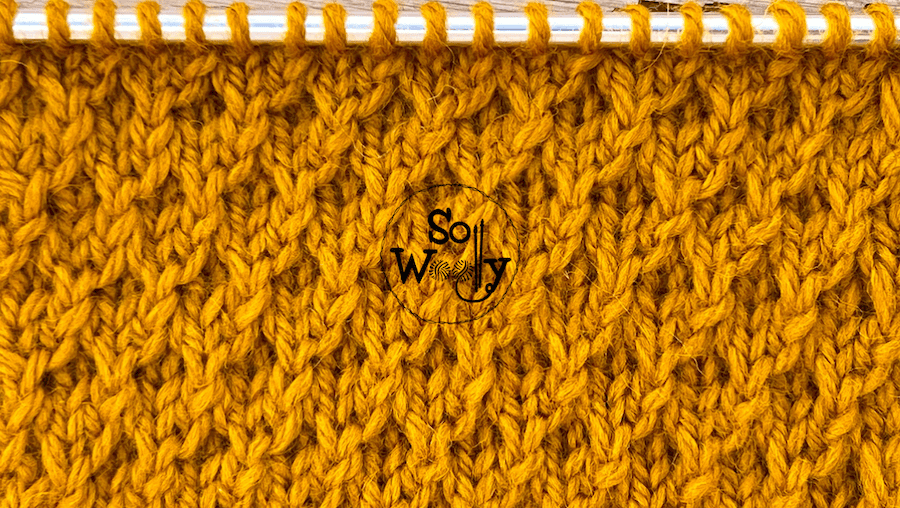
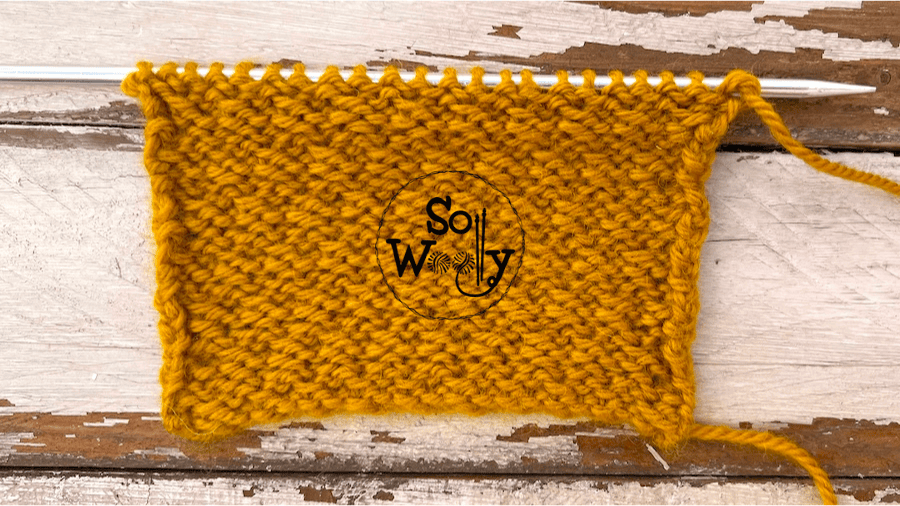
This Diamond stitch has an adorable texture to it, and it will work for both, children’s and adults’ projects.
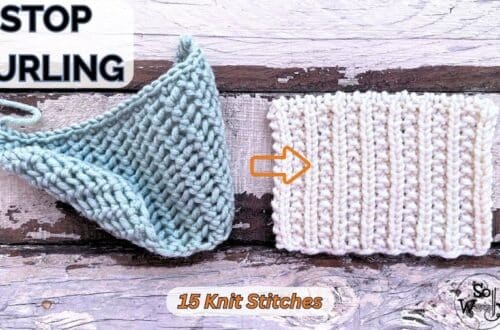
However, it tends to curl at the bottom.
So we have two options when knitting a garment that should stay flat:
First, think of adding an edge on each side of the piece, using a reversible stitch that combines knits and purls, so doesn’t curl (i.e.: Seed, Irish Moss, Bumpy stitch, etc.).
Second, you can block the project once it’s finished (this works perfectly fine when knitting with wool yarn and most of its blends).
Ok, enough chatting.
Grab your needles, your favorite fiber, and let’s get busy 🙂
This swatch was made out of 100% wool yarn (worsted weight)#ad
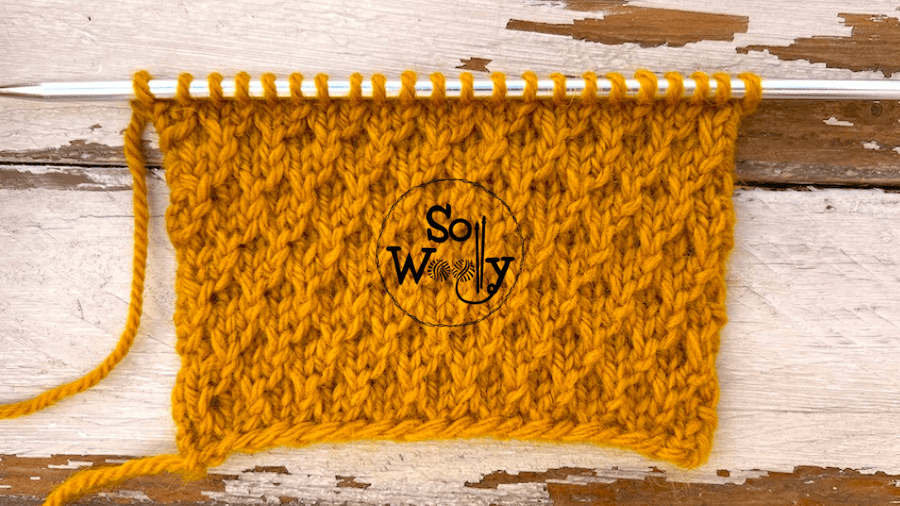
Using sharp tip needles, perfect for lace knitting (US 8 – 5 mm) #ad
“As an Amazon Associate, I earn from qualifying purchases.”
N.B.:
The even rows form the right side of the work.
There are two edge or selvage stitches included (the first and the last); they will be purled on every odd row, and knitted on every even row.
Abbreviations
CO: Cast on
st: Stitch
RS: Right side
K: Knit
P: Purl
wyib: With yarn in back
sl1pw: Slip one stitch purlwise (pass one stitch onto the right-hand needle as if to purl)
wyif: With yarn in front
WS: Wrong side
BO: Bind off
How to Knit the Easiest Diamond Stitch
CO an even number of stitches.
Rows 1 (WS): P1 (edge), *wyib sl1pw, wyif P1*. Repeat from * to * to last st, P1 (edge)
Rows 2 and 6: K across
Rows 3 and 7: P across
Row 4: K1 (edge), *K1, pick up the strand from row 1, from back to front, and knit it together with the next st*. Repeat from * to * to last 2 st, ending with picking up the strand from row 1, from back to front, and knitting it together with the next st, K1 (edge)
Row 5: P1 (edge), *wyif P1, wyib sl1pw*. Repeat from * to * to last st, P1 (edge)
Row 8: K1 (edge), *Pick up the strand from row 5, from back to front, and knit it together with the next st, K1*
Repeat from * to * to last 2 st, ending with K1, K1 (edge).
These eight rows create the pattern. Repeat them until the desired length is reached.
When finished, BO purlwise after row 8 (WS).
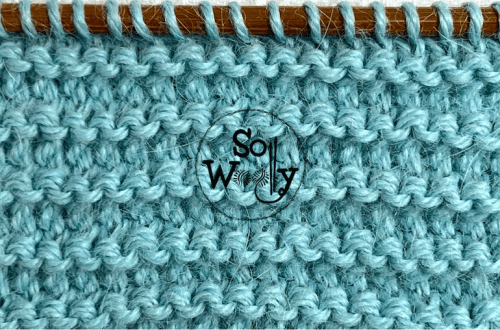
This is the other side of the work:
Enjoy the video tutorial:
How to Knit the Easiest Diamond Pattern (+ video)
Thank you for watching, and don’t forget to share the love!
Hugs, and happy knitting 🙂
Carolina – So Woolly
PS: Looking for more Diamond Patterns?
Take a look:
How to knit the Raised Diamonds stitch pattern