How to Knit an Amazing Herringbone Stitch (1 row!)
In this tutorial, I’m sharing how to knit and bind off, an amazing, yet simple, Herringbone stitch 🙂
It’s a one-row repeat pattern, super easy and fun to do (the only techniques required are knit, purl, slip one stitch, and knit two stitches together).
We’ve practiced a few Herringbone stitch patterns in the past, some of them involve two rows, and one of them it’s another one-row repeat pattern.
However, this one is something special.
Why?
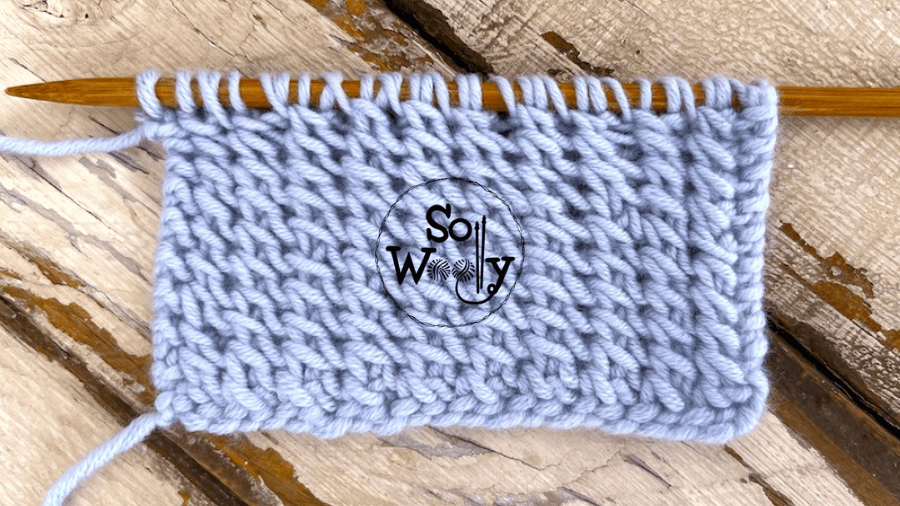
Well, because both sides are identical, and we have to memorize only 3 steps!
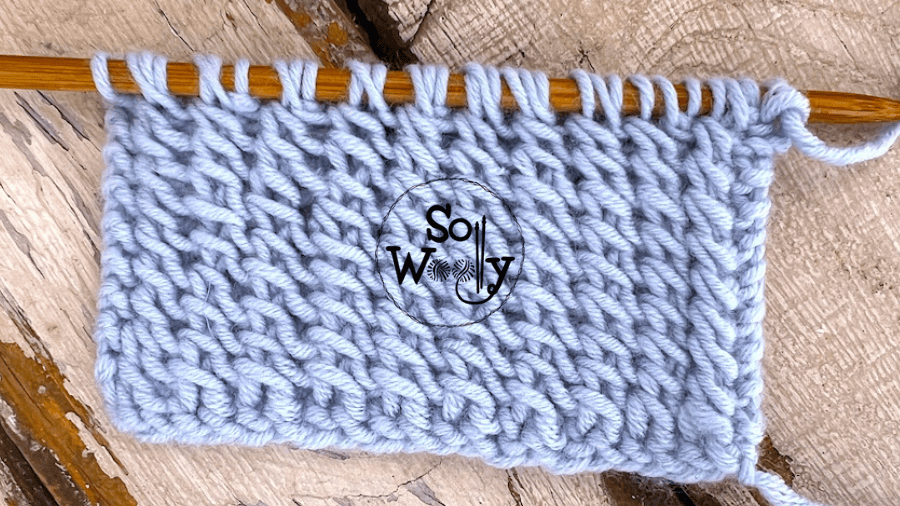
Besides, it has a lovely texture to it (to me, it’s a 3D stitch pattern); it’s spongy and cozy.
So, it’s perfect for many projects:
For example, for baby blankets (in which case don’t forget to add a nice edge on each side of the garment), but also for scarves, wraps, sweaters, cardigans, etc.
As a curious note, changing just one step will result in a different fabric…
If you knit two stitches together through the front loop (as we normally do), rather than knitting them together through the back loop, you’ll end up with a Brioche pattern!
Knitting never ceases to amaze me 🙂
Anyway, it’s time to work.
Grab your needles, and some yarn, and let’s get started.
“As an Amazon Associate, I earn from qualifying purchases.”
Abbreviations
CO: Cast on
st: Stitch
K1: Knit
K1tbl: Knit one stitch through the back loop
P: Purl
slip1pw: Slip one stitch purlwise (pass one stitch onto the right-hand needle as if to purl)
k2togtbl: Knit two stitches together through the back loop
BO: Bind off
N.B:
We’ll start with a setup row or “row 0” which will be made just once (it doesn’t form part of the pattern).
The edge (selvage) stitches will be purled on the setup row, and knitted on each future row.
How to Knit an Amazing Herringbone Stitch Pattern
CO an even number of stitches.
Setup row: P1 (edge), *wyif sl1pw, K1tbl*. Repeat from * to *, to last st, P1 (edge).
Row 1: K1 (edge), *wyif sl1pw, k2togtbl*. Repeat from * to *, to last st, K1 (edge).
This last row creates the pattern. Repeat it until the desired length is reached.
When finished, BO in pattern (I’ll show you how in the video).
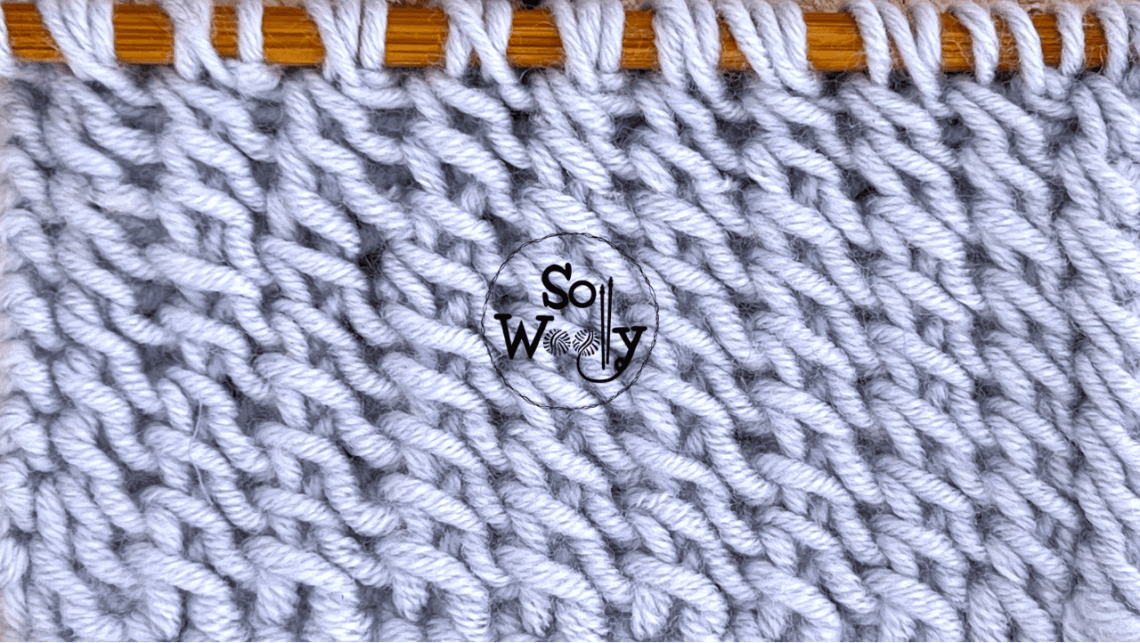
This is the other side of the work:
Enjoy the video tutorial:
How to Knit a One-Row Repeat Herringbone Stitch
Thank you for watching, and don’t forget to share the love 😉
Hugs, and happy knitting!
Carolina – So Woolly
PS: If you like the Herringbone patterns, I have one more for you (click here)