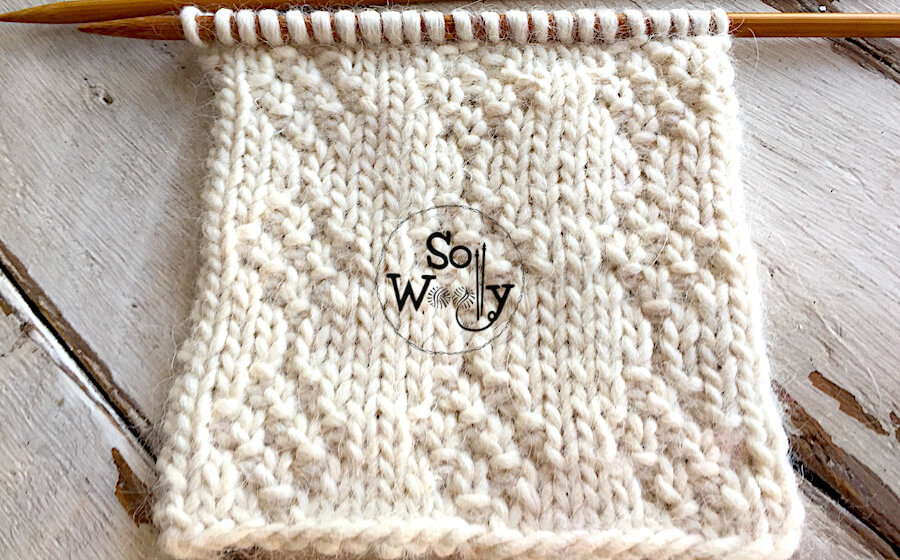
How to knit the Raised Diamonds stitch pattern
In this post, I’m sharing how to knit the Raised Diamonds stitch pattern, using knit and purl stitches only.
In fact, there are no twists, no decreases, nor increases! Yep 😉
Lately, we’ve been practicing several patterns which create rich textures by working stitches through the back loop, or right/left crossing stitches.
So, today, I wanted to show you how to build larger solid shapes with a combination of plain knit and purl stitches only.
The Raised Diamonds stitch pattern has some advantages to it:
First of all, it’s super easy to knit. Every two rows, we work what we see (knit the knits and purl the purls); furthermore, some rows will be repeated.
Secondly, it’s a lovely pattern, perfect for large garments, such as blankets or sweaters, as well as accessories: Hats, bags, etc.
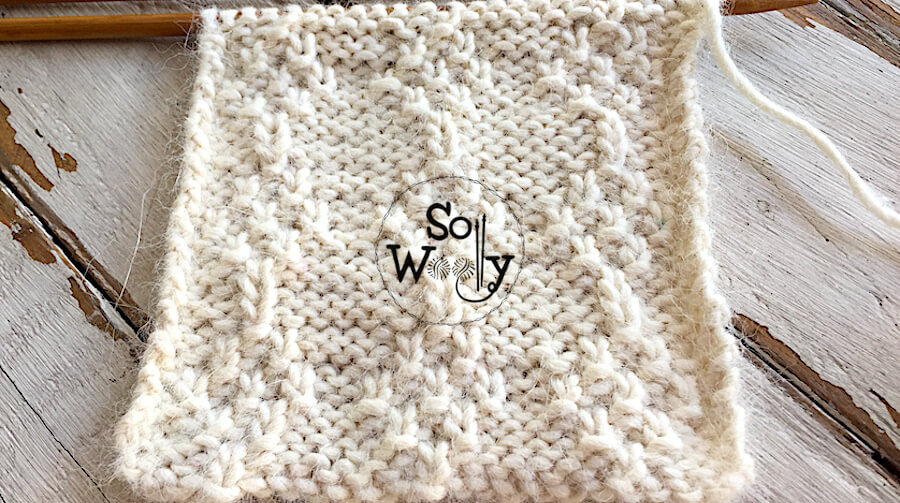
In third place, both sides look pretty, so I’d say it’s a reversible pattern, although not identical on both sides.
Nevertheless, if you want to knit a rectangular piece that should stay flat, please take into account that the lateral edges could bend (which can be solved by adding a nice edge).
Without further ado, grab your needles and a little bit of yarn, and let’s get started!
Abbreviations
CO: Cast on
st: Stitch
RS: Right side of the work
K: Knit
P: Purl
BO: Bind off
Using my lovely set of bamboo needles (smooth and long, beginner-friendly) #ad
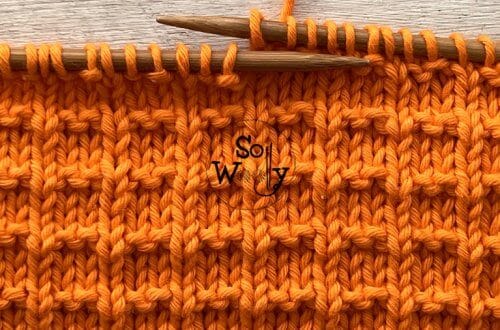
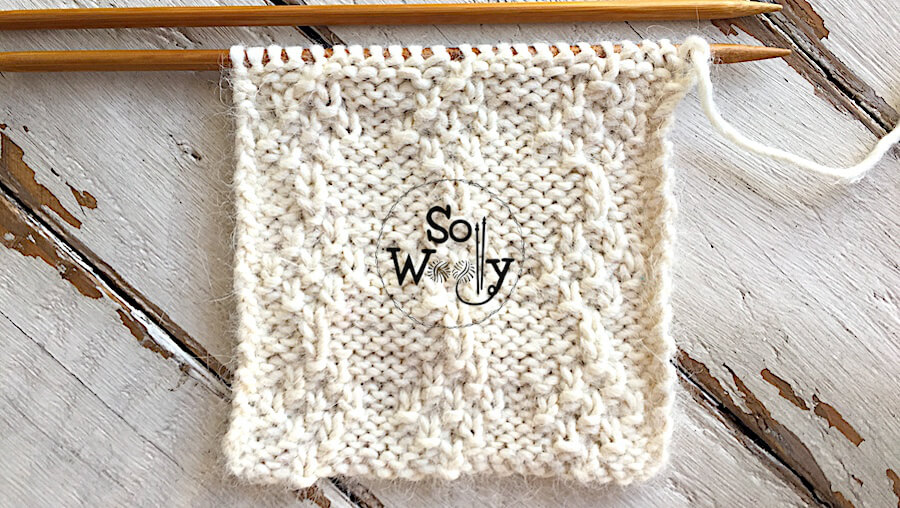
Raised Diamonds knit stitch pattern
CO multiples of 7 + 2; i.e.: 7 * 3 = 21 + 2 = 23 stitches.
1º and 9º rows (RS): K1 (edge), *P3, K1, P3*. Repeat from * to *, ending with K1 (edge)
2º and 10º rows: K1, *K3, P1, K3*. Repeat from * to *, ending with K1
3º and 7º rows: K1, *P2, K1, P1, K1, P2*. Repeat from * to *, ending with K1
4º and 8º rows: K1, *K2, P1, K1, P1, K2*. Repeat from * to *, ending with K1
5º row: K1, *P1, K1, P1, K1, P1, K1, P1*. Repeat from * to *, ending with K1
6º row: K1, *K1, P1, K1, P1, K1, P1, K1*. Repeat from * to *, ending with K1
These 10 rows create the pattern. Repeat them until the desired length is reached.
When finished, BO knitwise after a row 9, working each stitch as it presents (WS).
This is the other side of the work:
Enjoy the video tutorial:
How to knit the Raised Diamonds stitch pattern
Thank you for watching 🙂
Hugs, and happy knitting
xoxo
Carolina – So Woolly
PS: Before you leave… Don’t forget to share the love (@sowoolly)!
“As an Amazon Associate, I earn from qualifying purchases.”