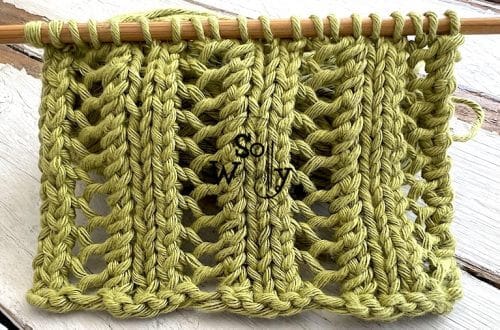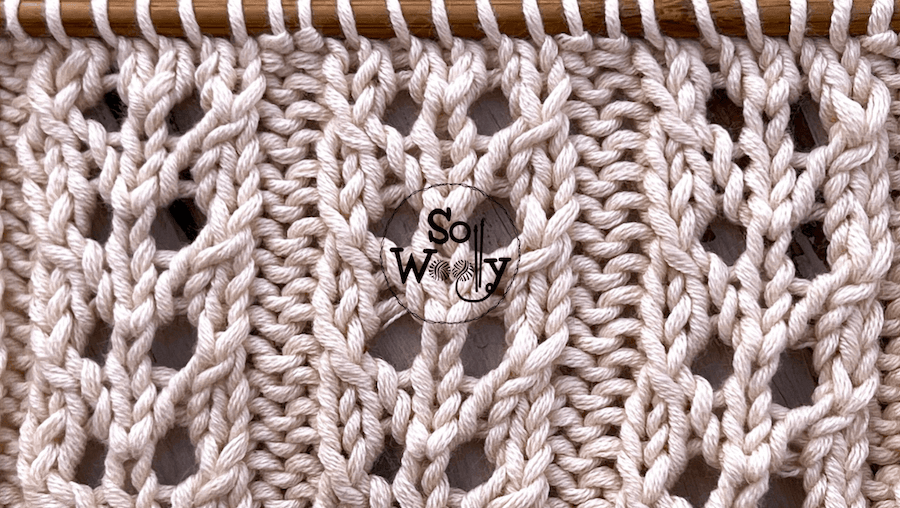
How to Knit the Double Eyelet Rib Stitch
Today, you’ll learn how to knit a lovely pattern that combines columns of lace in a Reverse Stockinette fabric: The Double Eyelet rib stitch.
It’s an easy four-row repeat pattern, similar to the Lace Columns stitch we practiced a while ago.
If you haven’t tried to knit lace before, this one involves a basic increase and the two most used decreases, so it’s a nice opportunity to start 😉
Furthermore, there’s only one row where we’ll decrease and increase; the others, are plain knit and purl rows.
Besides, its design works for both, clothing and accessories (i.e.: tops, sweaters, scarves, wraps, etc.).
However, before starting, I’d like to share a couple of tips that are useful when knitting lace patterns:
First, I recommend using pointy needles; they help us a great deal when decreasing.
I mean, knitting/purling two or three stitches together through the front or the back loop won’t be a pain anymore.
Try them, and you’ll find that lace knitting can be a real pleasure!
Second, don’t forget to block your project when it’s finished (I block almost everything).
Blocking is a simple process, and it will give your garments a professional look: A flat fabric, crispy stitches, and a well-defined pattern.
Using a blocking board and some pins also helps to prevent the fabric from curling #ad
“As an Amazon Associate, I earn from qualifying purchases.”
Having said that, it’s time to knit.
Grab your needles and some yarn, and let’s get lacy!
Abbreviations
CO: Cast on
st: Stitch
RS: Right side of the work
K: Knit
P: Purl
yo: Yarn over (simple increase)
ssk: Also known as slip, slip knit (left-leaning simple decrease).
Slip the first and the second stitches (pass them, one by one, onto the right-hand needle as if to knit), put them back onto the left-hand needle, and knit them together
k2tog: Knit two stitches together (right-leaning simple decrease)
WS: Wrong side of the work
BO: Bind off
Notes Before Starting:
The odd rows form the right side of the work.
There are two edge or selvage stitches included (the first and the last).
They will be knitted on every odd row and purled on every even row.
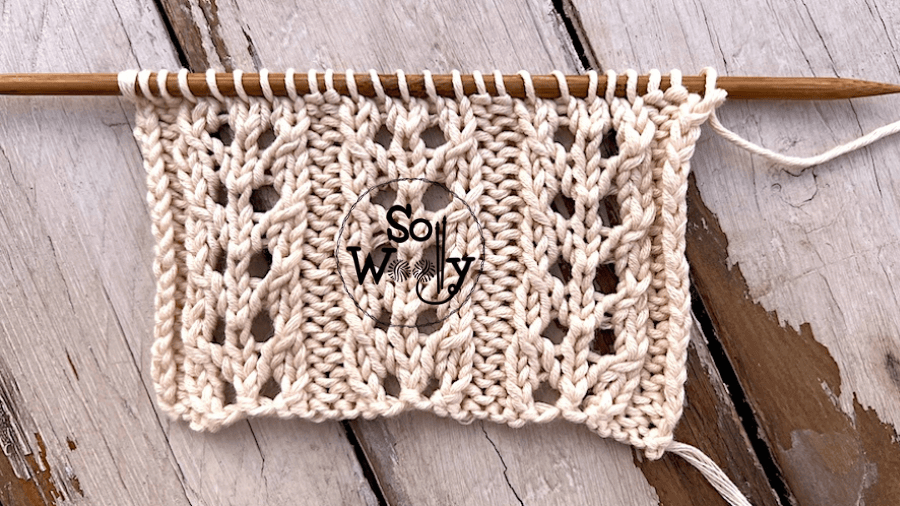
How to Knit the Double Eyelet Rib Stitch Pattern
CO multiples of 7 + 2 + 2
For example.: 7 * 2 = 14 + 2 = 16 + 2 = 18 st
Row 1 (RS): K1 (edge), *P2, k2tog, yo, K1, yo, ssk*. Repeat from * to *, to last 3 st, P2, K1 (edge)
Row 2: P1 (edge), K2, *P5, K2*. Repeat from * to *, to last st, P1 (edge)
Row 3: K1 (edge), P2, *K5, P2*. Repeat from * to *, to last st, K1 (edge)
Row 4: P1 (edge), *K2, P5*. Repeat from * to *, to last 3 st, K2, P1 (edge).
These four rows create the pattern. Repeat them until the desired length is reached.
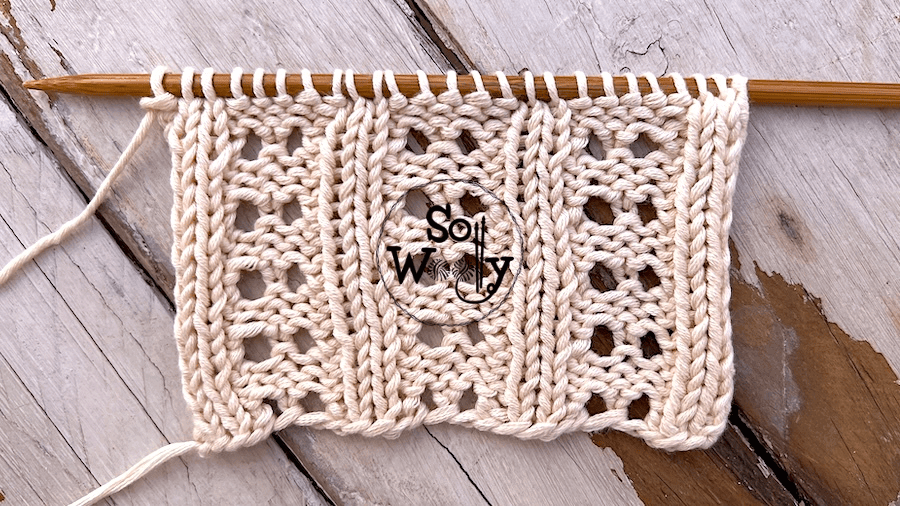
When finished, BO working each st as it presents after row 3 (WS).
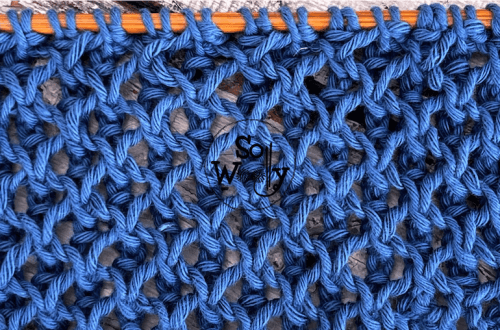
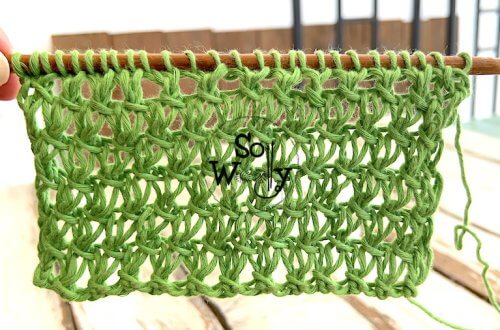
This is the other side of the work:
Enjoy the video tutorial:
How to Knit the Double Eyelet Rib Stitch Pattern
Thank you for watching, and don’t forget to share the love <3
A big hug, and happy knitting!
Carolina – So Woolly