How to knit the most beautiful chained edges
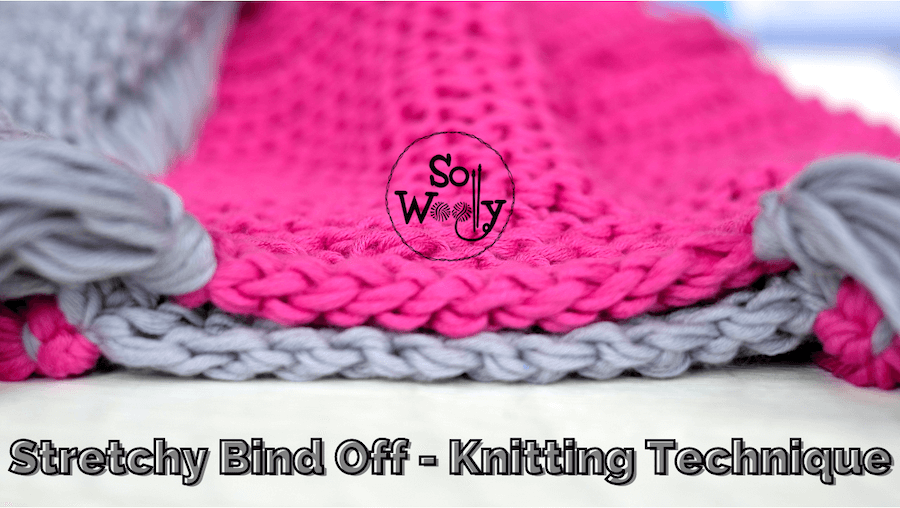
In today’s post, I’m sharing how to knit chained edges (identical on both sides).
Honestly, I have to make a confession… I’m in love (yet again) with the shape of chains in knitting (this is why I shared how to knit the chained cast-on a few months ago 😉
It’s a pretty simple technique that creates the most beautiful edges, perfect for scarves, blankets, cowls, and headbands, for example.
Actually, it can be applied to any knitting project that stays flat, and you can use any pattern, not only the Garter stitch…
Nevertheless, if you are working with a different pattern, please note that the second stitch needs to be a knit stitch.
So, if the second stitch in your pattern isn’t a knit stitch, add two stitches at the beginning, and two stitches at the end, because those four stitches will be part of the edges.
Without further ado, grab your needles and some yarn, and let’s learn a pretty knitting technique!
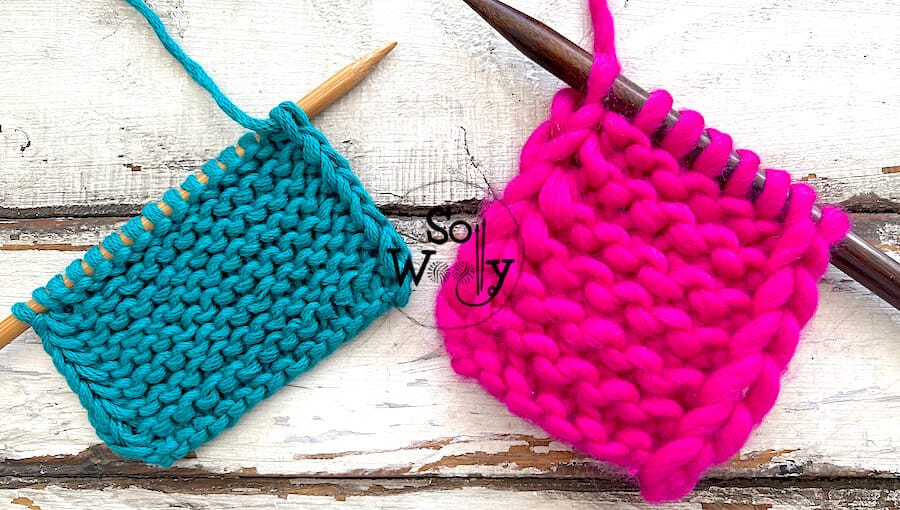
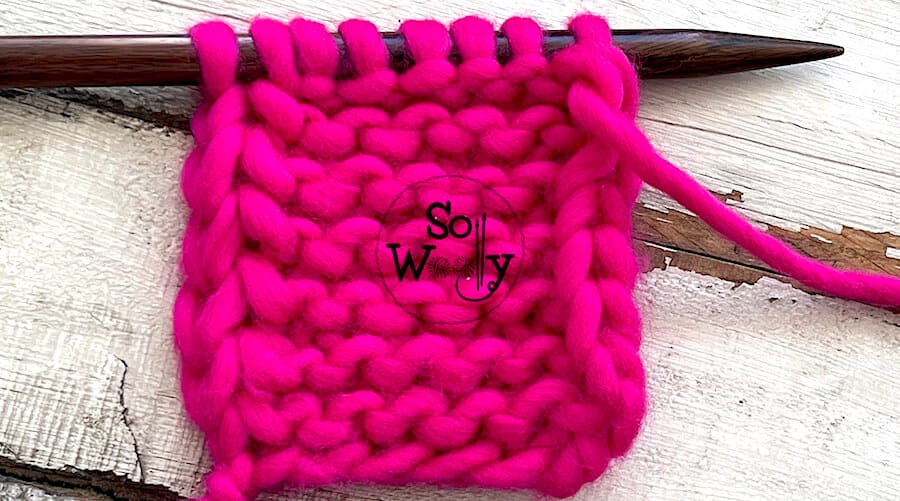
This swatch was made out of 100% super chunky Peruvian wool (easy, quick, and fun to knit with!) #ad
Abbreviations
CO: Cast on
RS: Right side of the work
st: Stitch
sl1pw: Slip one stitch purlwise (pass the stitch onto the right-hand needle as if to purl)
K: Knit
yo: Yarn over
k2tog: Knit two stitches together
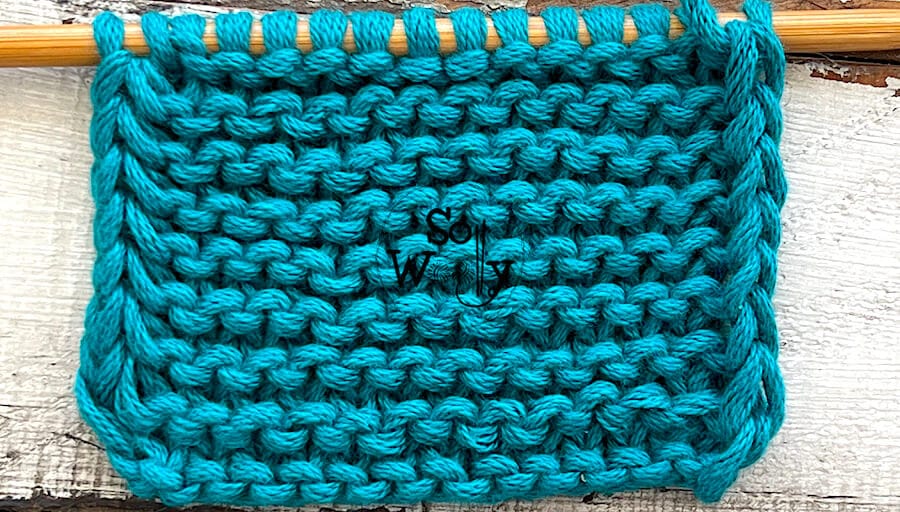
How to knit chained edges
CO any number of st (at least 5 st).
Row 1: Sl1pw, yo, K to end.
Row 2: Sl1pw, yo, K to last 2 st, k2tog.
Repeat row 2 until the desired length is reached.
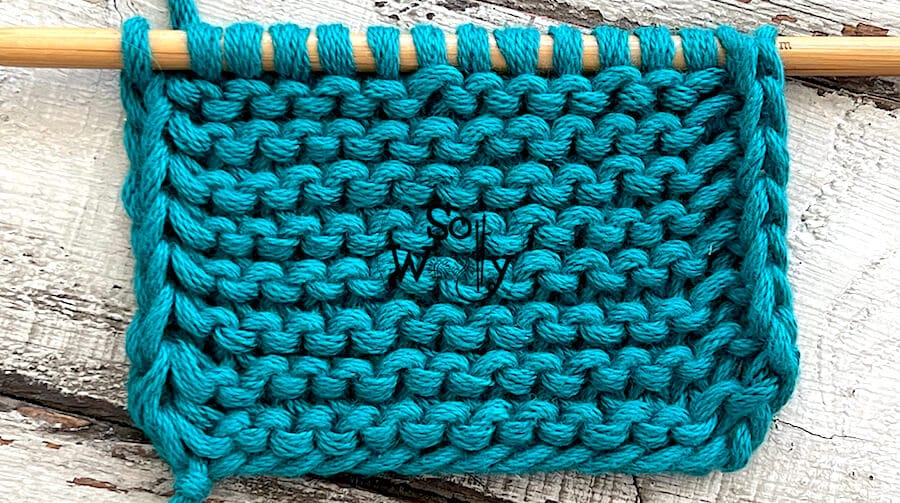
This is the other side of the work:
Enjoy the video tutorial:
How to knit the most beautiful chained edges
Thank you for watching, and don’t forget to share the love 😉
Hugs, and happy knitting!
Carolina – So Woolly
“As an Amazon Associate, I earn from qualifying purchases.”


