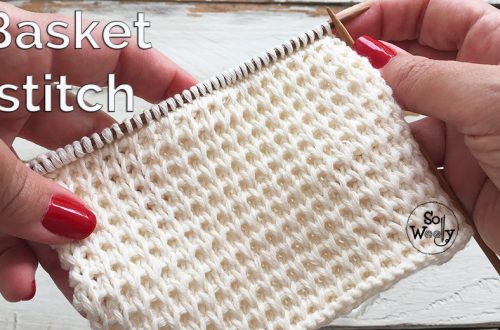
How to Knit the Knot Stitch Pattern (for extra texture!)
In this tutorial, I’m sharing how to knit the Knot Stitch, a cute, floral pattern, easy and fun to do.
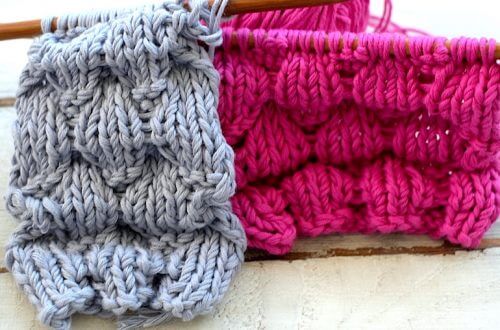
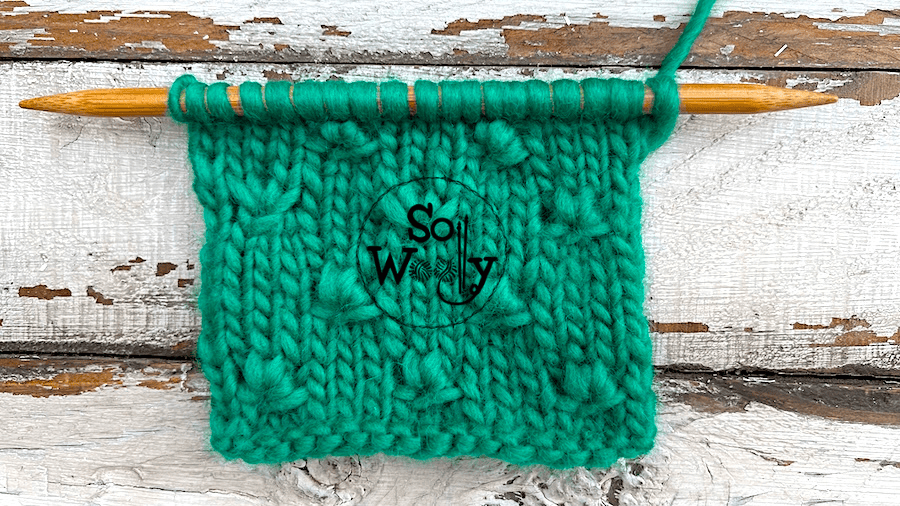
I think it’s also one of what I like to call 3D patterns, because the knots definitely stand out, no matter if you’re working with a fine yarn!
Moreover, the beauty of it, is that you can decide where to place the knots because the space between them can be easily adjusted 😉
Therefore, the Knot Stitch is a pretty versatile pattern; use it for a sweater, a hat, a cushion, or for example, make a blanket, a scarf, or a cowl.
However, if you choose to knit a piece that should lay flat, add a nice edge on each side (because they tend to curl or bend a bit).
Without further ado, grab your needles and some yarn, and let’s knit together 🙂
This swatch was made out of 100% wool yarn (nº 5 or bulky weight)#ad
Using one of my favorite double-pointed needles (8 mm) #ad
“As an Amazon Associate, I earn from qualifying purchases.”
N.B.:
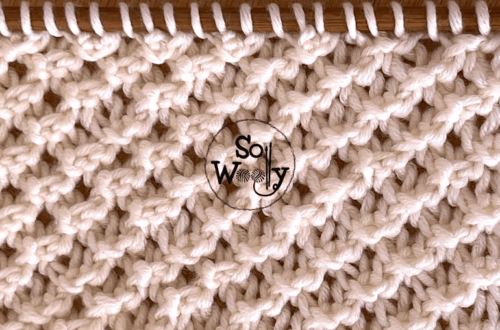
The odd rows form the right side of the work.
The even rows are purl rows.
Abbreviations
CO: Cast on
st: Stitch
RS: Right side
K: Knit
P: Purl
MK: Make a knot (purl three stitches together, don’t take them off, knit the same three stitches together, don’t take them off, and purl them together again. Now you can drop them
k3tog: Knit three stitches together
WS: Wrong side
BO: Bind off
How to Knit the Knot Stitch Pattern
CO multiples of 6 + 5 + 2 (edge st); i.e.: 6 * 4 = 24 + = 5 + 29 = 31 st.
Rows 1 and 5 (RS): K across
Row 2 (and every even row): P across
Row 3: K1 (edge), K1, *MK, K3*. Repeat from * to *, to last 5 st, ending with MK, K1, K1 (edge)
Row 7: K1 (edge), K4, *MK, K3*. Repeat from * to *, to last 2 st, ending with K1, K1 (edge)
Row 8: P across.
These eight rows create the pattern. Repeat them until the desired length is reached.
When finished, BO knitwise after row 8 (RS).
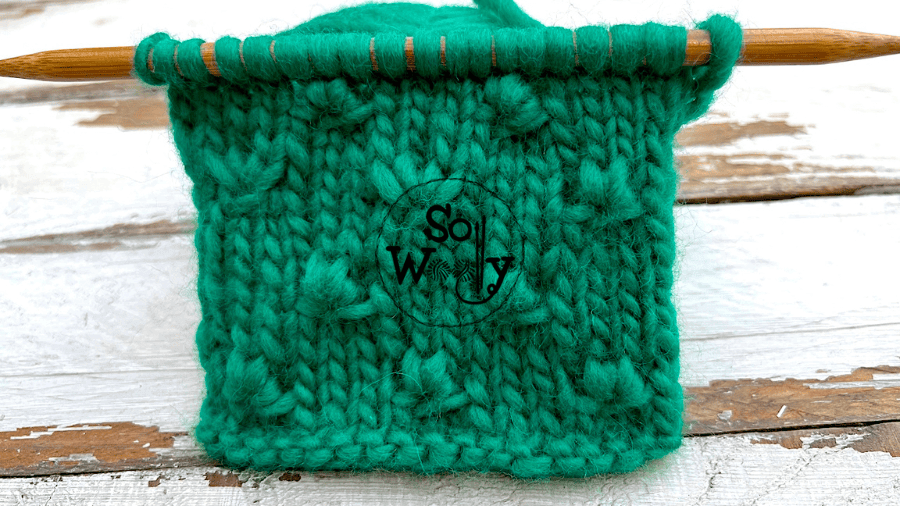
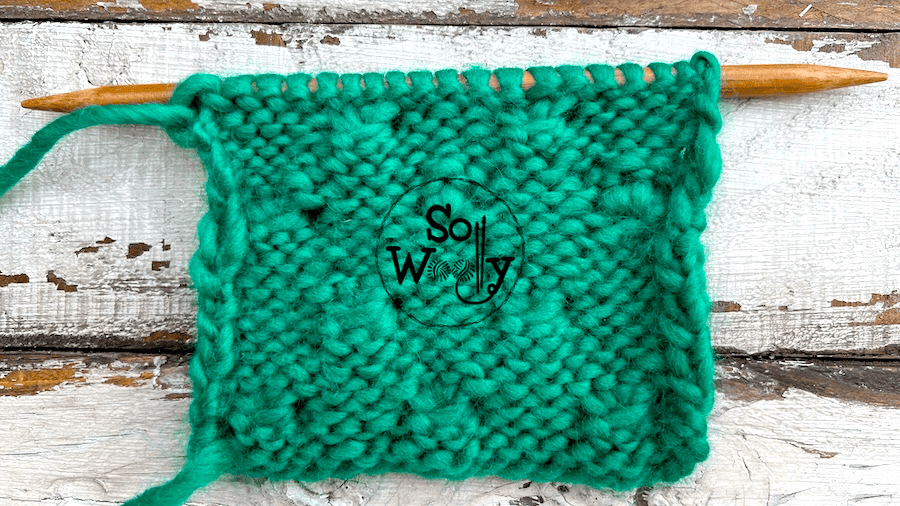
This is the other side of the work:
Enjoy the video tutorial:
How to Knit the Knot Stitch (for extra texture!)
Thank you for watching, and don’t forget to share the love!
Hugs, and happy knitting 🙂
Carolina – So Woolly