How to knit the Jute stitch: A two-row reversible pattern
In this tutorial, you’ll learn how to knit the Jute stitch.
It’s one of those “most searched for” stitches (similar to the Horizontal Slipped stitch we practiced a while ago).
Why?
Well, first of all, it’s a two-row repeat pattern, which makes things a lot less complicated.
Secondly, it’s a reversible stitch; although its two sides are different, both look adorable!
Furthermore, it’s a unisex pattern: It can be used for women’s, men’s, and children’s garments.
On the other hand, to test if it lays flat or not, I’ve used two different qualities and thicknesses:
For the video tutorial, the swatch is made out 100% wool and 10,5 US size needles (7 mm).
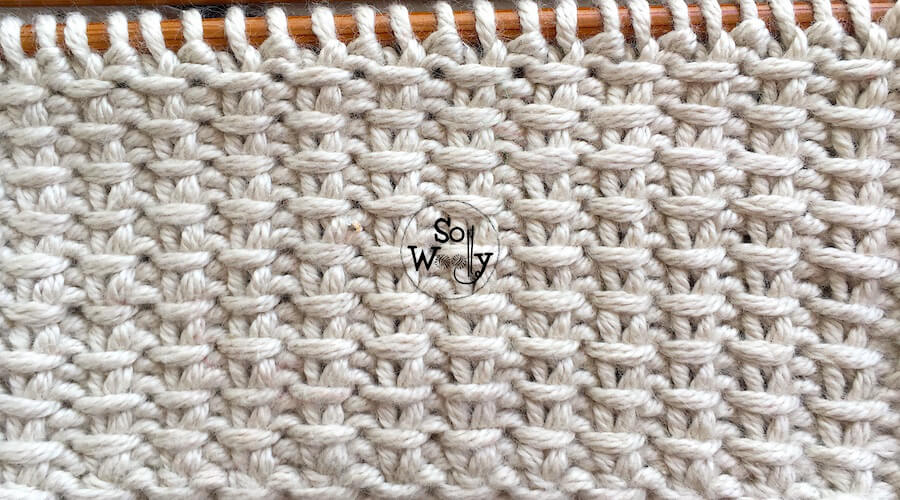
The swatch you see in the pictures below, is made out 100% cotton yarn, and 6 US size (4 mm) needles.
In conclusion it doesn’t curl, but, before you start your project, I recommend to knit a swatch, using the same fiber and needles you intend to use for your project, and see how it works for you.
Therefore, if your swatch curls, think of knitting a nice edge in Garter, Seed, or Irish Moss stitch on all sides of the piece.
Finally, the Jute stitch is great for knitting lots of projects: From hats, cowls, scarves, wraps, throws, place mats, cushions, bags, to cardigans, sweaters, and tops.
So, let’s get started!
Abbreviations
CO: Cast on
st: Stitch
RS: Right side of the work
WS: Wrong side of the work
K: Knit
P: Purl
sl1wyif: With yarn in front, slip one stitch purl wise (pass it onto the right-hand needle as if to purl, without working it).
BO: Bind off
This swatch was knitted in 100% cotton yarn #ad
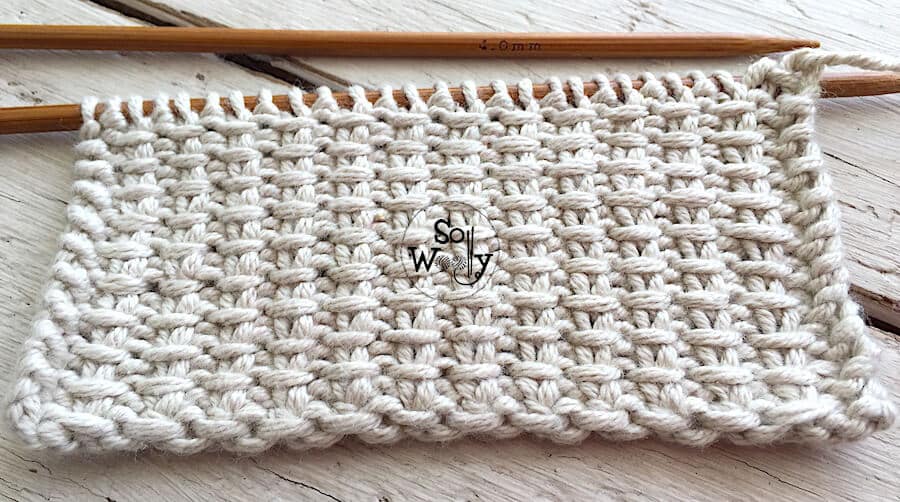
Using a lovely pair of bamboo needles (US 6 size / 4 mm) This set includes useful knitting tools… #ad
N.B.:
The odd rows form the right side of the work.
The first and the last stitch are selvedge stitches, and will be knitted on each row.
How to knit the Jute stitch
CO an odd number of stitches (it will include the selvedge stitches).
1º row (RS): K1, *P1, sl1wyif*. Repeat from * to *, to last 2 st, P1, K1.
2º row: K1, K1, *P1, K1*. Repeat from * to *, to last st, K1.
These two rows create the pattern. Repeat them until the desired length is reached.
When finished, BO working each stitch as it presents, after a row 1 (WS).
This is the other side of the work:
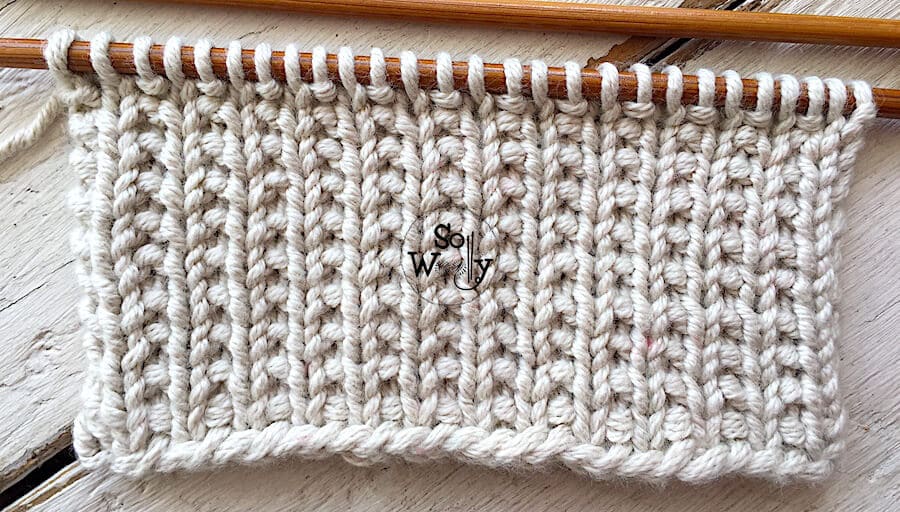
Enjoy the video tutorial:
How to knit the Jute stitch
I hope you like it!
And don’t forget to share your swatches/projects on Instagram and mention me (@sowoolly), so we all can see them 😉
Hugs, and happy knitting…
xoxo
Carolina – So Woolly
PS: If you are a fan of interesting slipped stitches, click on the following links to see more:
“As an Amazon Associate I earn from qualifying purchases.”


