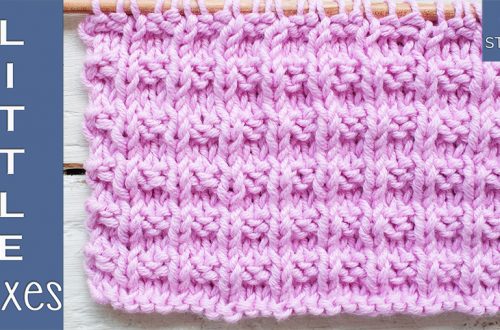
How to knit the Stockinette stitch with a cross seam effect
In this post, I’m sharing how to knit the Stockinette stitch with a stylish cross-seam effect.
Why?
Well, as a knitter, I don’t know how many times I’ve worked on a whole project in Stockinette stitch (mainly sweaters, cardigans, and hats).
The main reason is, I love the pattern (it’s so beautiful that even crocheters have come with a stitch that looks like it!).
Besides, it’s easy and quick to knit, plus increasing and decreasing doesn’t require any calculations… YAY!
However, sometimes a little twist can make a huge difference, such as this “cross-seam effect” wherever you like.
In fact, there are no rules; it takes just two rows, so you can add them as frequently as desired.
Depending on your project, create narrow or wide bands in Stockinette stitch, divided by this elegant texture.
The good news is that the increases or decreases can be allocated in the Stockinette stitch sections.
Let your creativity shine! The sky is the limit 🙂
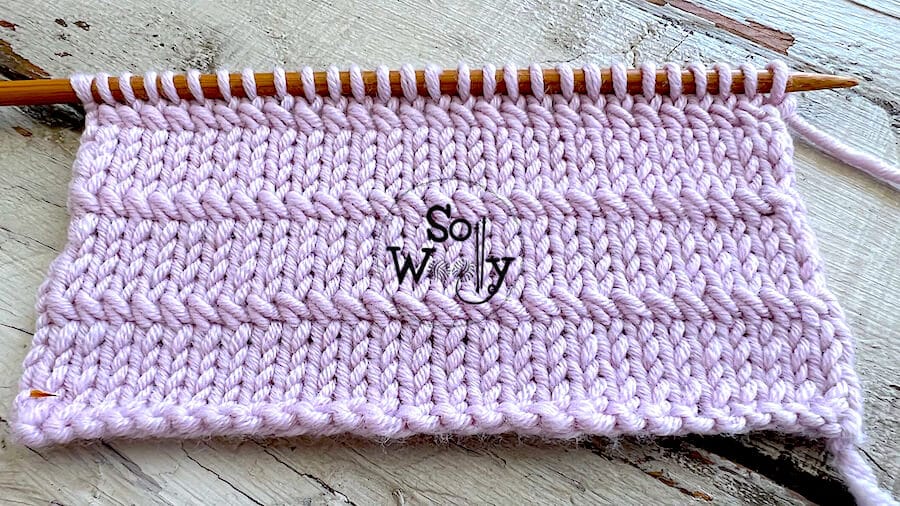
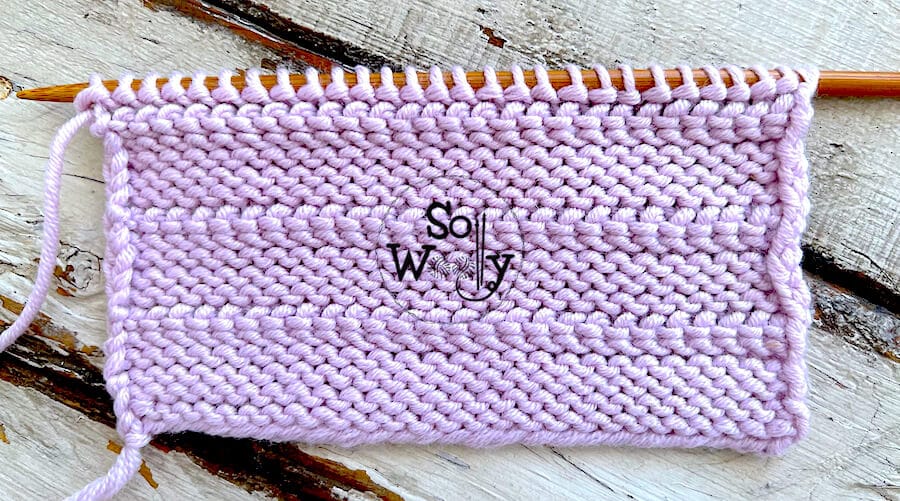
This swatch was made out of 100% Merino yarn (worsted weight, smooth, great for beginners) #ad

Honestly, the bamboo needles are lovely to knit with! They don’t get warm or cold, yarns slip smoothly, plus I love the sound they make 🙂
Without further ado, grab your needles and some yarn, and let’s get started.
Abbreviations
CO: Cast on
st: Stitch
RS: Right side
K: Knit
P: Purl
wyif: With yarn in front
sl1pw: Slip one stitch purlwise (pass one stitch onto the right-hand needle as if to purl)
k2togtbl: Knit two stitches together through the back loop
WS: Wrong side
BO: Bind off
N.B.:
The odd rows form the right side of the work.
The edge (selvage) stitches (the first and the last) will be knitted on every odd row and purled on every even row.
There are 8 setup rows; after working them, the pattern will become a six-row repeat pattern.
How to knit the Stockinette stitch with a cross seam effect
CO any number of stitches (at least four).
This number will include two edge or selvage stitches.
Setup rows:
Rows 1, 3, and 5 (RS): K across
Rows 2, 4, and 8: P across
Row 6: P1 (edge), *wyif sl1pw, yo*. Repeat from * to *, to last st, end with P1 (edge)
Row 7: P1, *k2togtbl*. Repeat form * to *, to last st, P1.
For symmetry, continue working on the following rows, as follows:
Rows 1, and 3 (RS): K across
Rows 2, and 6: P across
Row 4: K1 (edge), *wyif sl1pw, yo*. Repeat from * to *, to last st, end with K1 (edge)
Row 5: K1 (edge), *k2togtbl*. Repeat from * to *, to last st, K1 (edge).
These last six rows create the pattern. Repeat them until the desired length is reached.
When finished, BO purlwise after row 3 (WS).
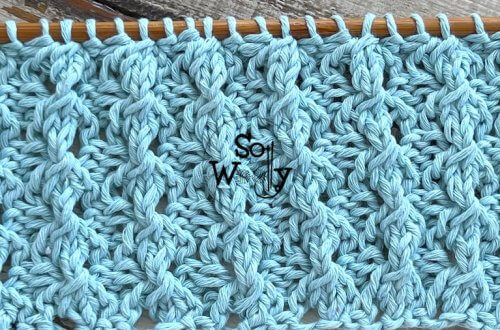
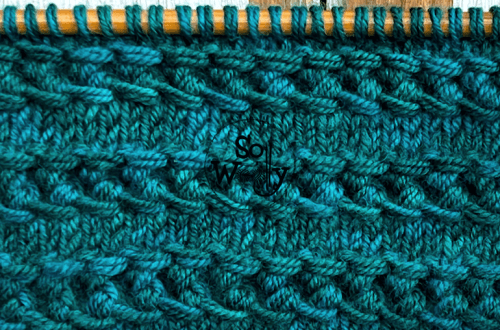
This is the other side of the work:
Enjoy the step-by-step video tutorial:
How to knit the Stockinette stitch with a cross seam effect
If you like it, don’t forget to share the love!
Hugs, and happy knitting,
Carolina – So Woolly
“As an Amazon Associate, I earn from qualifying purchases.”