How to knit the easiest Lattice stitch I’ve ever seen… ever
Today, I’m sharing how to knit the easiest Lattice (or Mesh) stitch I’ve seen to date.
It’s a four-row repeat pattern, two of which are plain purl rows, and the other two include just 2 steps (a pretty short repeat).
This is why this Lattice stitch is suitable for beginners.
Therefore, in the video tutorial, I’m showing how to do it in both, English and Continental styles, you lucky little woollies!
In addition, this pattern is great for a seasonal scarf, wrap, or top, and before you start,
I have some tips for you:
Firstly, I’d add a nice edge on each side of the garment, if I’m knitting something that should stay flat because the lateral sides tend to bend.
Secondly, use pointy needles (they will save you time and tears…) #ad
Last but not least, block your work once it’s finished!
The blocking process is so easy and the result is always amazing: Flat fabric, and crispy stitches, which make your piece shine!
Ok, that’s enough of an introduction!
Grab your needles and some yarn, and lattice begin 😉
Abbreviations
CO: Cast on
st: Stitch
RS: Right side
K: Knit
P: Purl
yo: Yarn over
k2tog: Knit two stitches together
ssk: Slip one stitch as if to knit, slip the next as if to knit, place both back onto the left-hand needle, and knit them together
WS: Wrong side
BO: Bind off
N.B.:
The odd rows form the right side of the work.
The edge (selvage) stitches (the first and the last) will be knitted on every odd row, and purled on every even row.
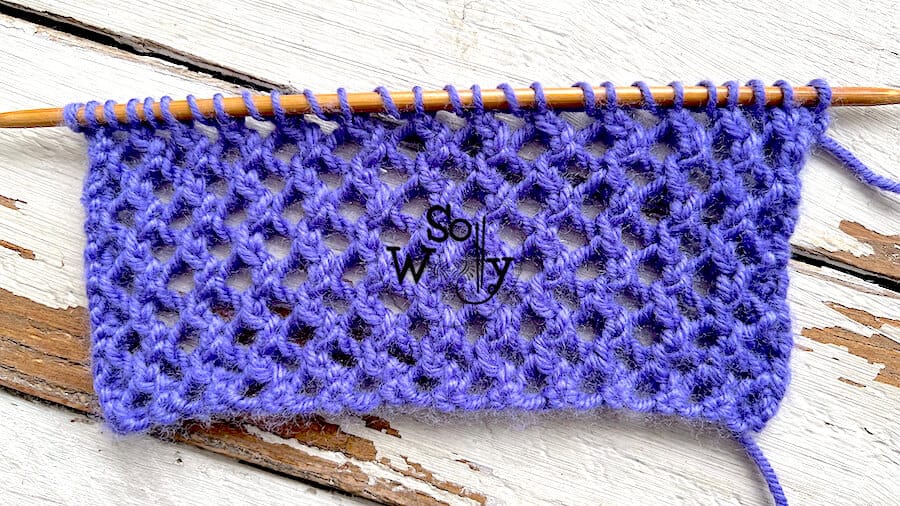
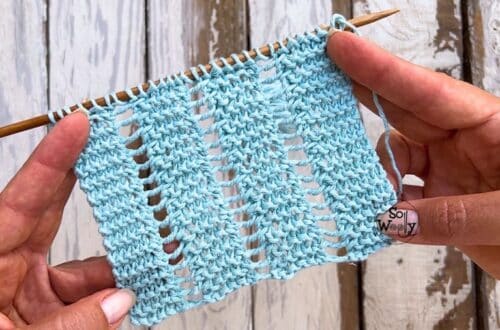
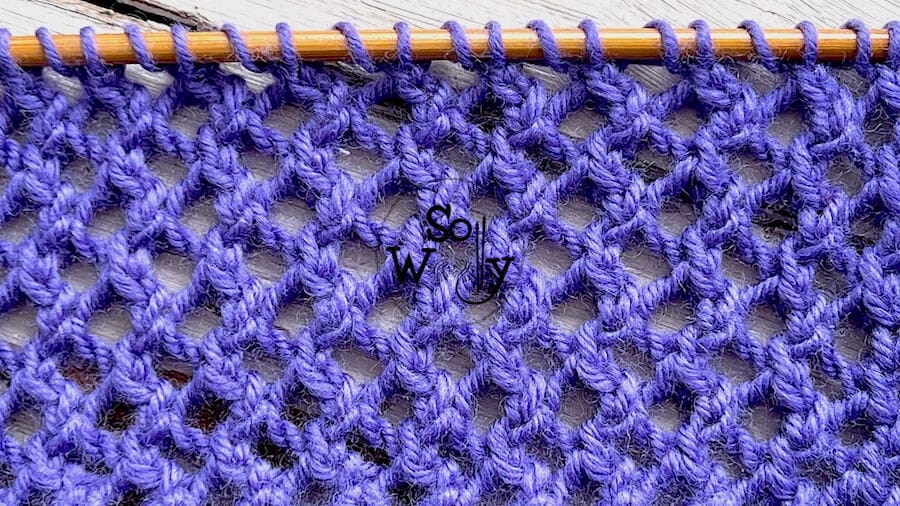
How to knit the easiest Lattice (Mesh) stitch pattern
CO an odd number of st (this number will include the edge stitches).
Row 1 (RS): K1 (edge), K1, *yo, k2tog*. Repeat from * to *, to last st, K1 (edge)
Rows 2 and 4: P across
Row 3: K1 (edge), *ssk, yo*. Repeat from * to *, to last 2 st, K1, K1 (edge).
These four rows create the pattern. Repeat them until the desired length is reached.
When finished, BO purlwise after row 3 (WS).
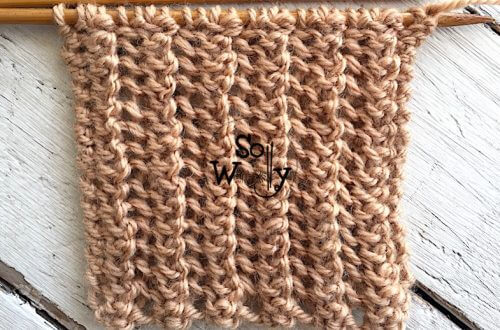
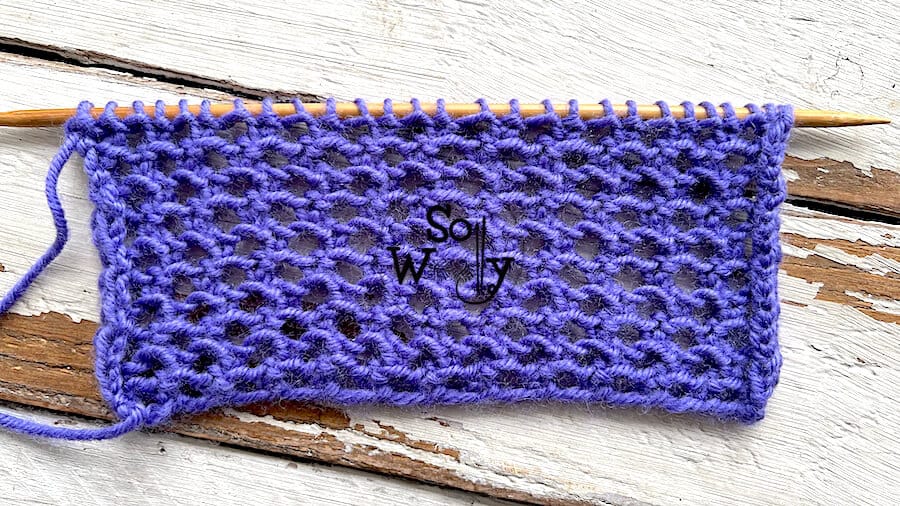
This is the other side of the work:
Enjoy the video tutorial (explained in both, English and Continental styles):
How to knit the easiest Lattice stitch
Thank you for watching 🙂
Hugs, and happy knitting,
Carolina – So Woolly
“As an Amazon Associate, I earn from qualifying purchases.”
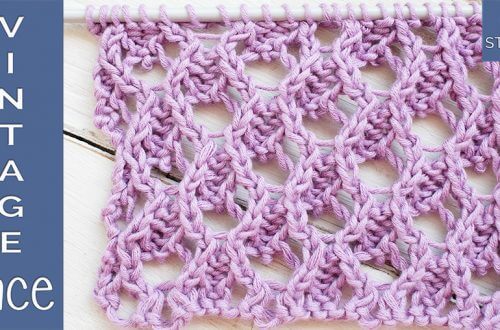
PS: Looking for another easy lattice stitch pattern? Click here!