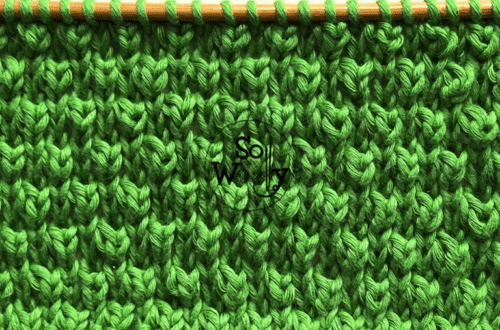
How to add texture to the Stockinette stitch
Today, you’ll learn how to add some texture to the Stockinette stitch pattern.
Honestly, sometimes I like to share variations of classic knitting stitch patterns, such as the Stockinette with a cross-seam effect we practiced a while ago.
Why?
Because variety is the spice of life 😉
This is a four-row repeat pattern, three of which are plain knit or purl rows, easy-peasy!
Actually, the real “action” takes place in row 3; the texture is created by a couple of steps, so if you are a beginner, no worries. You can do it!
And the good news is that you can add more rows to form larger sections of Stockinette, so the design is less “busy”… It’s up to you.
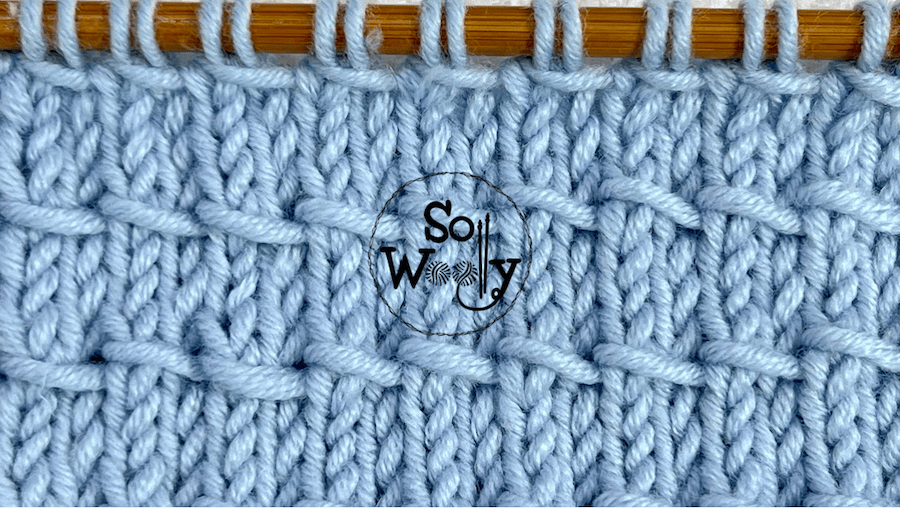
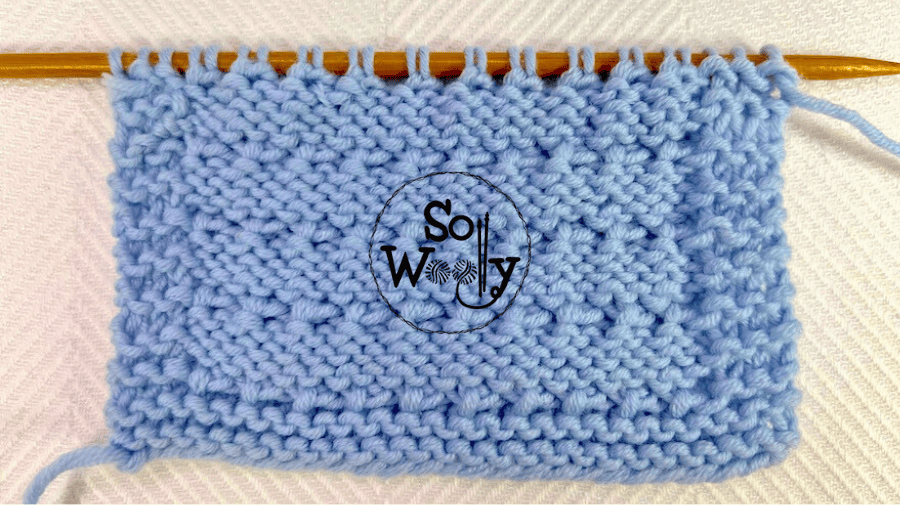
However, it tends to curl, so I started my swatch knitting four rows in Garter stitch (I’d do the same at the end), and worked three stitches on each side to create an edge also in Garter stitch.
In addition, this pattern can be used to knit not only baby stuff but blankets, cushions, sweaters, etc. You name it!
Ok, it’s time to knit a beautiful swatch…
Grab your needles, and some yarn, and let’s get started 🙂

Using one of my favorite bamboo double-pointed needles (US 8 / 5 mm) #ad
“As an Amazon Associate, I earn from qualifying purchases.”
Abbreviations
CO: Cast on
st: Stitch
RS: Right side of the work
K: Knit
P: Purl
yo: Yarn over
passo: pass the stitch over (in this case, pass the yo over the last two stitches)
BO: Bind off
WS: Wrong side of the work
N.B:
The odd rows form the right side of the work.
How to add texture to the classic Stockinette stitch
CO an even number of st.
Row 1 (RS): K across
Rows 2 and 4: P across
Row 3: K1 (edge), *yo, K2, passo*. Repeat from * to *, to last st, K1.
These four rows create the pattern. Repeat them until the desired length is reached.
When finished, BO knitwise, after row 2 (RS).
This is the other side of the work:
Last but not least, enjoy the video tutorial!
How to add texture to the Stockinette stitch (4 rows only!)
Thank you for watching, and don’t forget to share the love <3
Happy New Year, and happy knitting,
Carolina – So Woolly
PS: How to knit the Double Stockinette stitch (it lays flat)