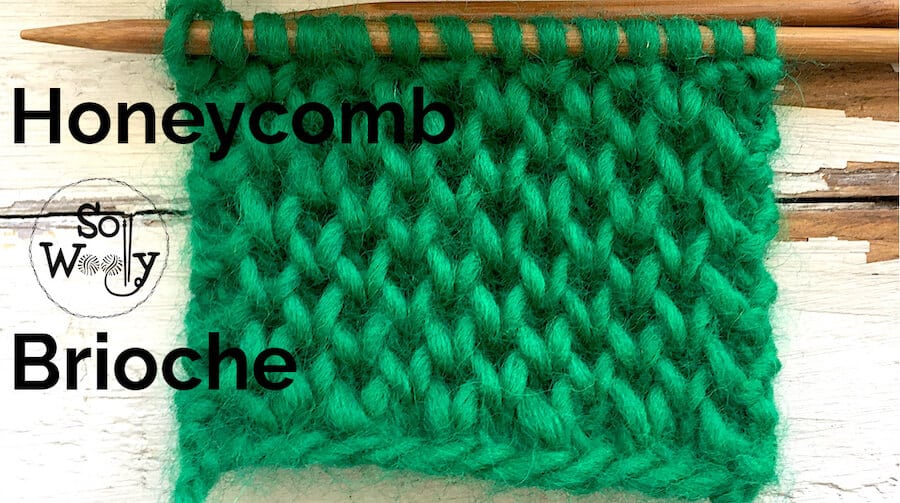
How to Knit the Honeycomb Brioche Stitch + Video
In this tutorial, you’ll learn how to knit the Honeycomb Brioche stitch, a classic in the world of knitting. Chunky and cosy, it has a rich texture, perfect for Winter garments in Wool, Alpaca, or Cashmere yarn.
However the Honeycomb Brioche stitch is also suitable for knitting Spring/Autumn garments, using cotton yarn and big needles 😉
A four-row repeat pattern, very intuitive after the first rows, and easy to remember: The same steps are repeated time and time again, ideal knitting while watching your favorite shows or if you have to watch “THE GAME” with your S.O.
Ok, let’s get started!
Abbreviations
CO: Cast on
st: Stitch
RS: Right side of the work
K: Knit
P: Purl
K1bo: Knit one stitch from the row below (insert the needle in the stitch from the previous row and knit)
k2tog-str: Knit together the long diagonal strand placed around the next stitch on the left-hand needle (formed on the row below), along with that stitch.
K2tog-rl: Put the “right leg” of the v (the right leg of the next stitch) onto the left-hand needle, and knit that loop with that stitch together.
BO: Bind off
N.B.:
There are two set-up rows: Row 1 and 2 will be knitted once only (they won’t be repeated again).
The first and the last stitch (selvage stitches) will be knitted on each row.
The odd rows form the right side of the work.
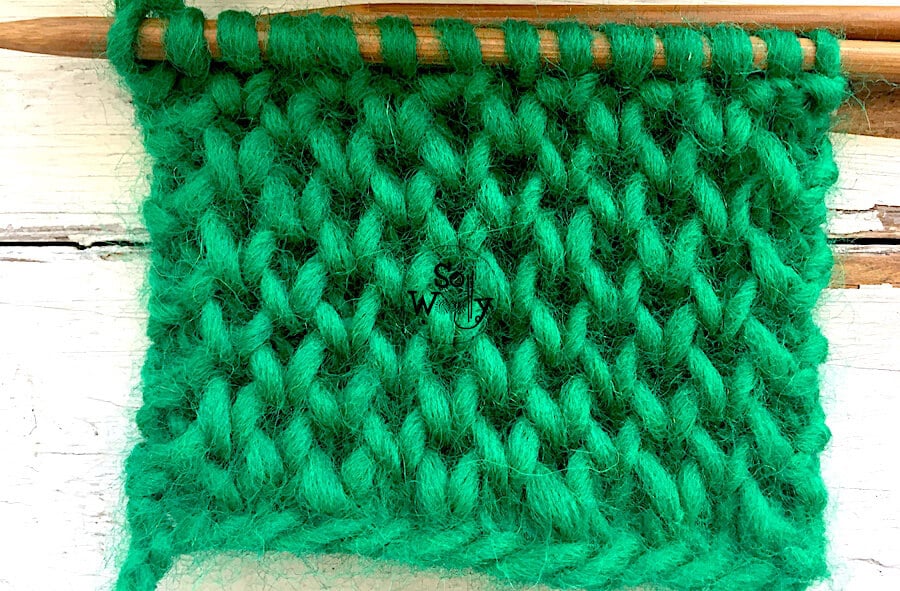
How to knit the Honeycomb Brioche stitch
CO an even number of stitches (this number will include the selvedge stitches).
Set up row 1: K across
Set up row 2: K1, P to last st, K1
1º row (RS): K1, *K1, K1bo*. Repeat from * to *, to last st, K1
2º row: K1, *k2tog-str, K1*. Repeat from * to *, to last st, K1
3º row: K1, *K1bo, K1*. Repeat from * to *, to last st, K1
4º row: K1, *K1, k2tog-str*. Repeat from * to *, to last st, K1.
Rows 1º to 4º create the pattern, and will be repeated until the desired length is reached.
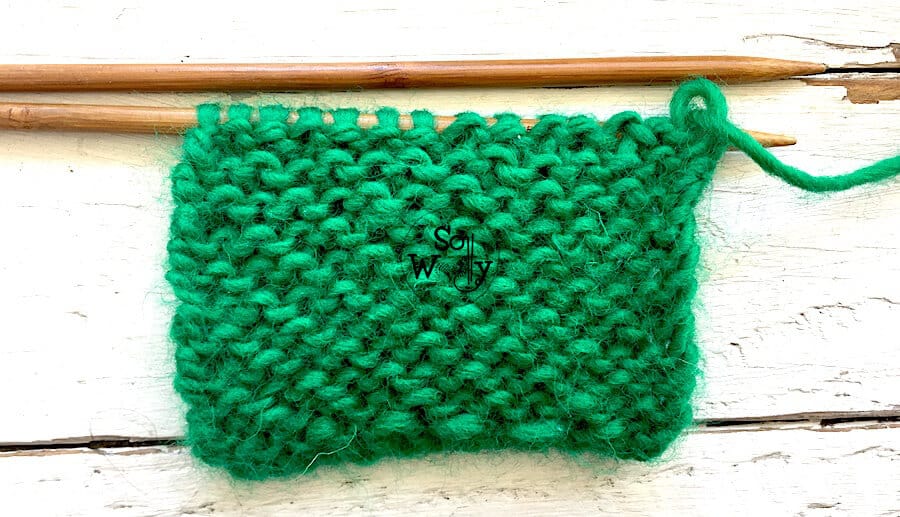
When finished, BO purlwise after an odd row (wrong side of the work).
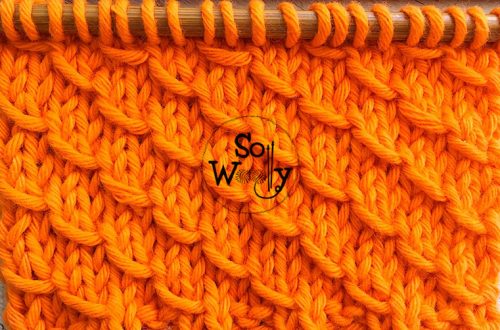
This is the wrong side of the work:
Enjoy the video tutorial:
After publishing this pattern, I’ve been asked many times for instructions to do it in the round. So, there you go:
How to knit the Honeycomb Brioche stitch in the round
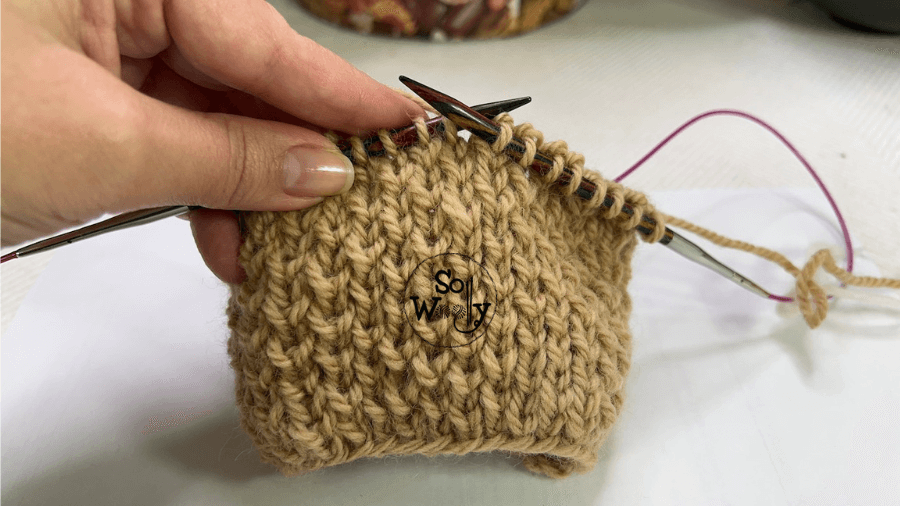
CO an even number of stitches.
Setup round: K across
1º round: *K1, K1bo*. Repeat from * to*, to end
2º round: *K2tog-rl, K1*. Repeat from * to*, to end
3º round: *K1bo, K1*. Repeat from * to*, to end
4º round: *K1, K2tog-rl*. Repeat from * to*, to end
These last four rows create the pattern; repeat them until the desired length is reached.
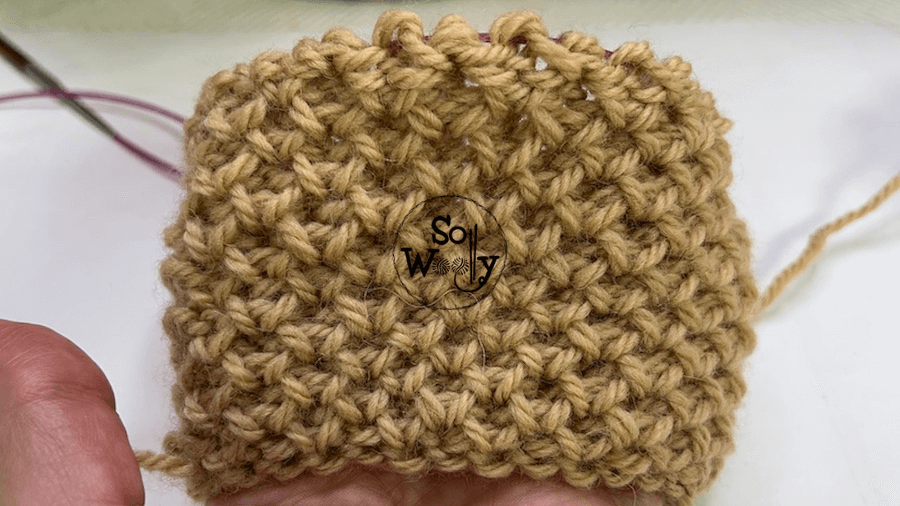
When finished, BO after row 4 (in the video tutorial, I’ll show you how to do it):
How to knit the Honeycomb Brioche stitch in the round
This is the other side of the work:
I hope you like them and don’t forget to share your projects/swatches on Instagram, and tag me (@sowoolly), so we can all see them 😉
Hugs, and happy knitting!
Carolina – Soy Woolly
“As an Amazon Associate, I earn from qualifying purchases.”