How to Knit the Little Diamonds Lace Stitch + Video
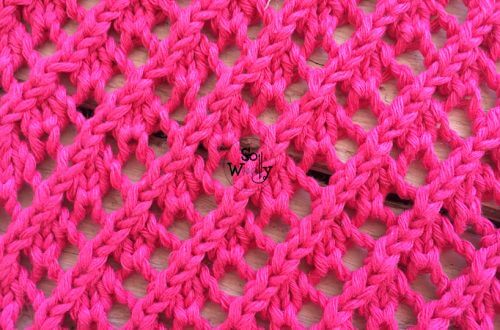
Today, you’ll learn how to knit the super cute Little Diamonds Lace stitch.
Although you’ll see six rows, it’s a four-row repeat pattern; the first two are setup rows.
After that, we’ll repeat only rows 1 to 4.
Besides, it’s perfect for a wide range of projects such as Summer tops, blouses, scarves, wraps, shawls, you name it.
Furthermore, I’d say that even a seasonal cardigan or sweater, will look great on it 😉
In fact, if you want to knit a simple and easy sweater, tailored to your measurements, using your favorite yarn, just follow this tutorial!
Honestly, the Little Diamonds Lace Stitch is a pretty special pattern; as you knit forward, you’ll see how the fabric has an amazing 3D effect.
And the good news is that it works with both, plant and animal fibers!
However, I’d like to make a couple of suggestions, before starting:
The most important tip is to use pointy needles. I will not tire of repeating it!
Sharp tip needles will save you time, effort, and maybe tears #ad
They will help greatly with our decreases 😉
Last but not least, don’t forget to block your garment once it’s finished.
Blocking is easy, and it will make your garments look like pro!
A blocking board + pins are essential to that process #ad
Once you block your knit work, you’ll automatically get a flat fabric, crispy stitches, and definitely, a great pattern definition 🙂
Without further ado, grab your needles and your favorite fiber, and let’s knit an adorable swatch!
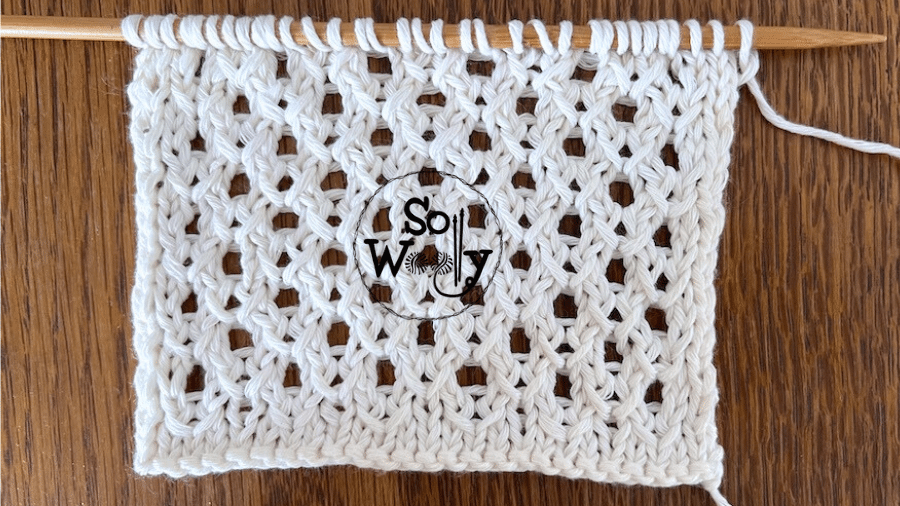
With my pointy and smooth bamboo needles (US 6 – 4 mm) #ad
“As an Amazon Associate, I earn from qualifying purchases.”
Abbreviations
CO: Cast on
st: Stitch
RS: Right side of the work
K: Knit
P: Purl
yo: Yarn over
sd: (Simple Decrease) Slip one stitch as if to knit, knit the next, and pass the slipped stitch over the last one
k2tog: Knit two stitches together
wyif: With yarn in front
DYOP1: Double yarn over purl one stitch. Insert the needle as if to purl, make a double yarn over (wrap the yarn twice around the right-hand needle), and purl the stitch
BO: Bind off
WS: Wrong side of the work
Notes Before Starting:
- We’ll start with 2 setup rows (they’ll be made just once, and don’t form part of the pattern).
2. The odd rows create the right side of the work.
3. The selvage/edge stitches (the first and the last, will be knitted on every odd row and purled on every even row.
4. The number of stitches will keep changing (increasing and decreasing) throughout the pattern; this is why the Little Diamond Lace Stitch needs an additional row before binding off (see details below).
How to Knit the Little Diamonds Lace Stitch
CO multiples of 4 + 1 + 2 (edge st). For example: 4 * 4 = 16 + 1 = 17 + 2 = 19 st.
Setup Row 1 (RS): K across
Setup Row 2: P1 (edge), P2, *DYOP1, P3*. Repeat from * to *, to last 4 st, ending with wyif DYOP1, P2, P1 (edge).
Row 1: K1 (edge), *K1, k2tog, sd*. Repeat from * to *, to last 2 st, ending with K1, K1 (edge)
Row 2: P1 (edge), P1, *P1, yo, P1, DYOP1*. Repeat from * to *, to last 4 st, ending with P1, yo, P2, P1 (edge)
Row 3: K1 (edge), K3, *k2tog, sd, K1*. Repeat from * to *, to last 3 st, ending with K2, K1 (edge)
Row 4: P1 (edge), P2, *DYOP1, P1, yo, P1*. Repeat from * to *, to last 4 st, ending with DYOP1, P2, P1 (edge).
These last four rows (1-4) create the pattern. Repeat them until the desired length is reached.
When finished, BO as follows:
Next row (before the BO row): K1 (edge), *K1, k2tog, K2*. Repeat from * to *, to last 2 st, ending with K2.
This row is necessary to go back to the original number of stitches.
Next row: BO purlwise
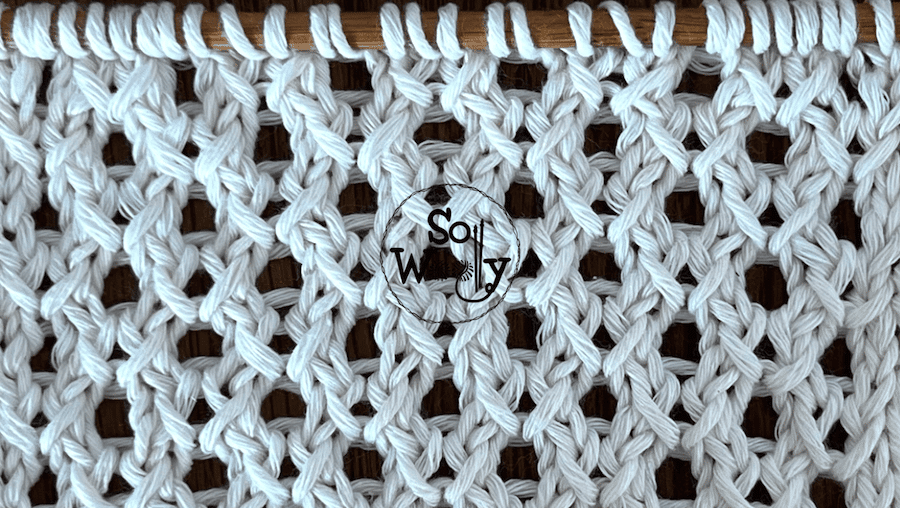
This is the other side of the work:
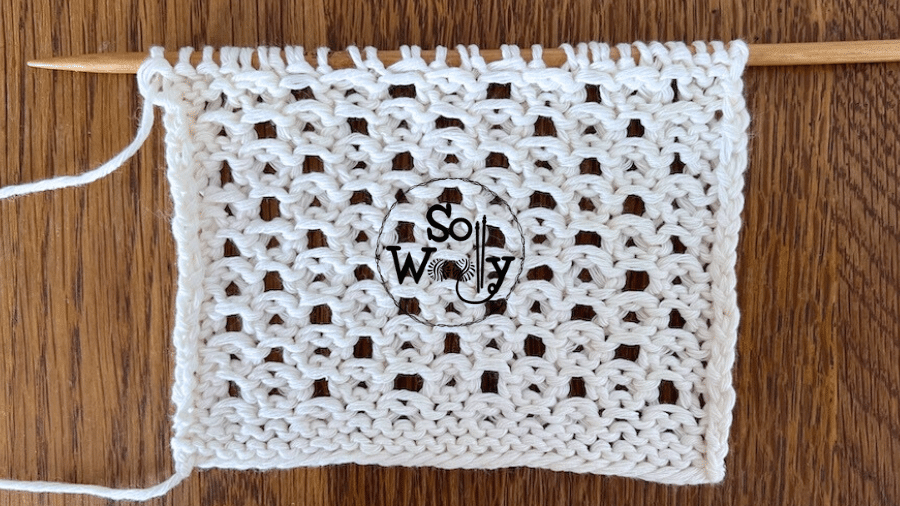
Enjoy the video tutorial:
Little Diamonds Lace Stitch Knitting Pattern
Thank you for watching, and don’t forget to share the love <3
Hugs, and happy knitting,
Carolina – So Woolly
PS: If you are a fan of special lace knitting patterns, don’t miss this one!


