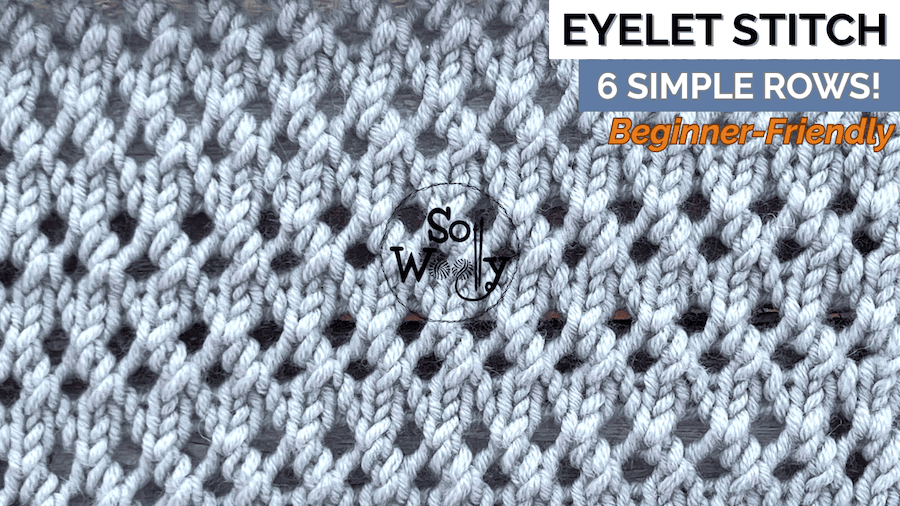
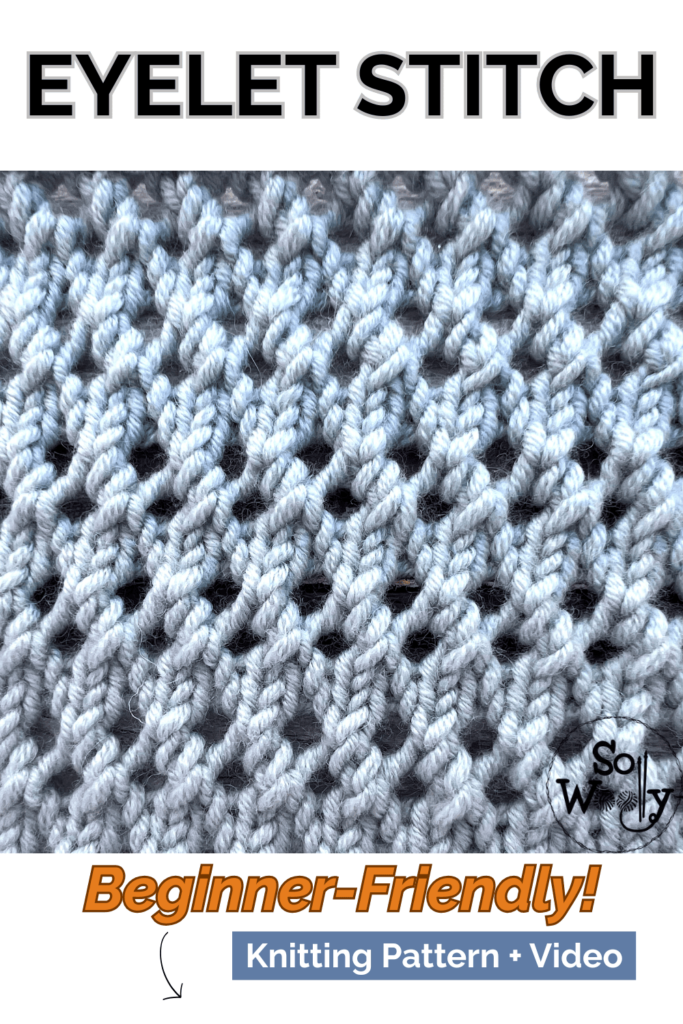
Knit a Delicate Eyelet Stitch: 6 Simple Rows + Video
If you think that knitting a delicate eyelet stitch (or anything with holes in general) is tricky, think again, because today I’ll show you how simple it can be!
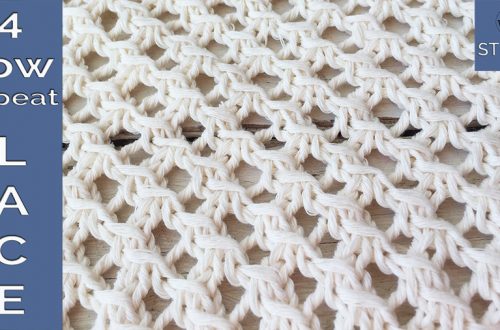
Today’s stitch it’s a six-row repeat pattern, which combines 1 knit row, 3 purl rows, and 2 rows of the most basic steps to create an eyelet stitch: yarn over and knitting two stitches together.
In addition, it has an adorable vintage vibe to it, without the complexity of many lace patterns!
So, yes, it’s totally beginner-friendly 😀
And yes, you can make it both ways, flat and in the round (see the instructions below) ✅
Yarn and Needles I used
This swatch was made with 100% Merino Superwash wool yarn (soft, non-fuzzy, and elastic), worsted weight, medium, or number 4 #ad
Although the needle size recommended is US 8 (5 mm), I used US 7 (4.5 mm).
With regard to the needles, I prefer bamboo or wooden ones, but I learned to knit with metal needles, and for some knitters, they’re their favorite.
If you’re looking for them take a look at this beautiful set (smooth and pointy, perfect for eyelet/lace patterns) #ad
“As an Amazon Associate, I earn from qualifying purchases.”
Gauge
I made a rectangle of 30 stitches x 32 rows, and it measures 6.25 in (16 cm) x 4.5 in (11 cm) after wet blocking (this pattern goes a long way!).
About blocking: Don’t miss this step, especially when knitting and eyelet stitch or a more complicated lace stitch.
Why?
Well, the process of blocking opens up the eyelets, helps the fabric to stay flat, and you’ll get a better definition of the pattern!
Abbreviations
CO: Cast on
st: Stitch
sts: Stitches
RS: Right side of the work
K: Knit
P: Purl
yo: Yarn over (bring the yarn over the needle to create a hole)
k2tog: Knit two stitches together (a simple right-leaning decrease)
BO: Bind off
WS: Wrong side of the work
Quick Notes Before Starting
The even rows form the right side of the work.
The edge stitches (the first and the last) will be purled on every odd row, and knitted on every odd row.
How to Knit a Delicate Eyelet Stitch Pattern
Back and Forth (Flat)
CO an even number of sts (it will include 2 edge sts).
Row 1: P across
Row 2 (RS): K1 (edge), *k2tog, yo*. Repeat from * to *, to last st, K1 (edge)
Row 3: P across
Row 4: K1 (edge), *yo, k2tog*. Repeat from * to *, to last st, K1 (edge)
Row 5: P across
Row 6: K across
Repeat rows 1 – 6 until the desired length is reached.
When finished, BO purlwise after row 2 (WS).
In the Round (with circular needles)
CO an even number of sts.
Round 1: K across
Round 2: *k2tog, yo*. Repeat from * to *, to end
Round 3: K across
Round 4: *yo, k2tog*. Repeat from * to *, to end
Round 5: K across
Round 6: K across
Repeat rounds 1 – 6 until the desired length is reached.
When finished, BO purlwise after round 2
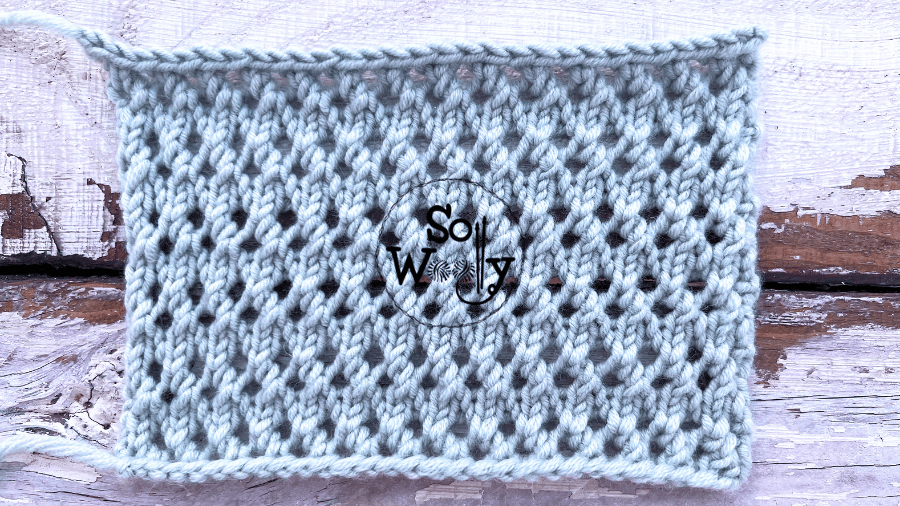
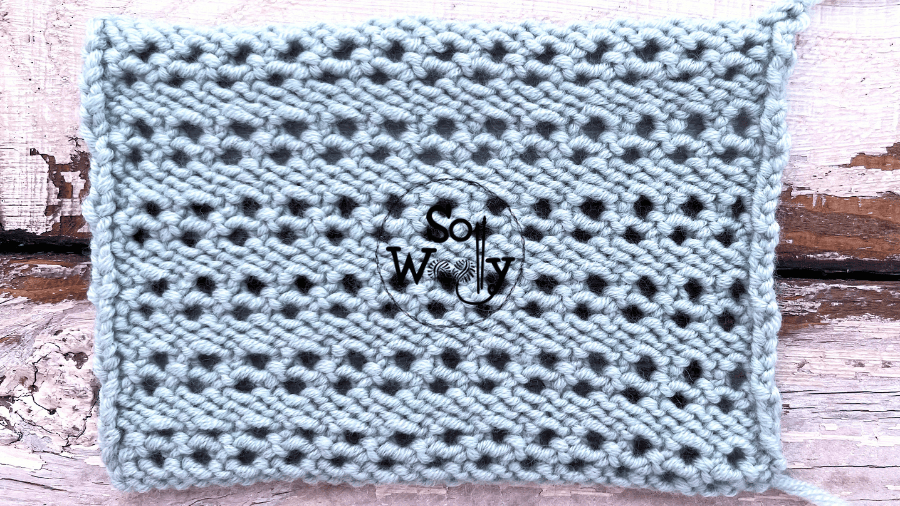
How Does This Fabric Behave?
In summary, it has a subtle texture to it, it’s not reversible, and it curls.
No, you’re not doing anything wrong, some knitted fabrics curl (stockinette stitch, lace patterns are good examples).
This is why blocking is important.
Along with the stitch definition mentioned above, blocking helps to prevent the fabric to roll or bend.
However, if you want to knit a scarf, for instance, think of adding a nice edge on each side of the scarf (around 1 in approx.).
For those edges, use a textured stitch that combines knit and purl stitches very often in the pattern repeat, such as the Seed, the Irish Moss, or the Bumpy stitch.
Where to Use the Eyelet Stitch Pattern?
I can easily see it on a Spring light sweater or cardigan, even on a Summer top.
Shawls, throws, wraps, and shrugs are good options too… (by the way, it would also work for a market bag).
Moreover, if you are thinking of knitting a sweater, a proper Winter sweater, this could be your choice for the yoke, or just a section of the yoke.
Without a doubt, it’s a good match to the Stockinette stitch 😉!
Some Tips for Better Results
1.- Use sharp tips needles
2.- Don’t forget to block your work
3.- In the video tutorial (link below), you’ll see what to do if you miss a yarn over (yes, it happens even to the most experienced knitters)
If you are a beginner:
4.- Count your stitches after finishing rows/rounds 2 and 4 (you should have the same number that you cast on)
5.- Never leave your work before finishing a pattern repeat
6.- Write down the last row/round you worked
Click below for the step-by-step Video Tutorial:
Ok, this is everything for today, my little Woolly!
Thank you for reading and watching, and don’t forget to share the L❤️VE!
Happy Eyelet Knitting 🧶
Carolina – So Woolly
PS: Looking for more Eyelet Stitch Patterns? Take a look: