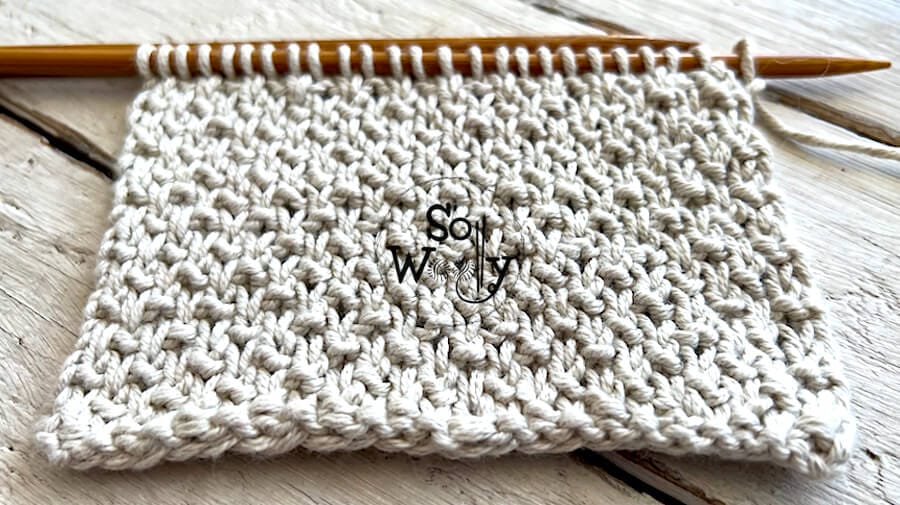
How to knit the Drizzle stitch pattern (English & Continental style)
In today’s tutorial I’m sharing how to knit the Drizzle Stitch, step by step.
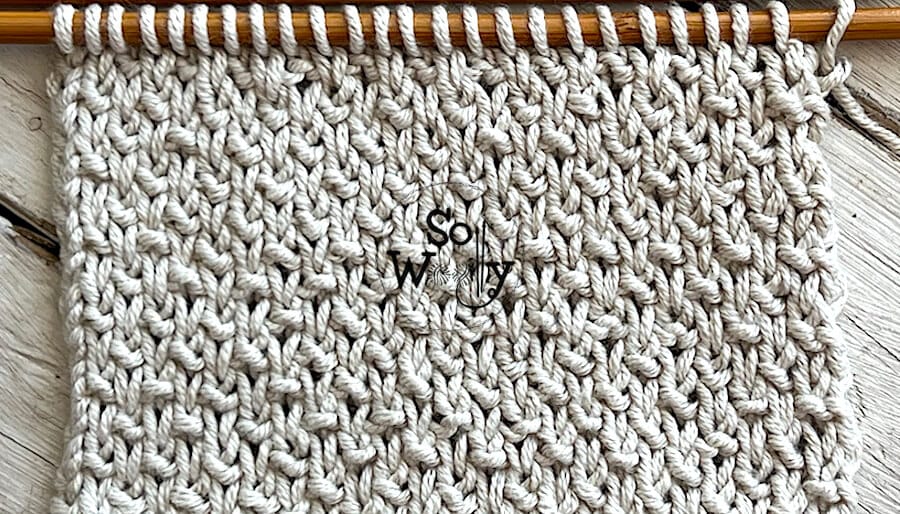
Honestly, I have to confess that when I saw it, I fell in love (among other things, because it forms a tiny pattern, a lovely design that will show up even in the smallest garments.
It’s an adorable four-row repeat pattern, two of which are plain purl rows.
In fact, one of the things that I like the most about the Drizzle stitch is that despite having slip stitches, the fabric does not tighten or shrink, as sometimes happens.
Probably, it’s because of those alternating purl rows; they make the fabric “rest and relax”, let’s say.
Furthermore, it doesn’t curl!
Nevertheless, I’d prefer to add edges, especially when knitting a scarf, blanket, or cowl.
Of course, it will also work for sweaters, cardigans, or vests… imagine a hat! Such a pretty stitch 🙂
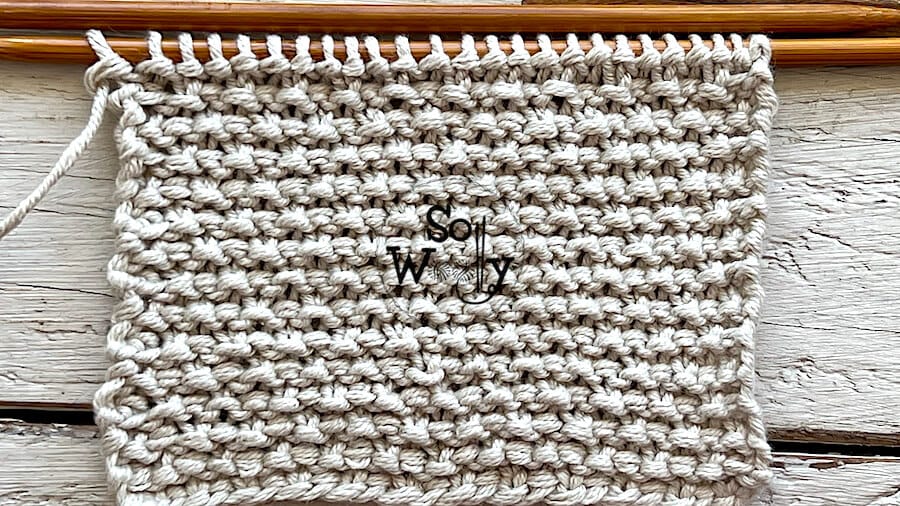
Although it’s not reversible, the wrong side looks interesting to me too… What else can we ask for?
Finally, I know that slipping stitches could be confusing sometimes, so I’ve decided to show you how to do it in both, English and Continental methods 😉
So, grab your needles, a little bit of wool, and let’s get started!
This swatch was made using 100% cotton yarn, super soft and shiny #ad
With my bamboo DPN’s (great for swatches and small projects) #ad
Abbreviations
CO: Cast on
st: Stitch
RS: Right side of the work
K: Knit
P: Purl
sl1pw: Slip one stitch purlwise (as if to purl)
wyib: With yarn in back
wyif: With yarn in front
yif: yarn in front
BO: Bind off
WS: Wrong side of the work
How to knit the Drizzle stitch pattern
CO an odd number of stitches.
This number will include the selvage stitches (the first and the last, that will be knitted on each row).
1º row (RS): K1, *P1, wyib sl1pw, yif*. Repeat from * to * to last 2 st, P1, K1
2º y 4º rows: P across
3º row: K1, *wyib sl1pw, yif, P1 *. Repeat from * to * to last 2 st, wyib sl1pw, K1.
These four rows create the pattern. Repeat them until the desired length is reached.
When finished, BO purlwise after a row 3 (WS).
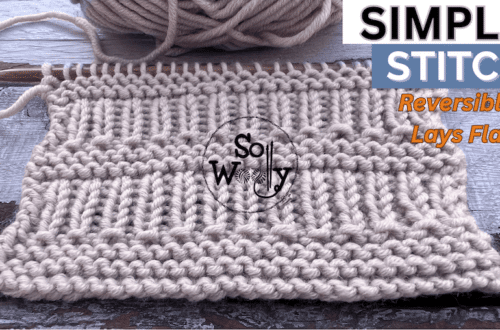
This is the other side of the work:
Enjoy the video tutorial:
Drizzle stitch knitting pattern
I hope you like it!
Hugs, and happy knitting
xoxo
Carolina – So Woolly
PS: Are you a fan of tiny patterns? Then, you’ll love this one!
“As an Amazon Associate, I earn from qualifying purchases.”