How to knit the Chestnut stitch (4 rows only!)
In this post, I’m sharing how to knit the Chestnut stitch, similar to the Hazelnut stitch which we practiced a while ago.
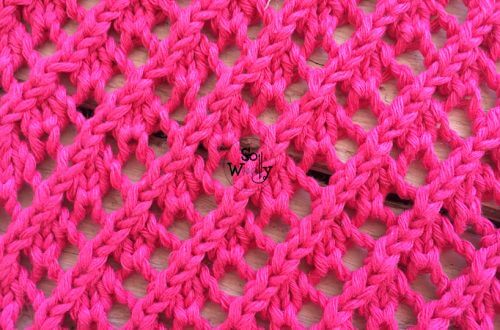
Although it doesn’t create too much volume, it has a pretty texture to it, featuring little eyelets.
It’s a four-row repeat pattern, easy to do, and fun to knit.
In fact, the only techniques required are knit, purl, yarn over, slip one stitch, and pass the stitch over.
The Chestnut stitch pattern is a great option for a wide range of projects: From shawls and throws, to cardigans or sweaters.
Nevertheless, if your choice is to knit a scarf, a wrap, or any other garment that should stay flat, don’t forget to add a nice edge on each side of the piece, because the sides tend to bend.
Finally, I’d suggest to block your work once it’s finished.
Why?
Well, because the blocking process is super easy, and the result is incredible!
Not only you’ll end up with a nice flat piece that doesn’t curl, but you’ll get crispy stitches and a better definition of the pattern.
In summary, a professional look 😉
Without further ado, grab your needles and some yarn, and let’s get started!
Abbreviations
CO: Cast on
st: Stitch
RS: Right side
K: Knit
P: Purl
yo: Yarn over
sl1kw: Slip one stitch knitwise (pass one stitch onto the left-hand needle as if to knit)
passo: Pass the slipped stitch over the last two stitches
WS: Wrong side
BO: Bind off
N.B.:
There is a setup row or row “0” which will be made once (it won’t be repeated again).
The odd rows form the right side of the work.
The edge (selvage) stitches will be knitted on each odd row and purled on each even row.
Always slip the stitches knitwise (as if to knit).
Please note that the number of stitches will decrease after rows 1 and 3 (you’ll end up with 1 stitch less per repeat), but they will get to the original amount after rows 2 and 4.
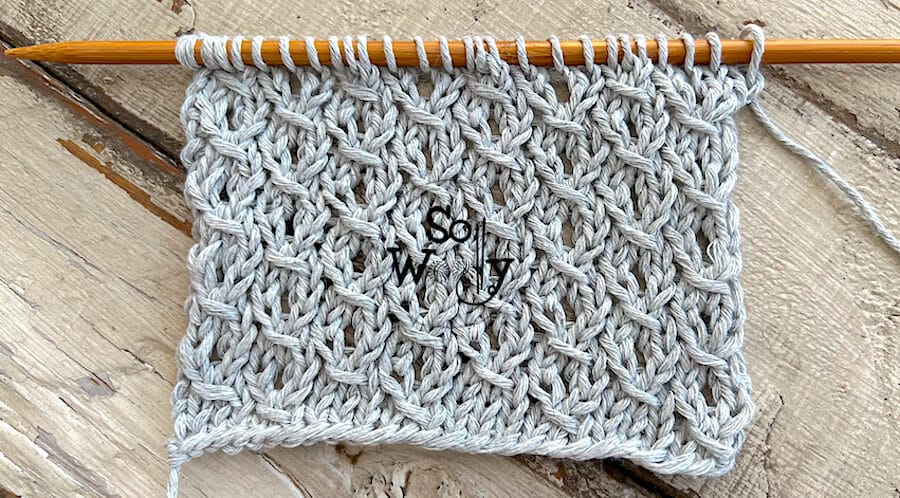
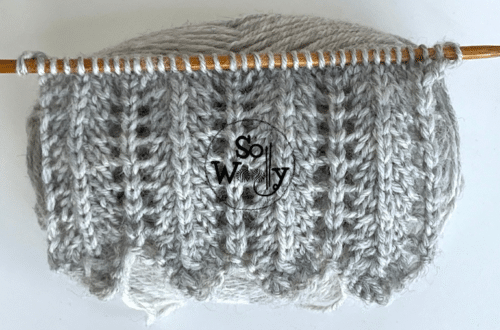
With my US 8 / 5 mm double-pointed bamboo needles #ad
How to knit the Chestnut stitch pattern
CO multiples of 6 + 2 (edge) st.; i.e.: 6 * 3 = 18 + 2 = 20 st
Setup row: P across
Row 1 (RS): K1 (edge), *sl1kw, K2, passo, K3*. Repeat from * to *, to last st, K1 (edge)
Row 2: P1 (edge), *P4, yo, P1*. Repeat from * to *, to last st, P1 (edge)
Row 3: K1 (edge), *K3, sl1kw, K2, passo*. Repeat from * to *, to last st, K1 (edge)
Row 4: P1 (edge), *P1, yo, P4*. Repeat from * to *, to last st, P1 (edge).
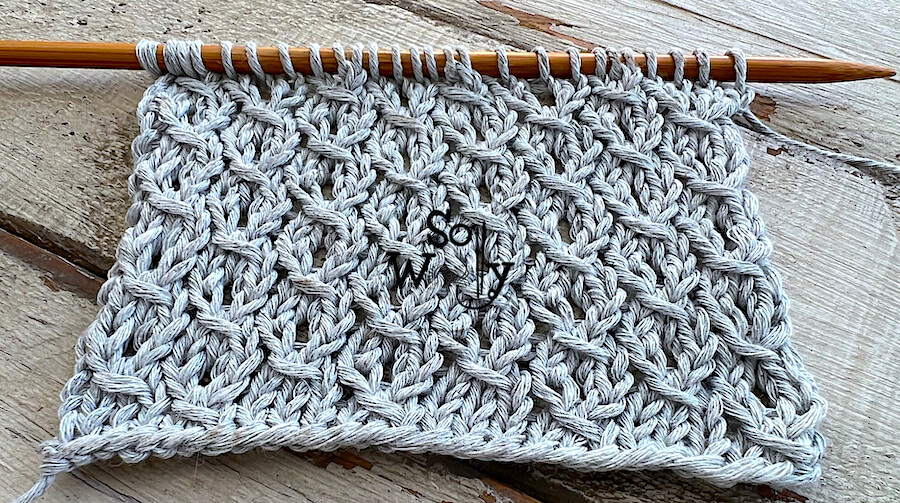
These last four rows create the pattern. Repeat them until the desired length is reached.
When finished, BO knitwise, after row 4 (RS).
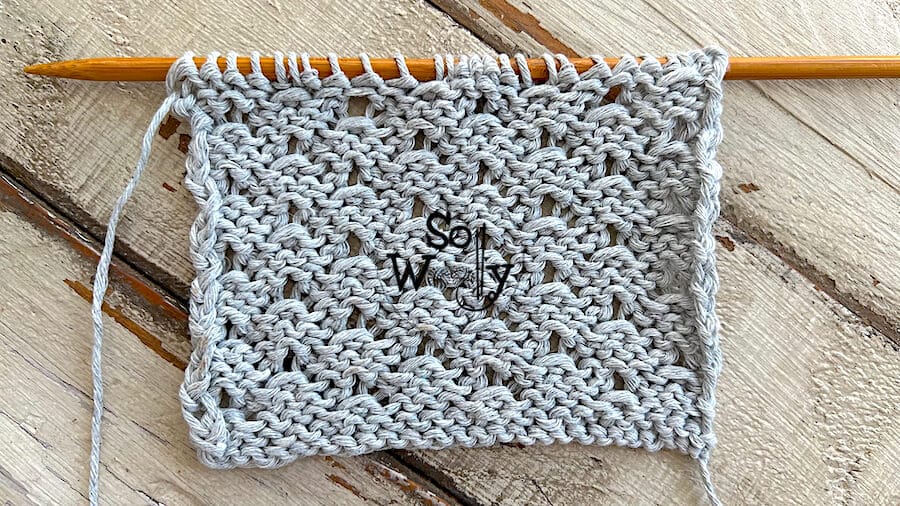
This is the other side of the work:
Enjoy the step-by-step video tutorial:
How to knit the Chestnut stitch
Thank you for watching 🙂
Hugs, and happy knitting,
Carolina – So Woolly
“As an Amazon Associate, I earn from qualifying purchases”.