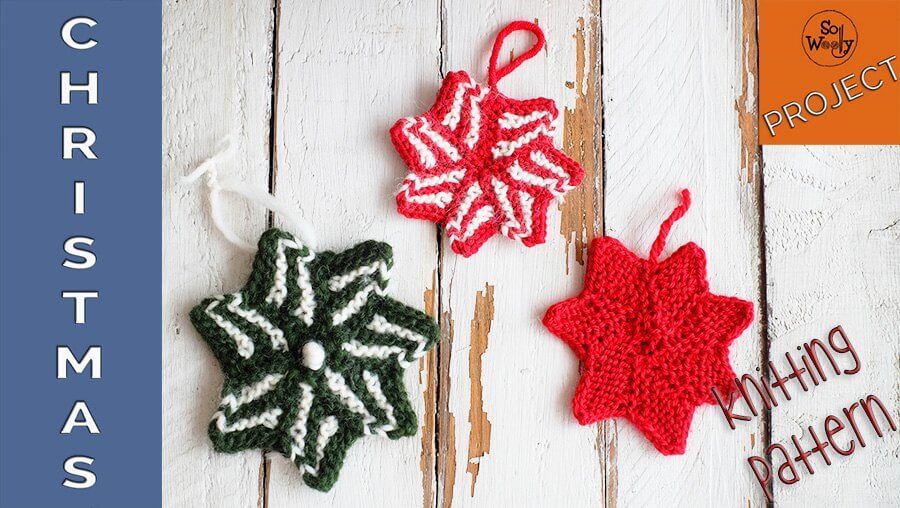
How to knit a twinkle twinkle Christmas Star
Continuing with our Christmas knitting patterns, today it’s time for an adorable little star. Easy, fun and quick to knit, if you like to knit, yule love this pattern!
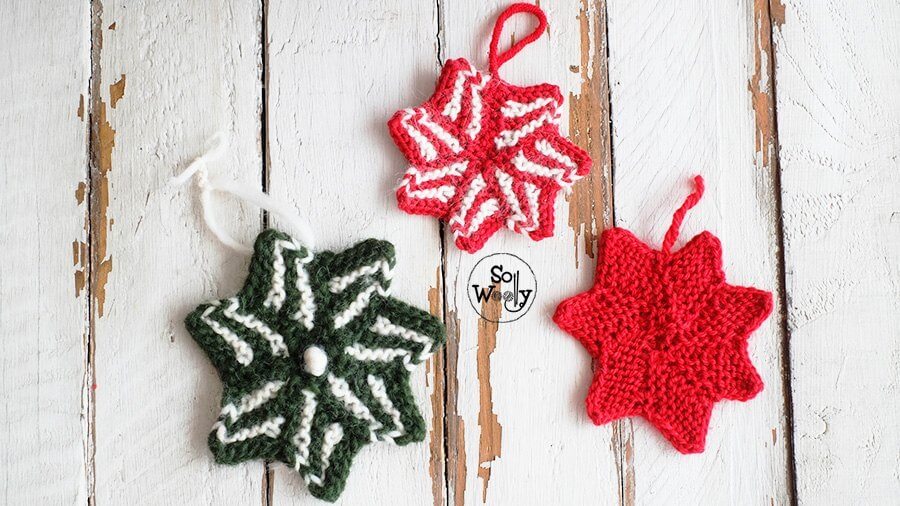
This is a seven-point star, and you can knit it in one or more colors, there are no rules. Neither is it necessary to follow a specific gauge, use what you have at home (just keep in mind that the thicker the yarn, and the bigger the needles, the larger your star will be).
Besides, the Christmas star is the perfect project for decorating your tree or to give away, while making use of your stash (as well as the Christmas Tree knitting pattern).
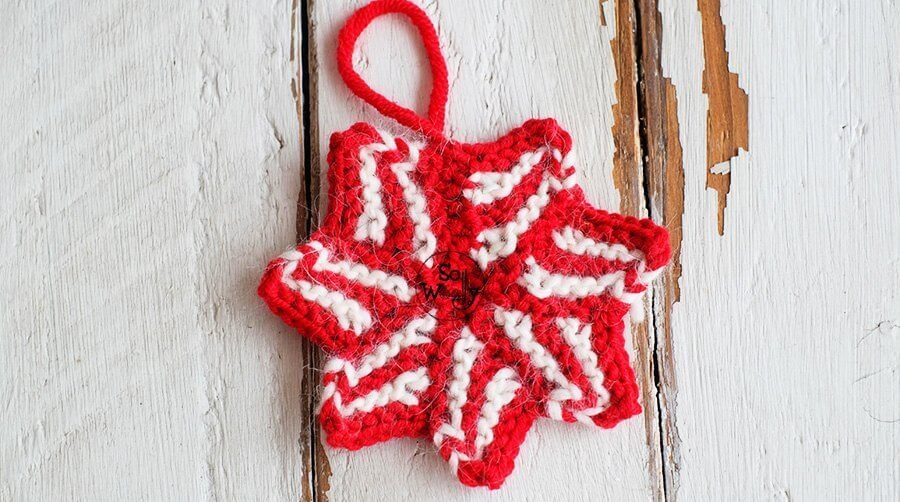
To form the seven points of the star, we’ll be knitting seven elements or parallelograms. As the first one is finished, we bind off and pick up stitches for the following one.
One more thing: Always cast on an odd number of stitches and complete 2 stripes less than the number of stitches you started with. For example: If you cast on 13 stitches, each element will have 9 stripes.
Let’s get started!
Abbreviations
st: Stitch
k: Knit
p: Purl
CA: color A (red)
CB: color B (white)
k2tog: Knit two stitches together
kfb: Knit one stitch front and back
yfwd: Yarn forward (bring the yarn in front of the work)
s1: Slip 1 stitch as if to purl
Materials
8 gr of worsted weight wool or nº 4 (or cotton yarn, whatever you have at home). 5 gr red and 3 gr white
2 x 4 mm / US 8 knitting needles #ad
Measurement of the finished star
10 x 10 cm / 4 x 4 in
How to knit a Christmas Star
N.B.:
All the elements have 5 color stripes (always finishing with the same color we started).
Every color stripe includes two rows. The color change happens after knitting two rows in the same color.
The stitch count keeps the same: After knitting every row, before binding off the element, and after picking up the stitches for the next element, we will always have the same number of stitches.
CO an odd number of stitches with CA (for the video demonstration, I cast on 7 st).
Set up rows:
row 0: K across
row 01: Kfb, k to last 2 st, k2tog. This is the first stripe of the star.
Rows that will be repeated from now on:
row 1: With CB, Kfb, k to last 2 st, k2tog.
row 2: P1, K to last st, yfwd, s1. This is the second stripe.
Repeat rows 1 y 2 alternating CA and CB, until 5 stripes are completed. The last stripe is in CA.
To finish the first element, BO knitwise after the 5th stripe, using CA. Keep the last st on the right-hand needle. Cut CB leaving a 2 in / 5 cm tail. The first element or parallelogram has been finished.
With CA, pick up 6 st of the left side of the element. There are 7 st.
*Next row: K across (row 0).
Next row: With CA, repeat rows 1 and 2, alternating CB and CA, until 5 stripes are completed. Close this second element, and pick up 6 st to start the 3º element.
Repeat the process from *, until 7 elements are completed.
Join the first and seventh elements, weave in the ends, and make a hanging loop. And enjoy your Christmas star!
You can watch the video here:
I hope you knit a lot of them this Christmas!
Hugs and happy knitting,
xo
Carolina – So Woolly
As an Amazon Associate I earn from qualifying purchases