How to knit a One-row stitch pattern for Scarves
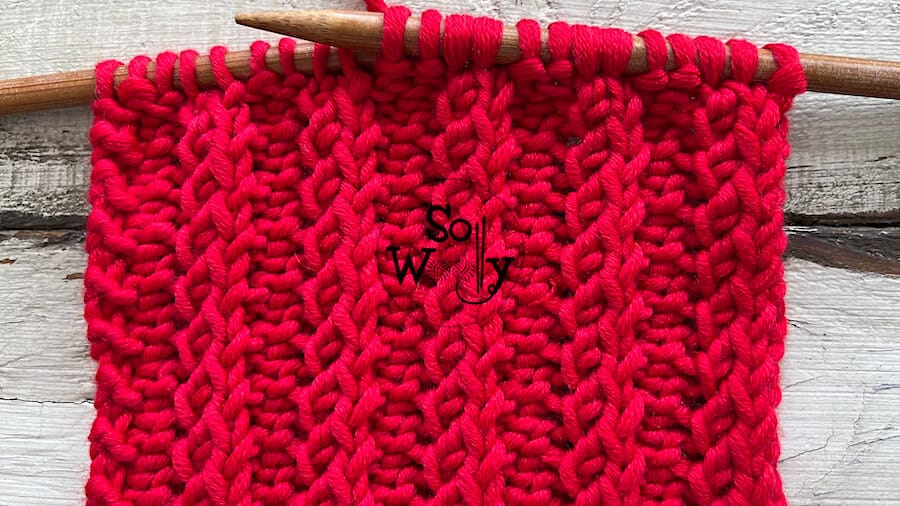
Today, I’m sharing how to knit a spectacular one-row knitting pattern!
It’s fun to knit and pretty easy to memorize 😉
In fact, it involves three steps that are repeated from the beginning to the end of the project, that is, you only have to repeat row 1 all the time.
Yay!
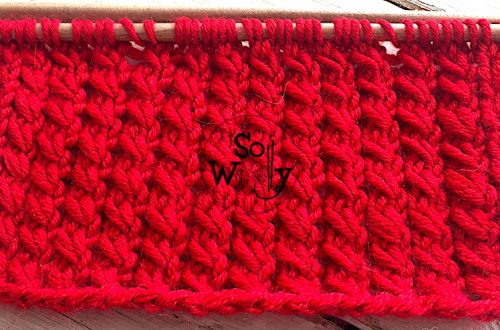
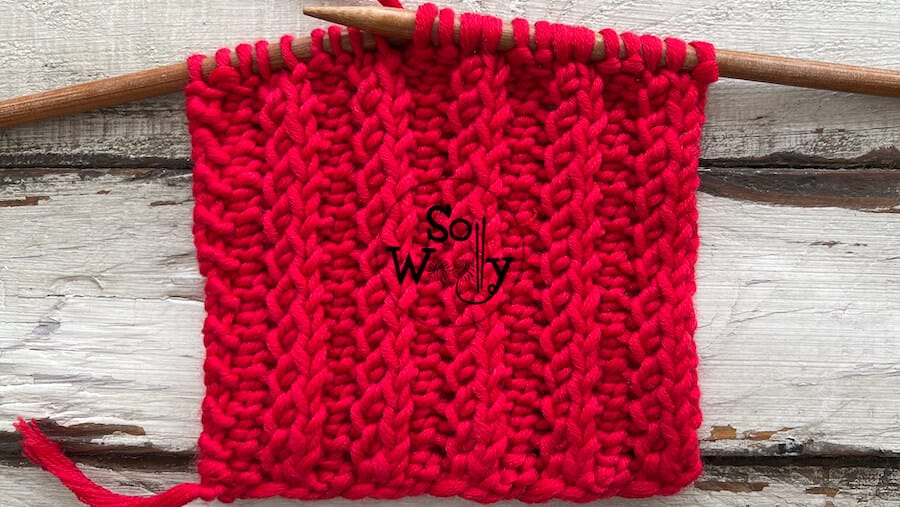
In addition, it’s identical on both sides of the fabric, which makes it perfect for knitting scarves and infinity cowls.
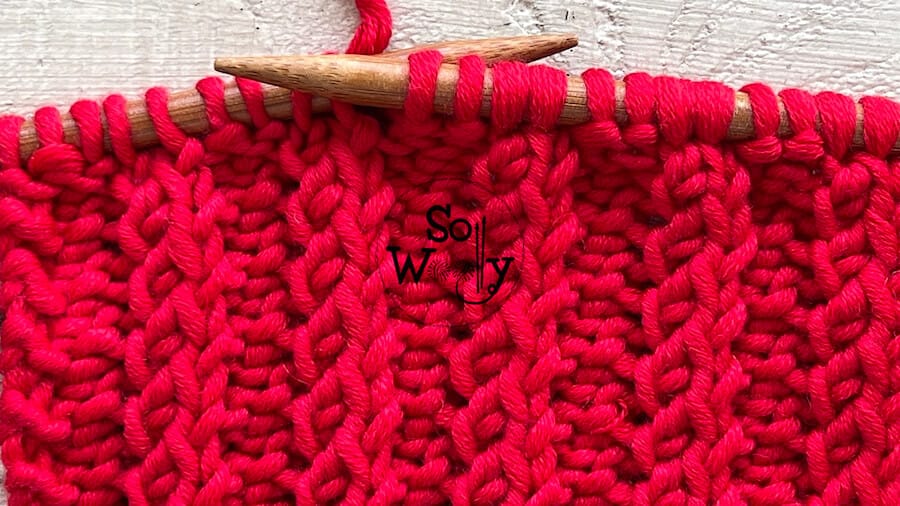
This one-row knitting pattern has a gorgeous texture to it, which is achieved with these two techniques:
A left-leaning increase, and a left-leaning decrease, both of them already been implemented in other tutorials.
Honestly, it’s precisely this combination that forms that unique look 😉
So, no more chatting…
Grab your needles and some yarn, and let’s get busy!
Abbreviations
CO: Cast on
st: Stitch
P: Purl
K: Knit
ssk: Slip one stitch as if to knit, slip the next, put them back onto the left-hand needle, and knit them together
m1L: Make one left-leaning increase. Pick up the bar between the stitch you knit and the one you’re about to knit, bringing the needle from front to back. Then knit into the back of the stitch.
BO: Bind off
N.B.:
1) The first and the last stitches are selvege stitches and will be knitted on each row.
2) We’ll start working on a setup row (it will be knitted once, and won’t be repeated again).
How to knit a One-row stitch pattern
CO multiples of 4 + 2; i.e.: 4 * 4 = 16 + 2 = 18 stitches.
Setup row: K1, *K2, P2*. Repeat from * to *, to last st, K1.
1º and every row: K1, *ssk, m1L, P2*. Repeat from * to *, to last st, K1
This only row creates the pattern. Repeat it until the desired length is reached.
When finished BO working each as it presents.
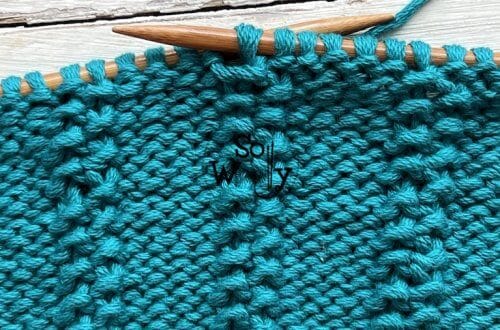
This is the other side of the work:
Enjoy the video tutorial:
How to knit a One-row pattern (reversible and it doesn’t curl)
Thank you for watching, and don’t forget to share the love 😉
Hugs, and happy knitting 🙂
xoxo
Carolina – So Woolly
“As an Amazon Associate, I earn from qualifying purchases.”


