How to knit a Fancy Honeycomb Brioche stitch (a 3D pattern)
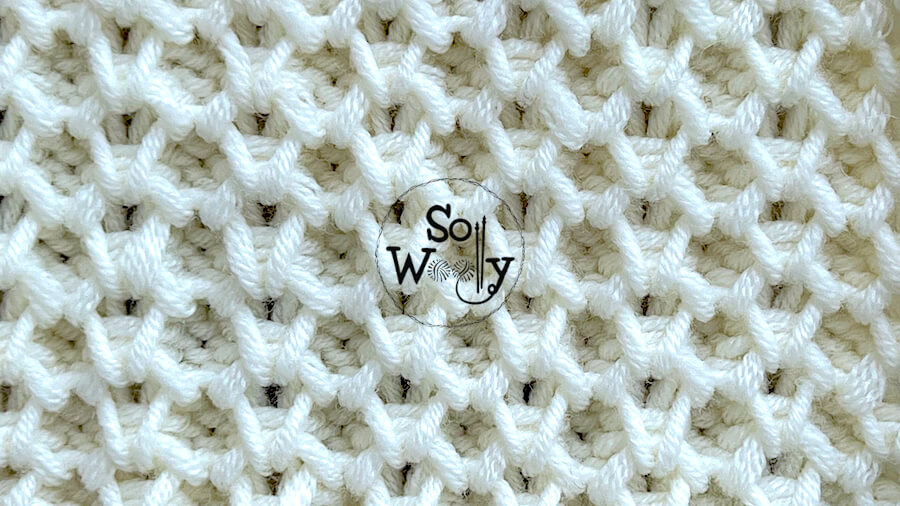
In this post, I’m sharing how to knit a Fancy Honeycomb Brioche stitch 🙂
Without a doubt, this is one of those luxury patterns, that features texture and volume (such as the 3D Honeycomb stitch we practiced a while ago).
In addition, this variant of the Honeycomb Brioche is a pattern that will work for a wide range of projects, using different sorts of fibers: From cotton yarn to linen or bamboo, wool yarn, etc.
However, if you decide to knit a garment that should stay flat, add a nice edge on each side of the piece.
Ok, grab your needles, and some yarn, and let’s knit something amazing!
Abbreviations
CO: Cast on
st: Stitch
RS: Right side
K: Knit
P: Purl
wyif: With yarn in front
sl1pw: Slip one stitch purlwise
sl2pw: Slip two stitches purlwise
sl3pw: Slip three stitches purlwise (pass three stitches, one by one, onto the right-hand needle as if to purl)
yo: Yarn over
p2tog: Purl two stitches together
k4tog: Knit four stitches together
WS: Wrong side
BO: Bind off
N.B.:
The even rows form the right side of the work.
There is a setup row or “row 0”. After working on it once, it won’t be repeated again.
There is a special row to be worked just before the BO row. This row will balance the number of stitches (please note that throughout the pattern the number of stitches will increase. We need this row before binding off in order to have the same stitch count as we started).
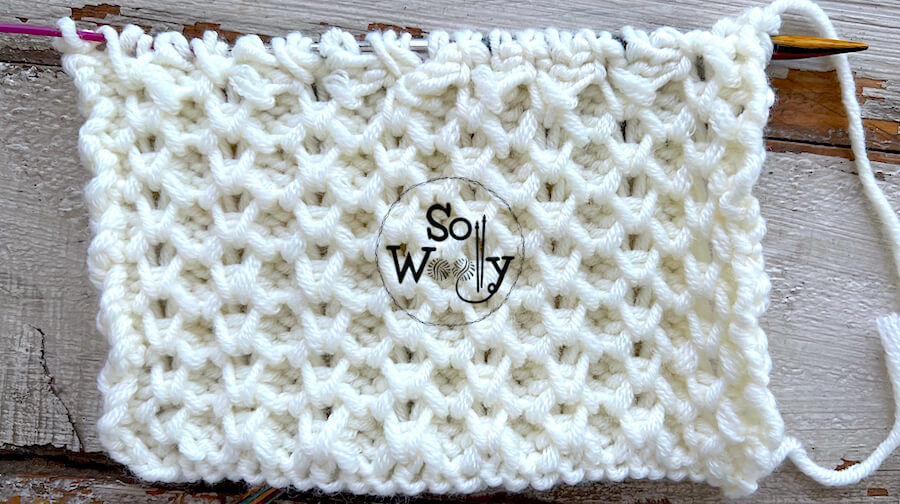
With my favorite wooden needles (pointy, smooth, and interchangeable) size 5 mm / US 8 #ad
How to Knit a Fancy Honeycomb Brioche Stitch
CO multiples of 3 + 2; i.e.: 3 * 4 = 12 + 2 = 14 stitches
Setup row: P2, *wyif sl1pw, yo, P2*. Repeat from * to *, to end
Row 1 (WS): K2, *wyif sl2pw, yo, K2*. Repeat from * to *, to end
Row 2 : P2, *wyif sl3pw, P2*. Repeat from * to *, to end
Row 3: K1, wyif sl1pw, *k4tog, yo, sl1pw, yo, sl1pw*. Repeat from * to *, ending with k4tog, yo, sl1pw, K1
Row 4: P1, p2tog, *wyif sl1pw, yo, p2tog, p2tog.* Repeat from * to *, ending with wyif sl1pw, yo, p2tog, P1.
These last four rows create the pattern. Repeat them until the desired length is reached, ending with row 3.
Next row (before BO): *k4tog, K1*. Repeat from * to *, to last st, K1.
Next row (RS): BO purlwise.
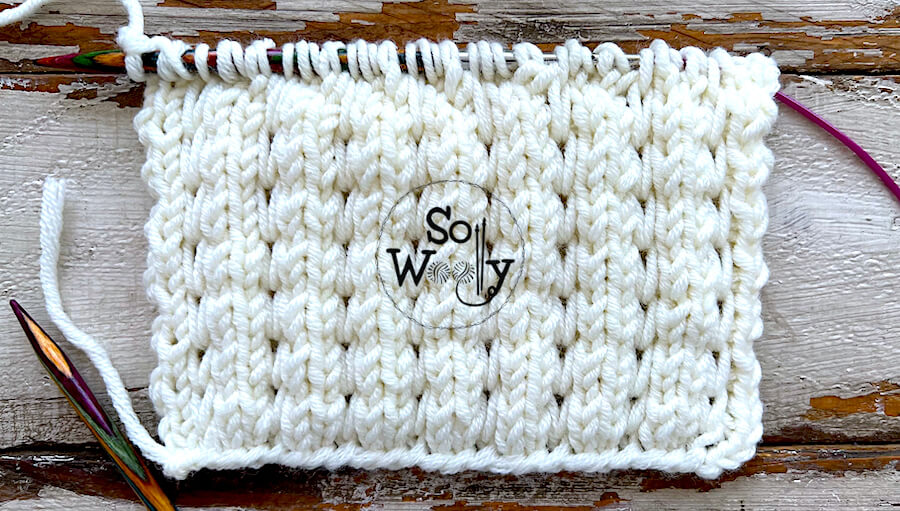
This is the other side of the work:
Enjoy the video tutorial:
How to Knit a Fancy Honeycomb Brioche Stitch
I hope you like it!
Hugs, and happy knitting 🙂
Carolina – So Woolly
“As an Amazon Associate, I earn from qualifying purchases.”


