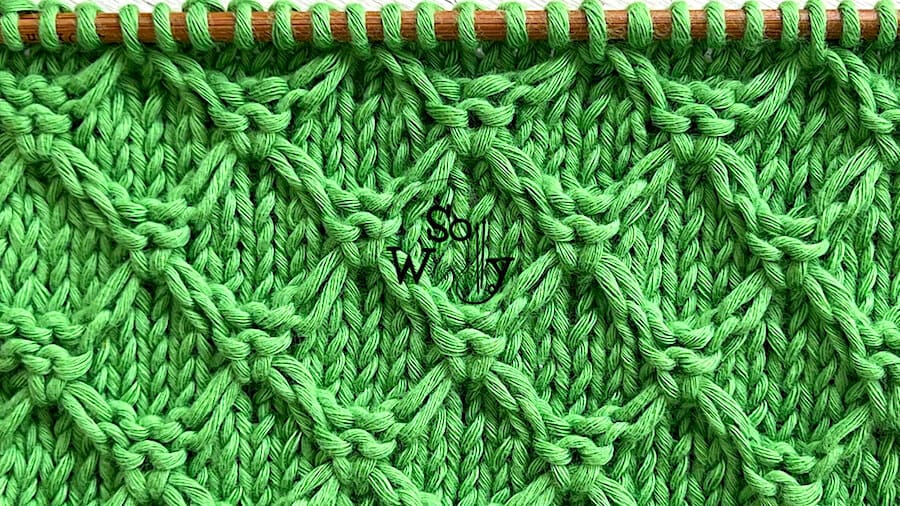
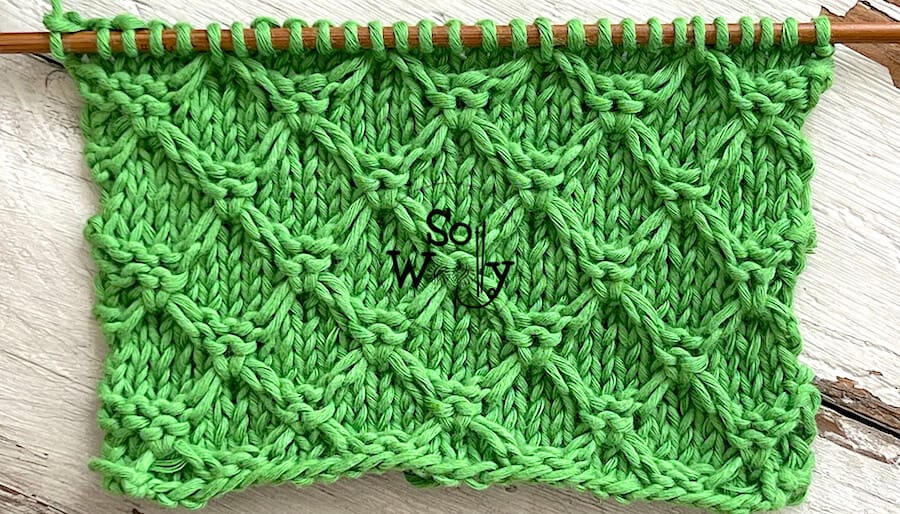
How to knit the 3D Honeycomb stitch
The 3D Honeycomb knit stitch is a unique pattern…
Honestly, when I found it, it was love at first sight (between you and me)!
To me, it’s one of the most adorable textures there is in the knitting world 🙂
I know we have practiced other similar patterns in the past, such as the Scrunchy stitch,
the Mermaid stitch,
or even the Diagonal Flakes stitch.
However, the 3D Honeycomb is all this multiplied by 10!
Although it looks pretty complicated, it’s not.
Why?
Firstly, there are many “resting rows”, as I like to call them; half of the pattern consists in plain purl or knit rows.
Secondly, there are four rows that can be knitted quickly, because of the slipped stitches.
Thirdly, there are only two rows where “the real action” takes place; luckily, the steps are just simple.
Finally, it’s a pattern that will work for a wide range of projects, from hats to blankets, but if you decide to knit a garment that should stay flat, add a nice edge on each side of the piece.
Enough chatting!
Grab your needles, and some yarn, and let’s knit something pretty…
This swatch was made out of a blend of cotton and polyester (smooth and light) #ad
Abbreviations
CO: Cast on
st: Stitch
RS: Right side
K: Knit
P: Purl
wyib: With yarn in back
sl3pw: Slip three stitches purlwise (pass three stitches, one by one, onto the right-hand needle as if to knit)
wyif: With yarn in front
K1w2s: Knit one stitch with two strands (place the right-hand needle behind the 2 strands from previous rows, knit the next stitch from the left-hand needle, and pull the yarn through the 2
strands).
WS: Wrong side
BO: Bind off
N.B.:
The even rows form the right side of the work
There are no edge or selvage stitches included, if you like to have them, add two stitches to the stitch count.
3D Honeycomb knitting stitch pattern
CO multiples of 6 + 5; i.e.: 6 * 2 = 12 + 5 = 17 stitches
Row 1 (WS): K1, *wyib sl3pw, K3*. Repeat from * to *, to last 4 st, end with wyib sl3pw, K1
Row 2 : P1, *wyif sl3pw, P3*. Repeat from * to *, to last 4 st, end with *wyif sl3pw, P1*
Rows 3, 5, 9, and 11: P across
Rows 4 and 10: K across
Row 6: K2, *K1w2s, K5*. Repeat from * to *, to last 3 st, end with K1w2s, K2
Row 7: K4, *wyib sl3pw, K3*. Repeat from * to *, to last st, end with K1
Row 8: P4, *wyif sl3pw, P3*. Repeat from * to *, to last st, end with P1
Row 12: K5, *K1w2s, K5*. Repeat from * to *, to end.
These twelve rows create the pattern. Repeat them until the desired length is reached.
When finished, BO purlwise after row 2 (WS).
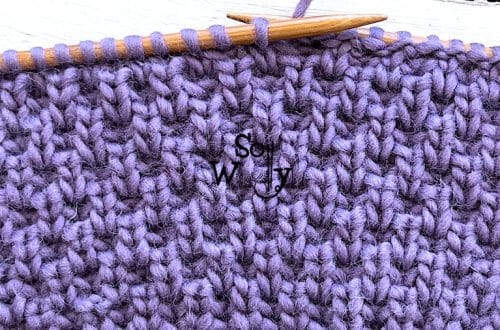
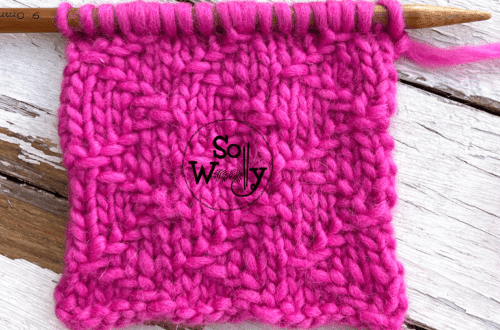
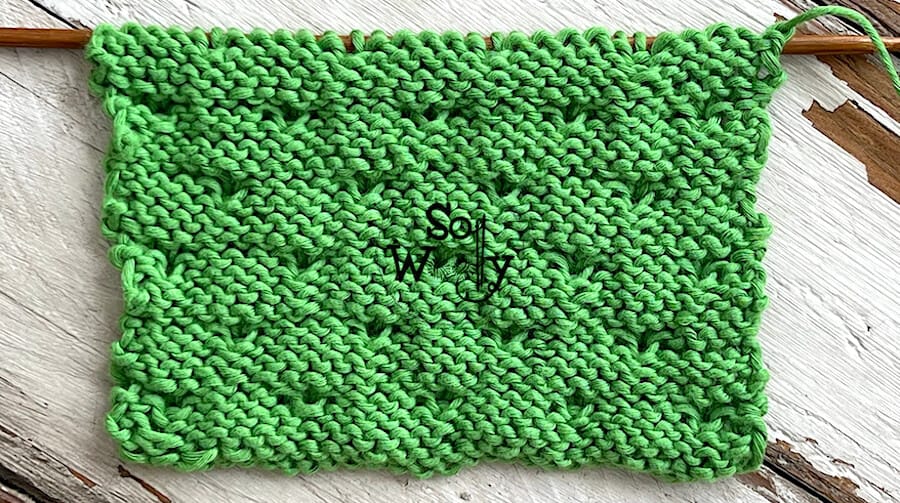
This is the other side of the work:
Now, it’s time to watch the step-by-step video tutorial:
How to knit the 3D Honeycomb stitch
Enjoy!
Hugs, and happy knitting 🙂
Carolina – So Woolly
“As an Amazon Associate, I earn from qualifying purchases.”