Afraid of Knitting Cables? Try This Beautiful Stitch
If you love the look of classic cables but feel a little intimidated by the technique, this stitch is going to be a game-changer.
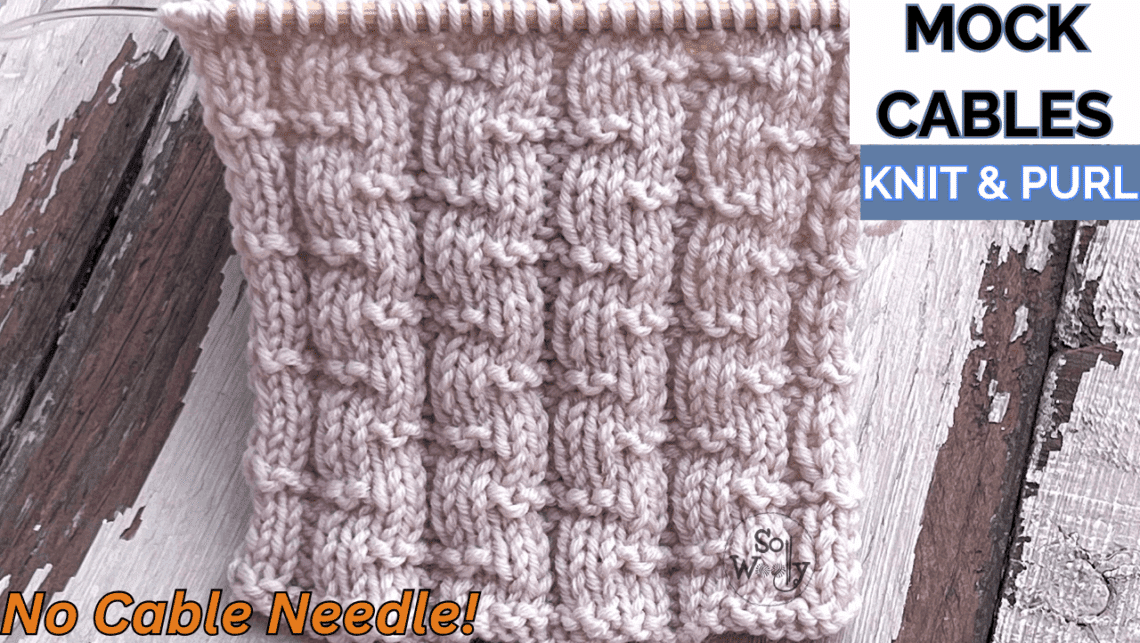
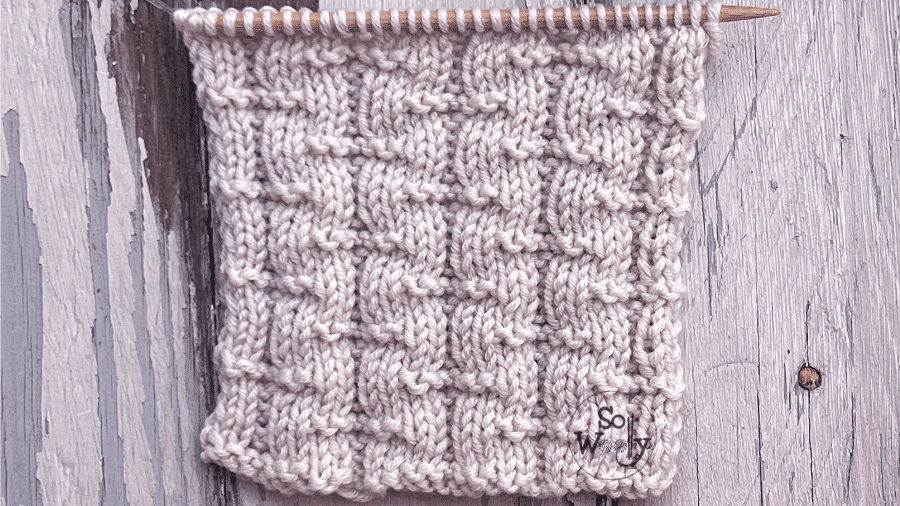
Today I’m sharing a mock cables pattern that gives you that beautiful, rope-like texture without using a cable needle — and without any of the twisting and crossing steps that real cables require.
Moreover, this stitch is created with simple knit and purl combinations only, and the result has a gorgeous 3D effect, it’s super stretchy, and lays flat.
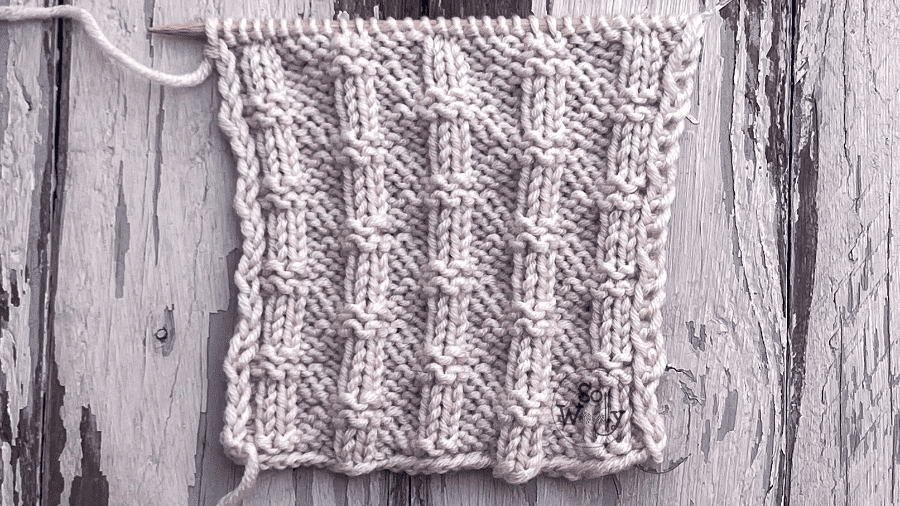
Both sides look different (and equally pretty), which makes this mock cables ideal for scarves, blankets, cowls, sweaters, and any project where you want texture without the stress.
Without further ado, grab your needles and some yarn, and let’s get started!
What Makes This Mock Cables Stitch So Special
- Looks like real cables
- No cable needle needed
- Only knits and purls
- Stretchy and cozy
- Doesn’t curl
- Reversible (both sides look lovely)
Materials: Yarn & Needles I Used For This Swatch
US 4 (3.5 mm) circular bamboo needles (nylon cable, light, and pretty smooth join) #ad
Abbreviations
CO: cast on
st (s) = stitch (es)
RS: right side of the work
wyif: with yarn in front
sl1pw: slip one stitch purlwise (pass one stitch onto the right-hand needle as if to purl)
K: knit
P: purl
WS: wrong side
BO: Bind off
Pattern Notes
- The odd rows form the RS.
- For neat edges, always slip the first st as if to purl and knit the last on every row.
Mock Cables Stitch: Multiples Needed
CO multiples of 10 + 2 (edge sts). For example: 10 * 3 = 30 + 2 = 32 sts.
How to Knit This Mock Cables Stitch (Step-by-Step)
Row-by-Row Instructions
Row 1 (RS): wyif sl1pw, *P6, K2, P2, K2*. Repeat from * to *, to last 7 sts, P6, K1 (edge)
Rows 2 and 8: wyif sl1pw, P6, *P2, K2, P8*. Repeat from * to *, to last st, K1 (edge)
Row 3 and 7: wyif sl1pw, *K2, P2, K4, P2, K2*. Repeat from * to *, to last 7 sts, K2, P2, K2, K1 (edge)
Rows 4 and 6: wyif sl1pw, P2, K2, P2, *P8, K2, P2*. Repeat from * to *, to last st, K1 (edge)
Row 5: wyif sl1pw, *K2, P2, K2, P6*. Repeat from * to *, to last 7 sts, K2, P2, K2, K1 (edge)
These eight rows create the pattern. Repeat them until the desired length is reached.
When finished, BO after row 7 (WS), working each st as it presents.
Video Tutorial: Afraid of Knitting Cables? Try this Beautiful Stitch
Tips for a Perfect Mock Cables Texture
👉 Choose Yarn With Good Stitch Definition
Avoid fuzzy-furry yarns.
👉 Pay Attention to Your Tension
For better results, always give the working yarn a little tug after purling 😉
👉 Block Gently Only if Needed
This stitch doesn’t curl — blocking is mostly optional.
How to Use This Mock Cables Knitting Pattern
🧶 Perfect Projects
- Scarves
- Cowls (horizontal or vertical)
- Baby blankets
- Sweater panels (or just the sleeves)
- Borders and edges
Why It’s Great For Beginners
- Only knits and purls
- Easy rhythm
- Looks advanced without effort
✨ Mock Cables Stitch FAQs
Is it reversible?
Yes — both sides look pretty.
Does it curl?
No, the fabric lies flat.
Good for beginners?
Absolutely! No cable needle required.
📌 Other Mock Cables & Textured Knit Patterns You’ll Love
If you enjoyed this mock cable stitch, here are a few more textured knitting patterns using knit and purl combinations — no intimidating cable needles required:
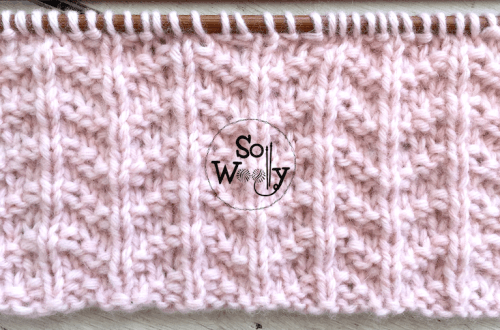
Mock Cable Ribbing Stitch – A wonderfully textured mock cable ribbing pattern with a two-row repeat (both back-and-forth and in the round).
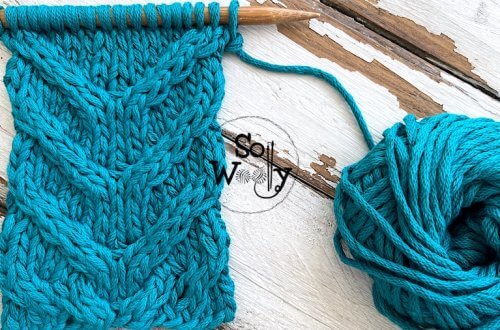
Easy Mock Cables Stitch Pattern – A lovely mock cable texture with knit-and-purl only instructions, great for scarves, blankets, and more.
Before you Leave: If you’d like more easy, reversible stitches, stress-free patterns, and freebies, subscribe to my list below ⤵️
You’ll get new tutorials, tips, and tools in your inbox to inspire your knitting journey!
A big hug, and happy knitting,
Carolina – So Woolly