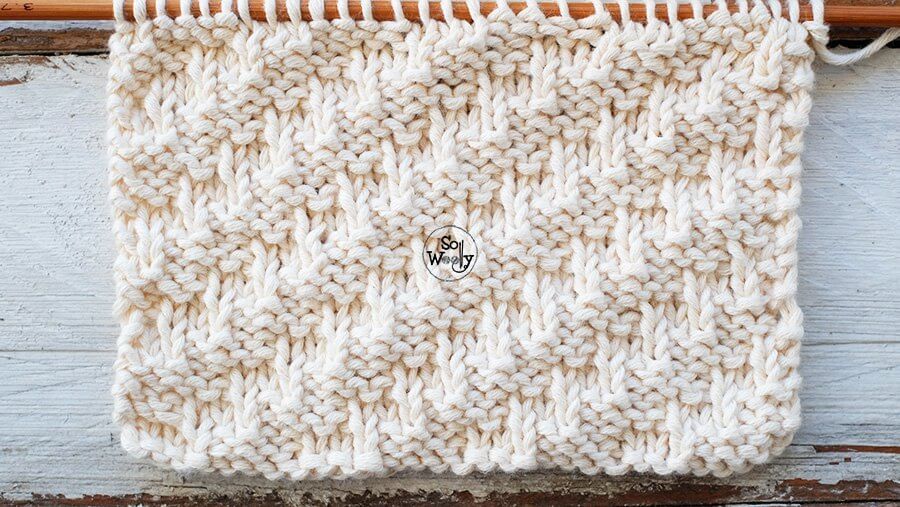
A textured knitting stitch for beginners: Diagonal to the right – For scarves, cowls, blankets
In this tutorial you’ll learn how to knit a diagonal stitch pattern, reversible, perfect to knit an extensive range of garments: Blankies, scarves, cowls, sweaters, bags, cushions… you name it!
The Diagonal Stitch to the Right creates a textured fabric that doesn’t roll up. It’s easy and fun to knit; a great pattern for beginners. Similar to the “Little Boxes“, a stitch we learned some time ago…
Abbreviations
CO: Cast on
st: Stitch
K: Knit
P: Purl
WS: Wrong side
RS: Right side
BO: Bind off

Diagonal Stitch to the Right
CO multiples of 7 + 2 stitches (edge stitches); i.e.: 7*4 = 28 + 2 = 30 stitches.
1º Row (RS): K1 (edge), *P4, K3*. Repeat from * to *, ending with K1 (edge).
2º and every even row (WS): Work each stitch in the manner that it presents.
3º Row: K1 (edge), *P2, K3, P2*. Repeat from * to *, ending with K1 (edge).
5º Row: K1 (edge), *K3, P4*. Repeat from * to *, ending with K1 (edge).
7º Row: K1 (edge), *K1, P4, K2*. Repeat from * to *, ending with K1 (edge).
9º Row: K1 (edge), *P3, K3, P1*. Repeat from * to *, ending with K1 (edge).
11º Row: K1 (edge), *P1, K3, P3*. Repeat from * to *, ending with K1 (edge).
13º Row: K1 (edge), *K2, P4, K1*. Repeat from * to *, ending with K1 (edge).
14º Row: as 2º row.
And that’s it! Easy-peasy! Repeat these 14 rows until the desired length is reached. BO in pattern after a 14th row.
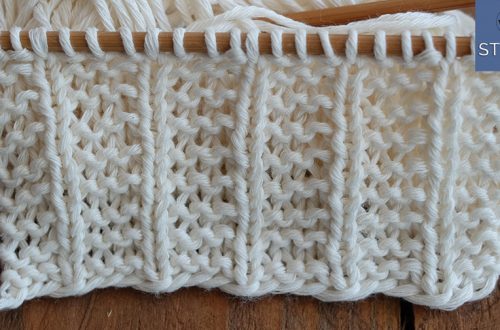
This is how the wrong side of the work appears:

Enjoy the video tutorial:
Diagonal to the Right knitting stitch pattern
One more thing before I say goodbye…
If you want to knit a scarf using this stitch, and don’t know how many stitches to cast on, try the following steps:
- Knit a swatch (not less than 10 x 10 cm / 4 x 4 in.)
- See how many stitches are in 10 cm, and decide the width of your scarf. Let’s say 30 cm wide and 140 cm long.
- Multiply the number of stitches that you have in 10 cm by 3, and then you know how many st to cast on 😉
- To know how much yarn is needed, weigh your swatch. Since it measures 10 cm x 10 cm, multiply the weight by 3, so the width is covered. Now multiply this number by 13, to include the length. The final number will be the total of gr / oz needed. Good luck!
Happy knitting!
xxx
So Woolly – Carolina
PS: Looking for more dense knitting stitches? No worries, take a look of this list!


