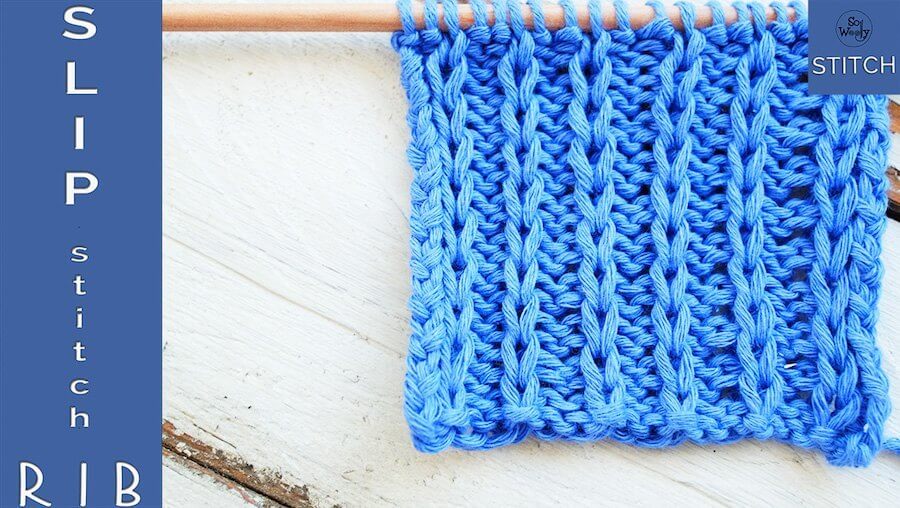
How to Knit the Slip Stitch Rib + Video
An elegant variant of the well known Rib stitch, the Slip Stitch Rib is perfect for scarves, cowls, bags, blankets, and many other projects.
Also, it looks pretty on both sides, so it’s a reversible knitting pattern.
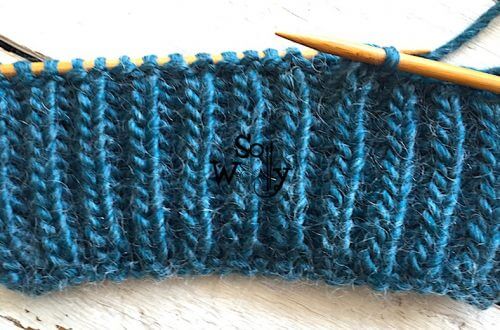
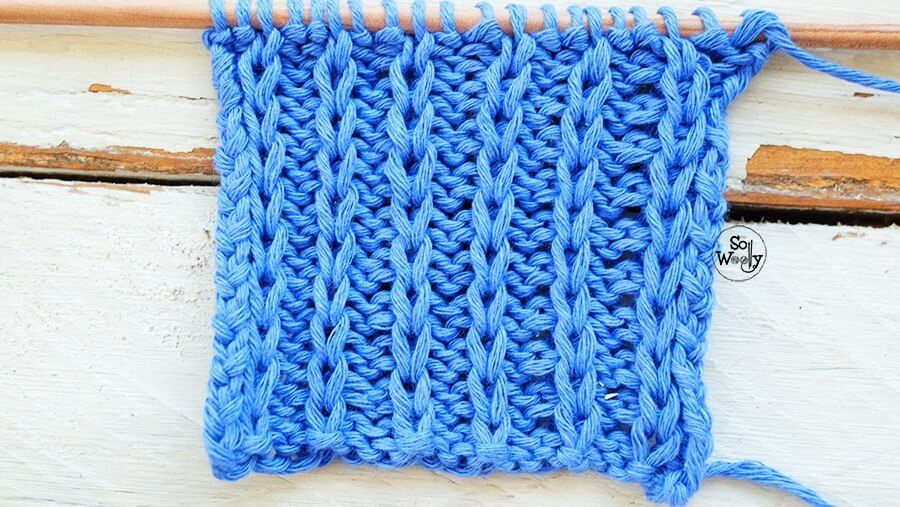
What I like the most are the embossed vertical stripes, which give a slim look to the silhouette, in case you are thinking about knitting a pullover, sweater or tank top…
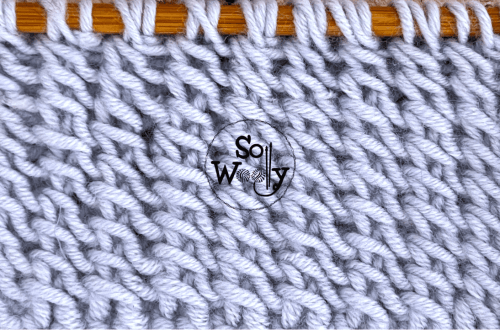
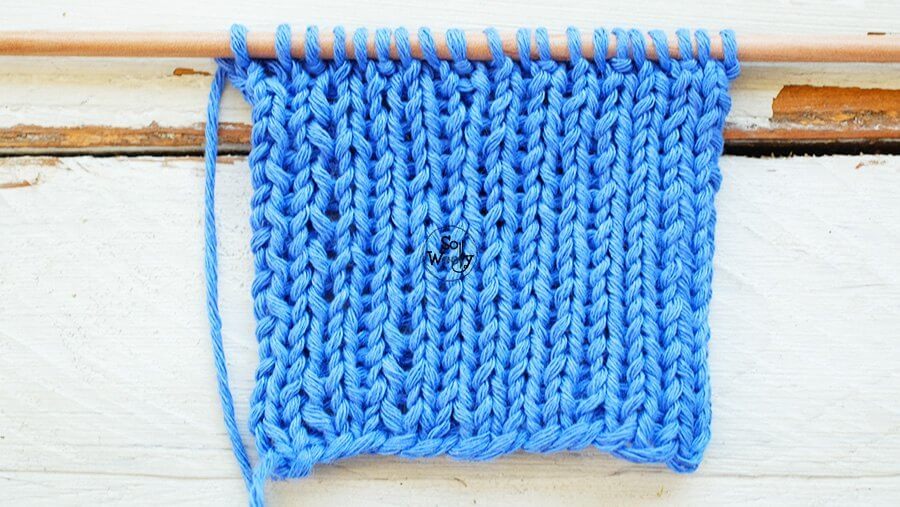
And the so called wrong-side looks similar to the classic 1×1 Rib stitch.
Moreover, it’s pretty easy to knit: it’s a two-row repeat pattern and there just a couple of steps to memorize.
Ok… it’s knitting time!
Grab your needles and some yarn, and let’s get started 🙂
Abbreviations
CO: Cast on
st: Stitch
K: Knit
P: Purl
WS: Wrong side
RS: Right side
BO: Bind off.
Slip Stitch Rib Pattern
CO multiples of 3 + 2 st (i.e.: 3*5=15 +2 = 17 sts).
1º Row (RS): *P2, slip the next st with yarn in back*. Repeat from the * across, ending with P2.
2º Row (WS): K2, *P1, K2*. Repeat from the * across.
Repeat these 2 rows until you reach the desired length.
To obtain a stretchy edge, BO every st in pattern: *Purl 2, pass the first stitch over the second stitch and off the needle, K1, pass the first st over the second st*. Repeat from * across.
This is the right side of the work:
And the wrong side:
Enjoy the step-by-step video tutorial:
Happy knitting!
Carolina
PS1: if you enjoy working with texture, you’ll find more inspiration in the Textured Stitch Patterns collection.