How to knit the Embossed Braids stitch (2 rows!)
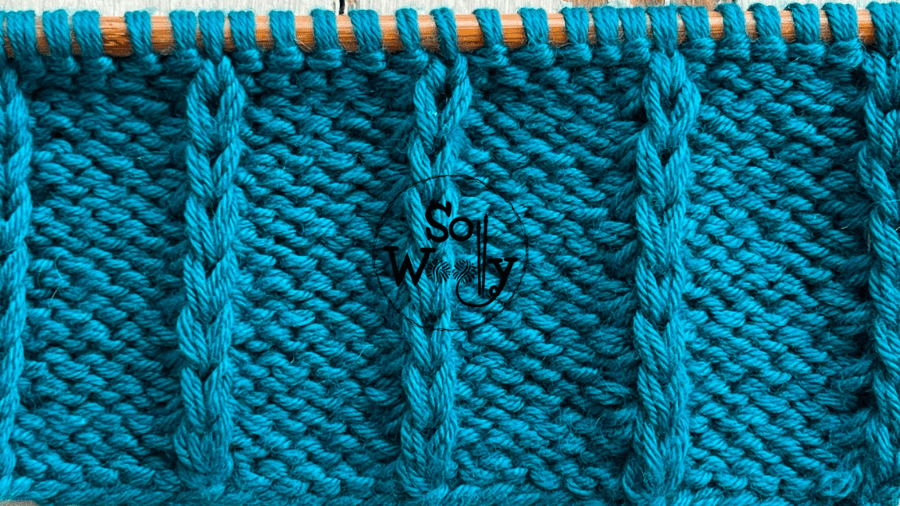
Today, I’m sharing how to knit the Embossed Braised stitch, one of those patterns that we knitters love.
Why?
Well, firstly, because it’s a two-row repeat pattern, super easy, and perfect for beginners (no cable needle required)… YAY!
Secondly, the only techniques required are the knit and the purl stitch, and knitting one stitch from the row below.
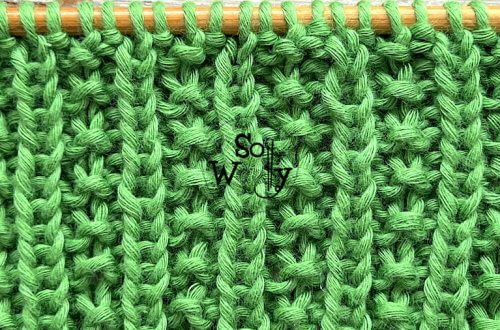
Thirdly, although both sides look different, I’d say that the Embossed Braids stitch is a reversible pattern because the so-called *wrong side” looks like a 5 x 1 Rib stitch.
In fact, it’s great for blankets, sweaters, and cardigans, but also for accessories, such as hats, scarves, socks, cowls, etc.
Furthermore, it will look great in cushions, placemats, or table runners.
Last but not least, it lays flat, like a nice Rib stitch. And you can change the number of stitches between the embossed columns, to make it look “busier” or simpler. It’s up to you 😉
Without further ado, grab your needles, and some yarn, and let’s knit a lovely swatch!
Abbreviations
CO: Cast on
st: Stitch
RS: Right side of the work
K: Knit
P: Purl
sl1kw: Slip the first stitch knitwise (pass it onto the right-hand needle as if to knit)
sl1pw: Slip the first stitch purlwise (pass it onto the right-hand needle as if to purl)
BO: Bind off
WS: Wrong side of the work
N.B:
The even rows form the right side of the work.
The edge (selvage) stitches (the first and the last) will be slipped knitwise on every even row and slipped purlwise on every odd row.
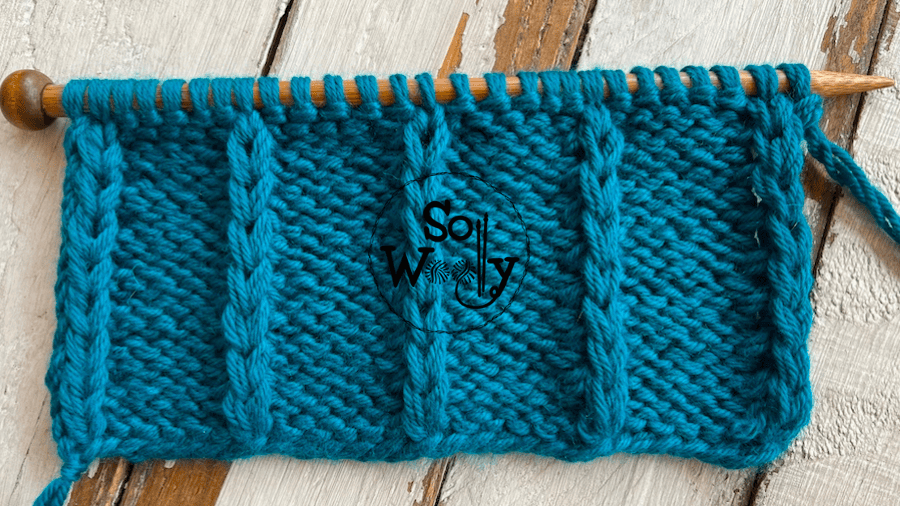
With my super soft US 13 (9 mm) bamboo needles #ad
“As an Amazon Associate, I earn from qualifying purchases.”
How to knit the Embossed Braids stitch pattern
CO multiples of 6 + 3; i.e.: 6 * 2 = 12 + 3 = 15 st.
1º and every odd row (WS): sl1pw (edge st), *P1, K5*. Repeat from * to *, to last 2 st, ending with P1, P1 (edge st)
2º and every even row (RS): sl1kw (edge st), k1bo, *P5, k1bo*. Repeat from * to *, to last 5 st, ending with K4, P1 (edge st).
These two rows create the pattern. Repeat them until the desired length is reached.
When finished, BO working each stitch as it presents after row 2 (WS).
This is the other side of the work:
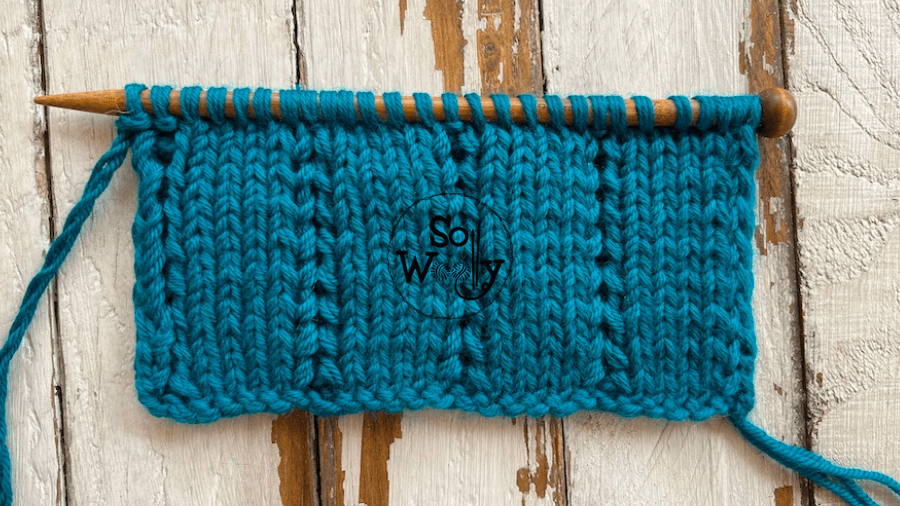
Enjoy the video tutorial:
How to knit the Embossed Braids stitch
Thank you for watching!
Hugs, and happy knitting 🙂
Carolina – So Woolly
PS: Looking for more vertical patterns with a little bit of texture? Click here!


