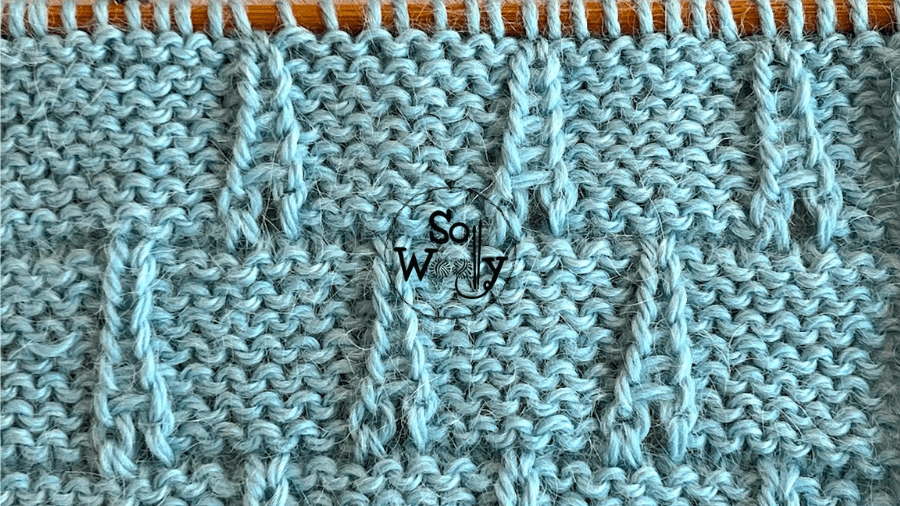
How to knit the Eiffel Tower stitch pattern (really cute!)
In today’s tutorial, you’ll learn how to knit a super cute pattern: The Eiffel Tower stitch (inspired by the TV show “Emily in Paris”).
Although it’s a sixteen-row repeat pattern, it’s really easy to do; if you can knit and purl, you can do it!
Honestly, I think it’s a great opportunity for beginners: You’ll practice how to count different combinations of knit and purl every eight rows 😉
In fact, the extra techniques required are the yarn over, and purl two stitches together (nothing that we haven’t done before).
Additionally, since the design creates a large pattern, it’s perfect for big projects such as blankets, cushions, placemats, table runners, etc.
Even a chunky extra-large scarf will look amazing in it.
Nevertheless, if you decide to knit a garment that should stay flat, think of a nice edge, because it tends to bend (especially on the sides).
So, I think that’s everything you need to know before we start.
Grab your needles, and some yarn, and let’s knit a gorgeous swatch!
Abbreviations
CO: Cast on
st: Stitch
RS: Right side of the work
K: Knit
P: Purl
yo: Yarn over
p2tog: Purl two stitches together
BO: Bind off
WS: Wrong side of the work
N.B:
The odd rows form the right side of the work.
The edge (selvage) stitches (the first and the last) will be knitted on every odd row, and purled on every even row.
“As an Amazon Associate, I earn from qualifying purchases.”
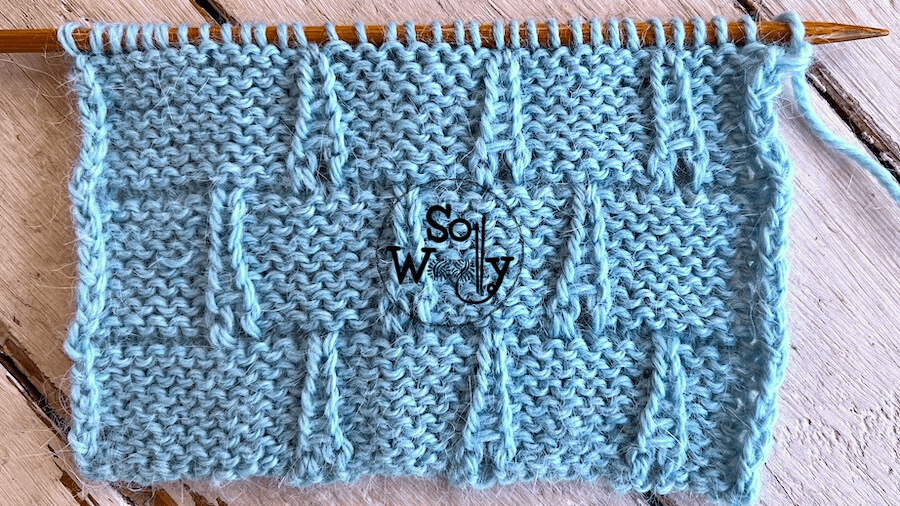
How to knit the Eiffel Tower stitch pattern
CO multiples of 8 + 2 (edge / selvage st); i.e.: 8 * 3 = 24 + 2 = 26 st.
Row 1 (RS): K1 (edge), P4, *yo, p2tog, P6*. Repeat from * to *, to last 5 st, ending with P4, K1 (edge)
Rows 2, 4, and 6: P1 (edge), K4, *K7, P1*. Repeat from * to *, to last 5 st, ending with K4, P1 (edge)
Rows 3, 5, and 7: K1 (edge), P4, *K1, P7*. Repeat from * to *, to last 5 st, ending with P4, K1 (edge)
Row 8: P across
Row 9: K1 (edge), P4, *P4, yo, p2tog, P2*. Repeat from * to *, to last 5 st, ending with P4, K1 (edge)
Rows 10, 12, and 14: P1 (edge), K4, *K3, P1, K4*. Repeat from * to *, to last 5 st, ending with K4, K1 (edge)
Rows 11, 13, and 15: K1 (edge), P4, *P4, K1, P3*. Repeat from * to *, to last 5 st, ending with P4, K1 (edge)
Row 16: P across.
These sixteen rows create the pattern. Repeat them until the desired length is reached.
When finished, BO working each stitch as it presents after row 7 (or after row 15, it’s up to you) (WS).
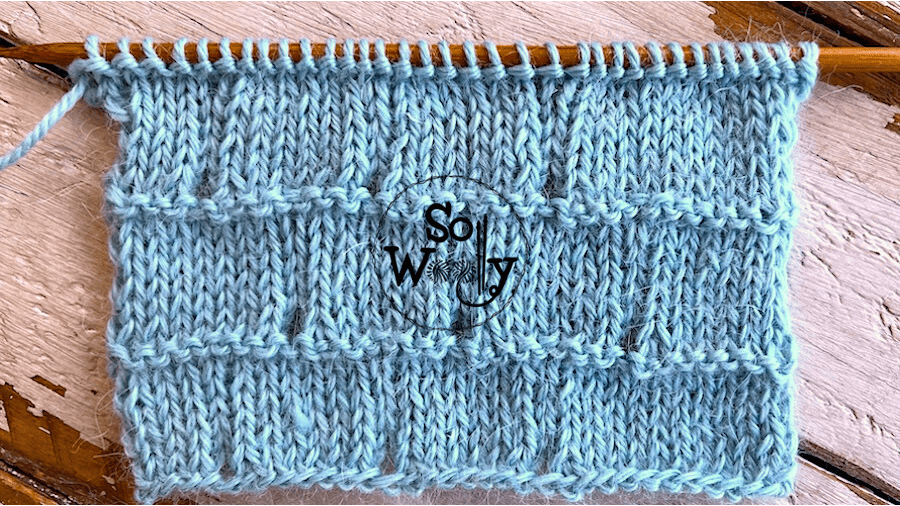
This is the other side of the work:
Enjoy the video tutorial:
How to knit the Eiffel Tower stitch
Thank you for watching, and don’t forget to share the love 🙂
Hugs, and happy knitting,
Carolina – So Woolly