How to knit a Picot Edge – Beautiful Knitting Technique
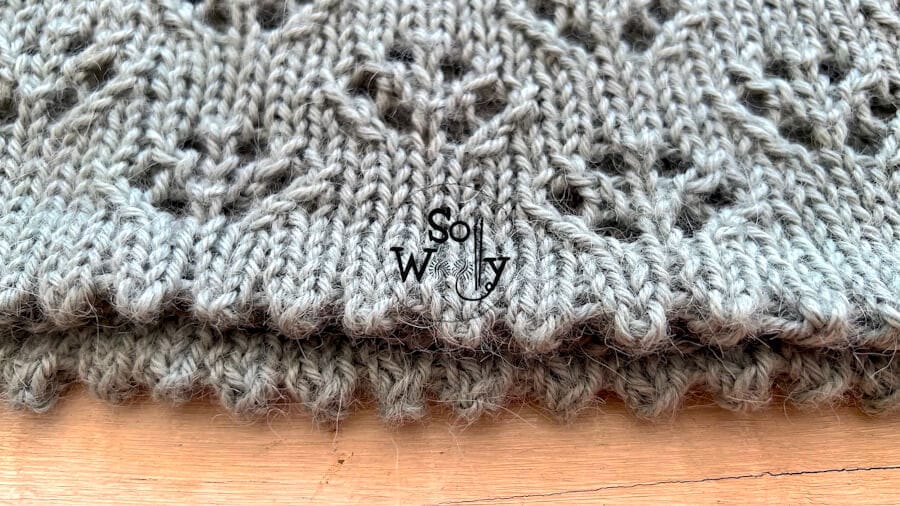
Today, I’m sharing how to knit a beautiful Picot Edge, step by step.
It’s a great knitting technique, quick and fun to do; the truth is that when I saw it, I fell in love again 😉
The only techniques required are simple: Knit stitch, purl stitch, yarn over, and knit two stitches together.
Honestly, it will give a touch of elegance to your projects; and it’s pretty versatile: You can use it for the edge of sweaters and cardigans, but also for blankets and ponchos.
In fact, it will also work for the cuff of the sleeves.
I believe that these kinds of details can make a difference, by adding a little bit of luxury to our garments (this is why I love the Chained cast-on method too!).
Variety is the spice of life…
So, grab your needles, and a little bit of yarn, and let’s get started!
Abbreviations
CO: Cast on
RS: Right side
K: Knit
P: Purl
yo: Yarn over
k2tog: Knit two stitches together
BO: Bind off
WS: Wrong side
How to knit a Picot Edge, step by step
CO an even number of st.
Work 6 rows in Stockinette st, as follows:
Rows 1, 3, and 5 (RS): K across
Rows 2, 4, and 6: P across
Now, let’s knit the openwork row:
Row 7: K1, *yo, k2tog*. Repeat from * to *, to last st, K1.
Row 8: P across
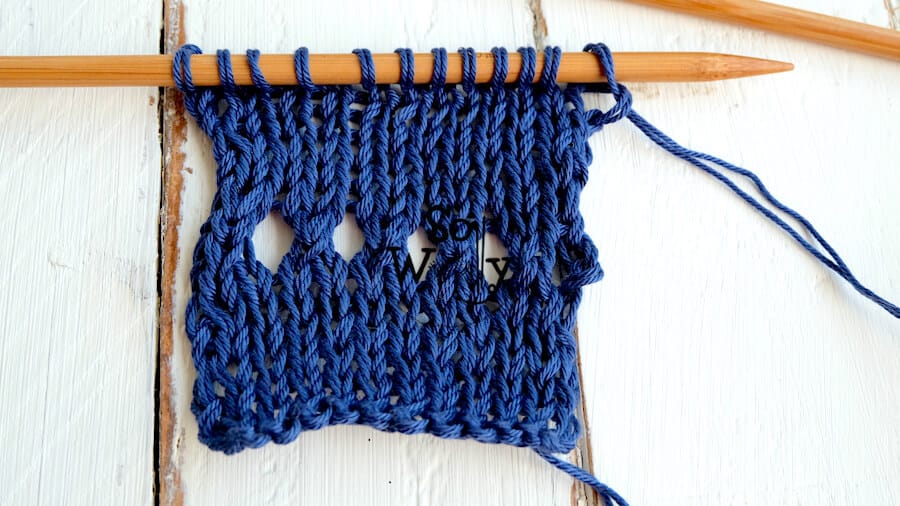
Keep working in Stockinette st until the edge measures 1 in (2.5 cm) approximately, from the 7th row, and BO knitwise (RS).
Fold the edge where the picots were formed, and join the edge facing the WS.
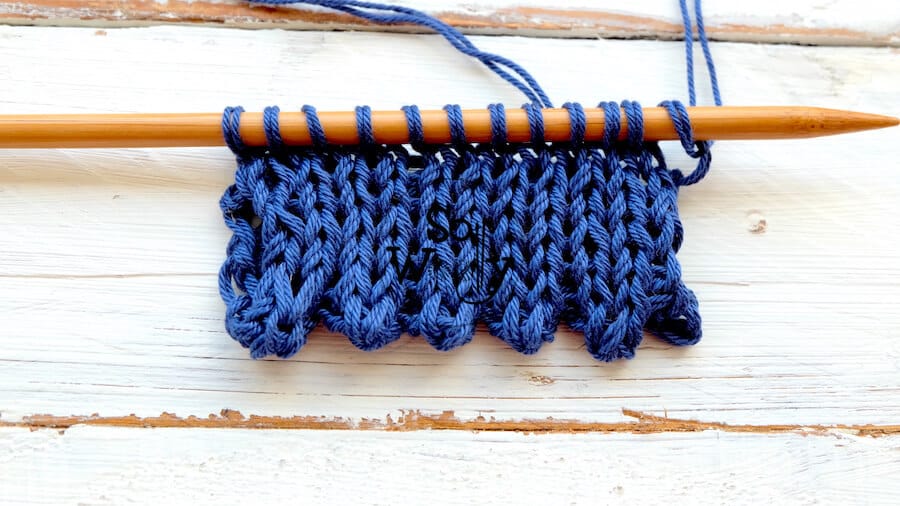
And that’s it! Your Picot Edge hem is done 🙂
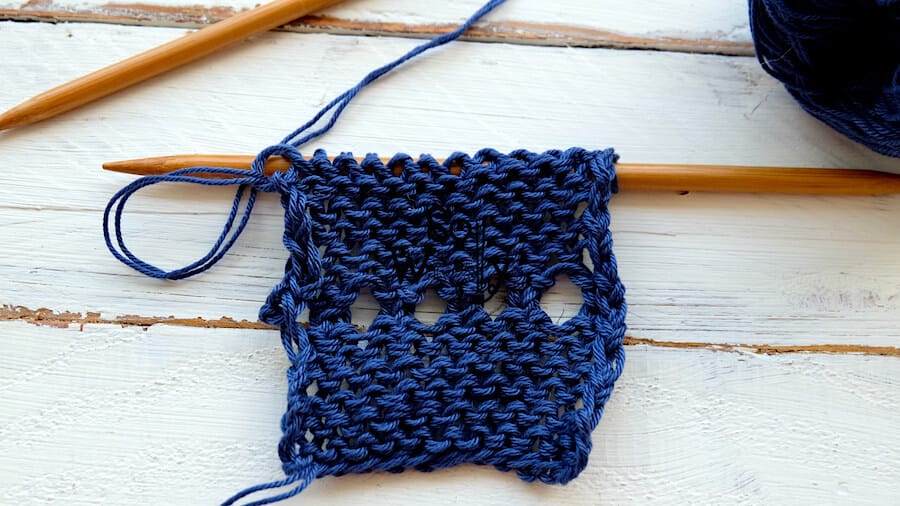
This is the other side of the work:
Enjoy the video tutorial:
Picot Edge – Knitting Technique
I hope you like it!
Hugs, and happy knitting 🙂
Carolina – So Woolly
PS: Looking for more techniques and designs? Then, take a look at this great book! #ad
“As an Amazon Associate, I earn from qualifying purchases.”


