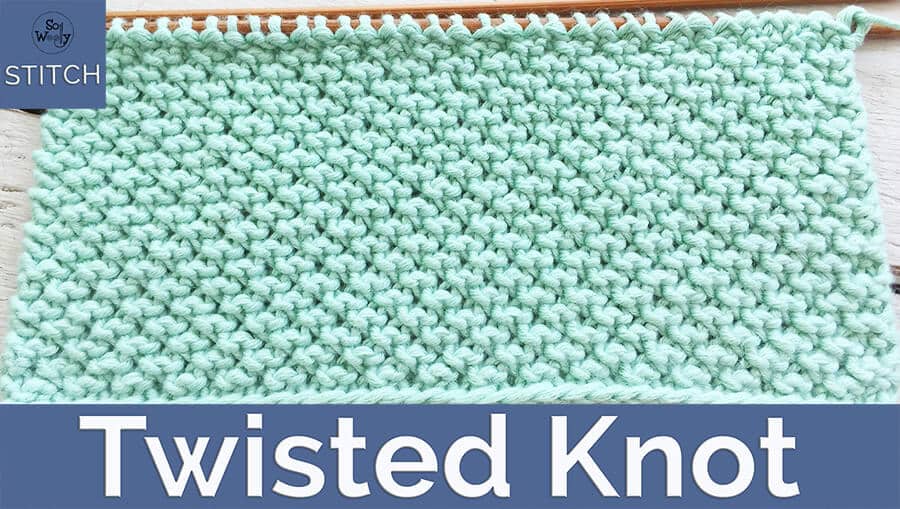
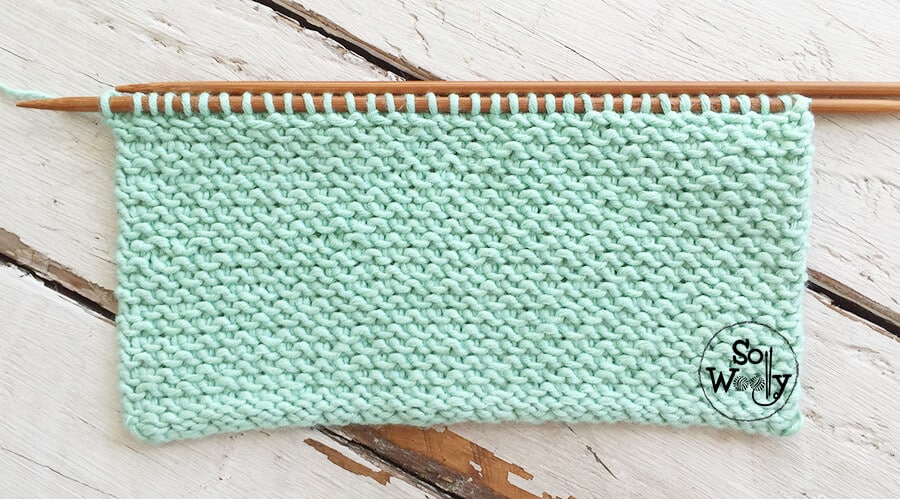
Twisted Knot knitting stitch pattern: Only four rows and it doesn’t curl
I would to share with you the Twisted Knot knitting pattern. An adorable stitch that doesn’t curl. It has a rich texture to it, similar to the Edelweiss knitting pattern.
The Twisted Knot stitch is a four-row repeat pattern; it is pretty intuitive: There are only two steps that will be repeated time and time again, easy to see and to memorize, so you’ll instantly know what comes next; there’s no need to keep checking the instructions all the time.
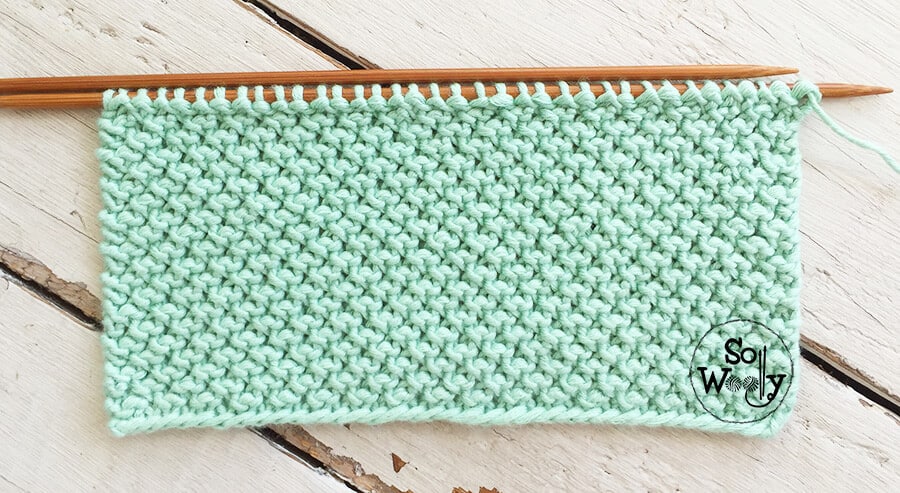
It’s not reversible, yet the “wrong” side of the work looks interesting too, so there are many projects we can use it for: Scarves, cowls, cushions, table runners, blankets, hats, and naturally, baby clothes and accessories.
Abbreviations
CO: Cast on
RS: Right side of the work
K: Knit
P: Purl
K1bo: Knit one stitch from the row below (insert the needle into the stitch form the previous row and knit. Don’t drop it, and slip the stitch on the current row knitwise).
k2togtbl: Knit two stitches together through the back loop.
BO: Bind off
N.B.:
We start knitting a set up row that won’t be repeated anymore.
Rows 1 and 3 form the right side of the work.
The first and the last stitch are selvedge stitches, and they will be knitted on each row.
How to knit the Twisted Knot stitch
CO an even number of stitches (this number will include two selvedge stitches).
Set up row (row 0): K1, P across to last st, K1.
1º row (RS): K1, *K1, K1bo*. Repeat from * to *, to last st, K1
2º row: K1, *k2togtbl, K1 *. Repeat from * to *, to last st, K1
3º row: K1, *K1bo, K1*. Repeat from * to *, to last st, K1
4º row: K1, *K1, k2togtbl*. Repeat from * to *, to last st, K1.
These four rows (1 – 4) create the pattern. Repeat them until the desired length is reached.
Important note: BO knitwise after a row 4. When you see two stitches together, they need to be knitted together and then BO as usual (pass the previous stitch on the right-hand needle over).
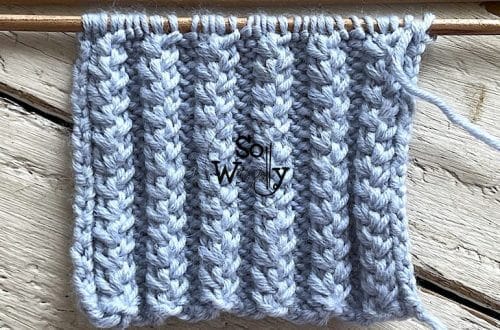
This is the other side of the work:
Enjoy the video tutorial:
Thank you for watching!
Hugs and happy knitting 😉
xoxo
Carolina – So Woolly