Learn How to Knit Quickly – Lesson 7: Seed stitch
Seed stitch
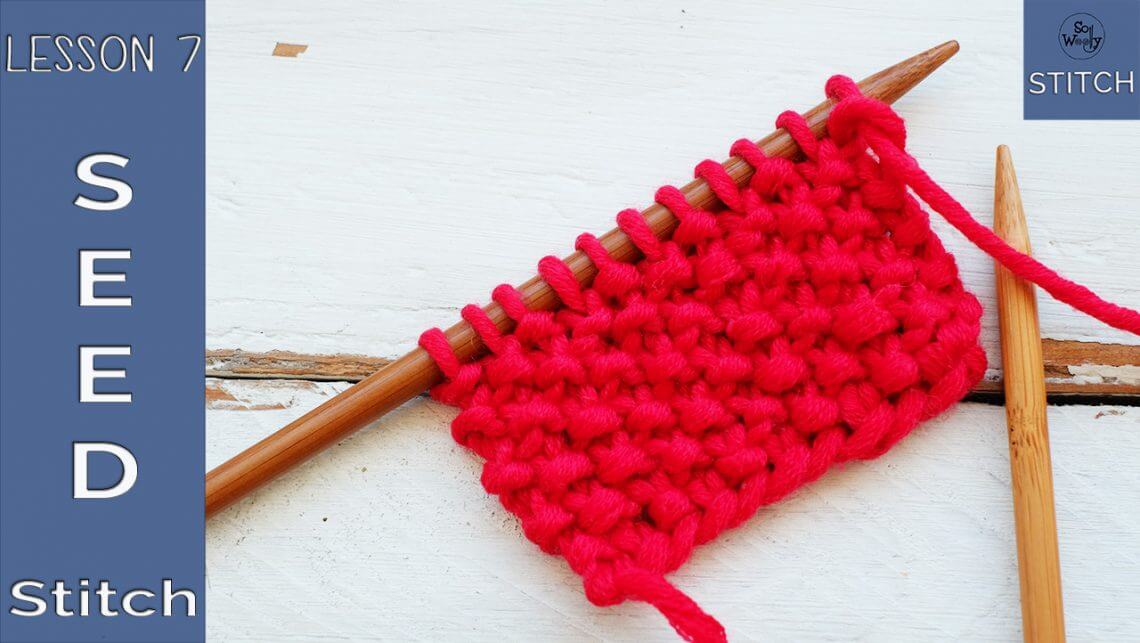
In this tutorial we are going to learn how to knit the Seed stitch (also known as the Moss stitch, but there is a difference: The Moss stitch has 2 rows; the Seed stitch has only 1 row). We will learn the Moss stitch in another lesson of the Learn How to Knit Quickly series. The demonstration covers both: English and Continental knitting styles.
The Seed stitch is very cute, ideal for baby garments, blankets and sweater edges, but I love it so much, that I use it for cowls, scarves, hats…you name it. The good news are that if you know how to knit and how to purl, you’re ready to try Seed stitch!
Why do so many knitters love it so much? Because the seed stitch is reversible (both sides look identical), it doesn’t curl, it’s really fluffy and textured.
Today, you also will learn how to differentiate the knit stitch and the purl stitch, and how to count rows (please watch the video).
ABREVIATIONS
K: Knit
P: Purl
CO: Cast on
How to knit the Seed stitch
To get the pattern, we alternate knitting and purling. This stitch will help you to learn how to read your knitting: The knits look like “v”s; the purls look like bumps.
CO an odd number of stitches, so there is only one row to memorize.
1º Row (RS): *K1, P1*. Repeat from * to * until the last stitch of the row.
Repeat this row until you get the desired length (from now on, we will knit the purls, and purl the knits).
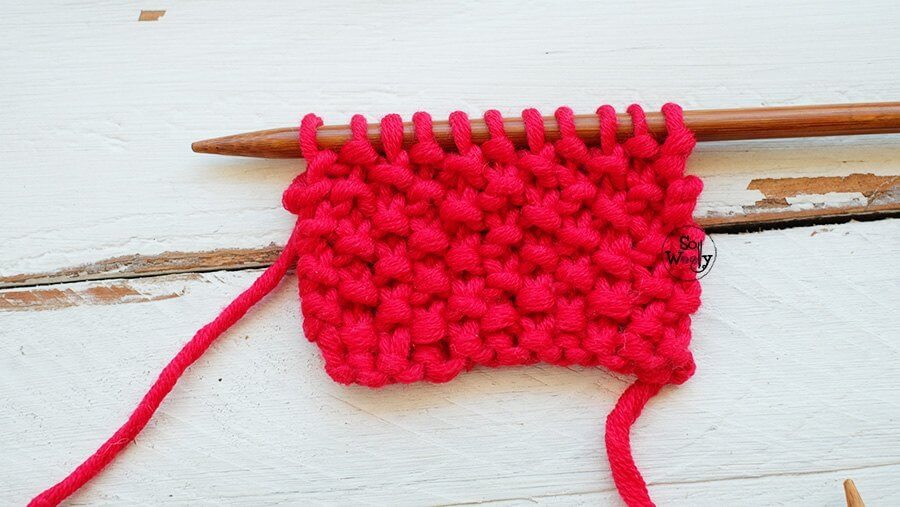
And that’s it! You can practice a bit while enjoying the video tutorial:
Lesson 6: How to knit the Seed stitch
Happy knitting!
Carolina


