Lesson 8: How to Knit 2×2 Rib Stitch + Video
If you’re new here, start from the beginning:
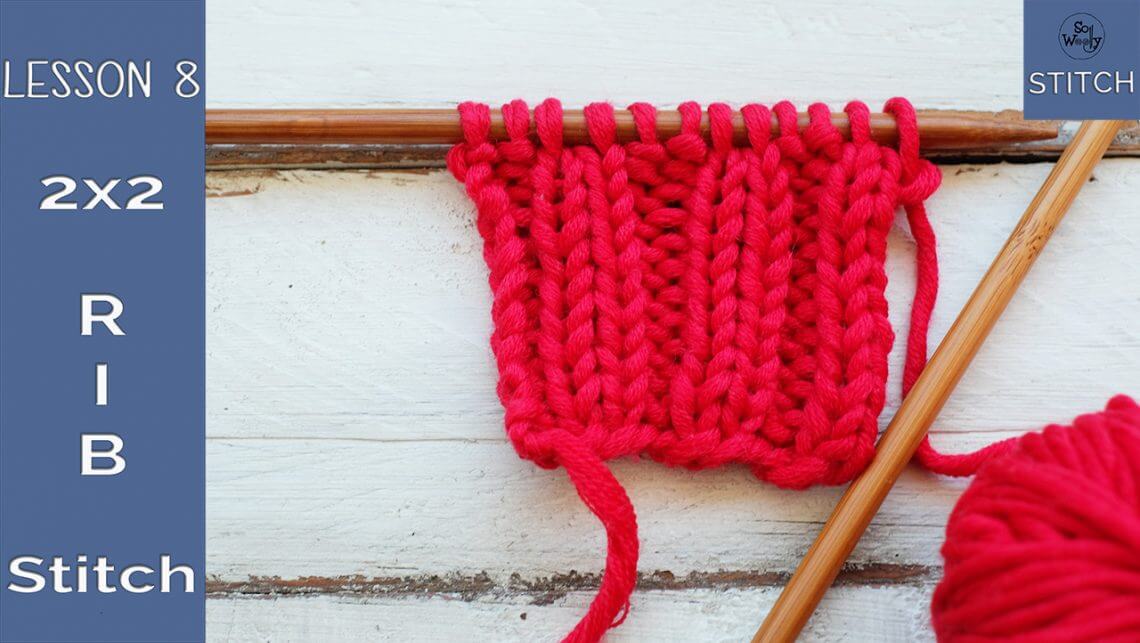
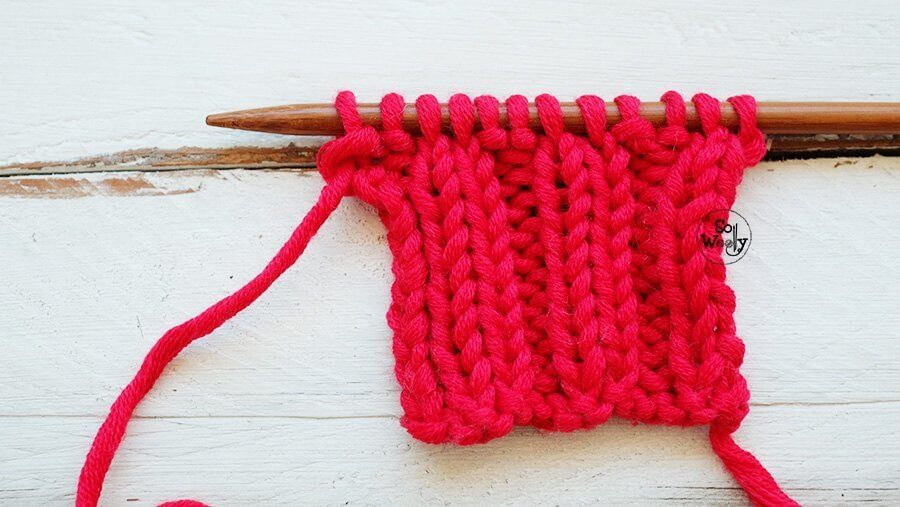
In this final lesson, you’ll learn the 2×2 rib stitch — a variation of ribbing that creates a slightly different rhythm and texture.
You’ve come a long way!
At this point, you’re no longer just learning stitches…
you’re starting to understand how knitting works.
🎥 Video
Lesson 8: How to Knit 2×2 Rib Stitch
What You’re Doing
The 2×2 rib stitch is created by repeating:
- Knit 2
- Purl 2
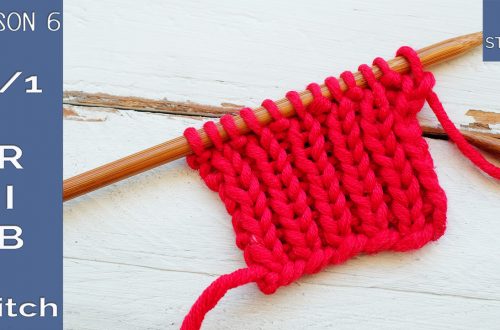
This builds on what you learned in the 1×1 rib stitch, but creates a wider, more defined structure.
You’re now able to adjust patterns and see how small changes affect the fabric.
🧶 Why 2×2 Rib Stitch Matters
This stitch is used to:
- Create structured, stretchy edges
- Add definition to garments
- Balance flexibility and stability
It’s a simple variation — but an important one.
How to Knit 2×2 Rib Stitch
Abbreviations
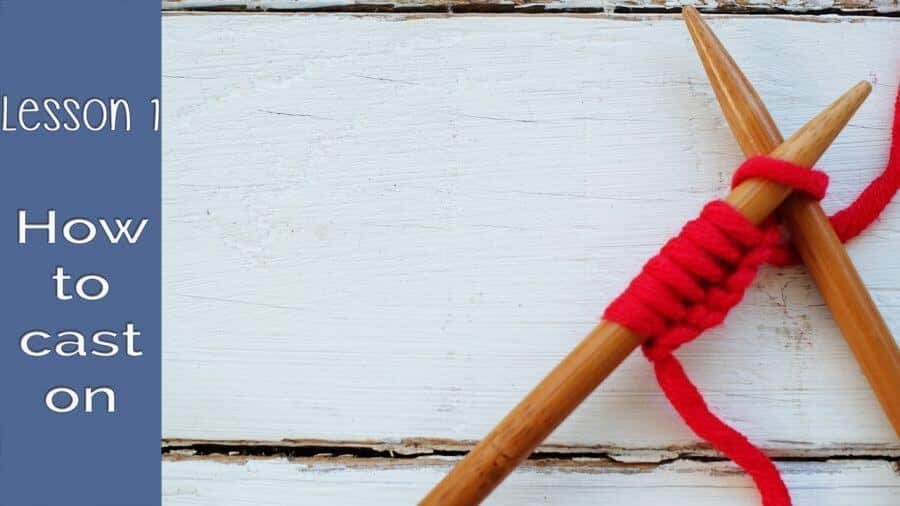
CO: cast on
st (s) = stitch (es)
RS: right side of the work
K: knit
P: purl
WS: wrong side
Instructions
CO multiples of 4 (i.e.: 4, 8, 12, etc.).
Row 1: *K2, P2*. Repeat from * to * until the end of the row, and keep repeating this row until you reach the desired length.
For symmetry (if you want to start and finish with 2 knits or 2 purls), cast on multiples of four and add 2 more stitches.
In that case, to get the pattern correctly, you need to knit 2 rows (always following the principle “you knit what you see”), and after the first row, you will knit the opposite of what you knit on the previous row, as follows:
Row 1: *K2, P2*. Repeat from * to * until the end of the row.
Row 2: *P2, K2*. Repeat from * to * until the end of the row.
These 2 rows create the pattern, repeat them until the desired length is reached.
✋ What You Learned
- How to modify stitch patterns
- How structure affects texture and stretch
- How to recognize repeating patterns
🧪 Practice
Before moving on:
- Knit a few rows of 2×2 rib
- Compare it with your 1×1 rib stitch
- Notice how the fabric behaves differently
You’re now exploring knitting with intention.
🧶 Understanding How Your Fabric Behaves
By now, you’ve worked with different combinations of knit and purl stitches.
You’ve seen how changing the structure affects the way your fabric looks — and how it behaves.
Rib stitches, like this 2×2 variation, create balance and flexibility, helping your knitting stay flat while adding stretch.
If you’re curious to explore more stitches that behave this way, you can continue here:
→ [Knitting Stitches That Don’t Curl]
Happy knitting,
Carolina – So Woolly