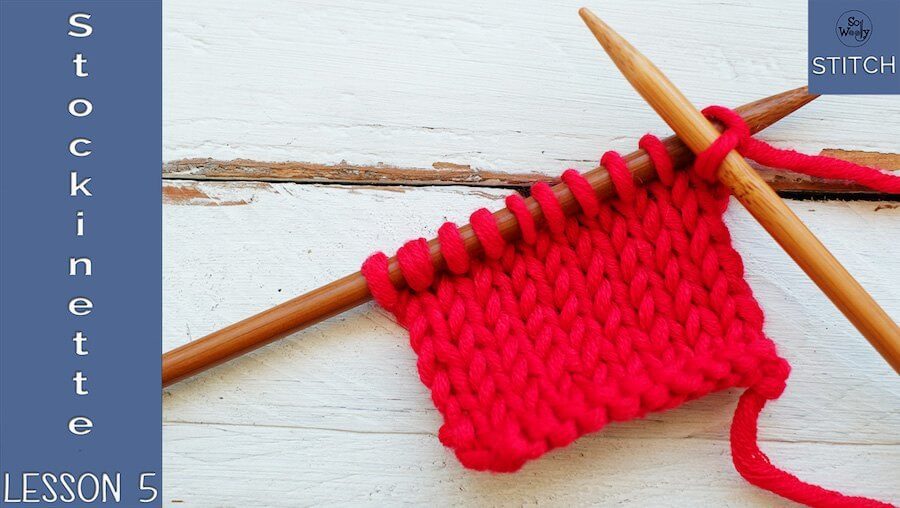
Lesson 5: How to Knit the Stockinette Stitch + Video
If you’re new here, start from the beginning:
Now that you know how to knit and purl, it’s time to combine them.
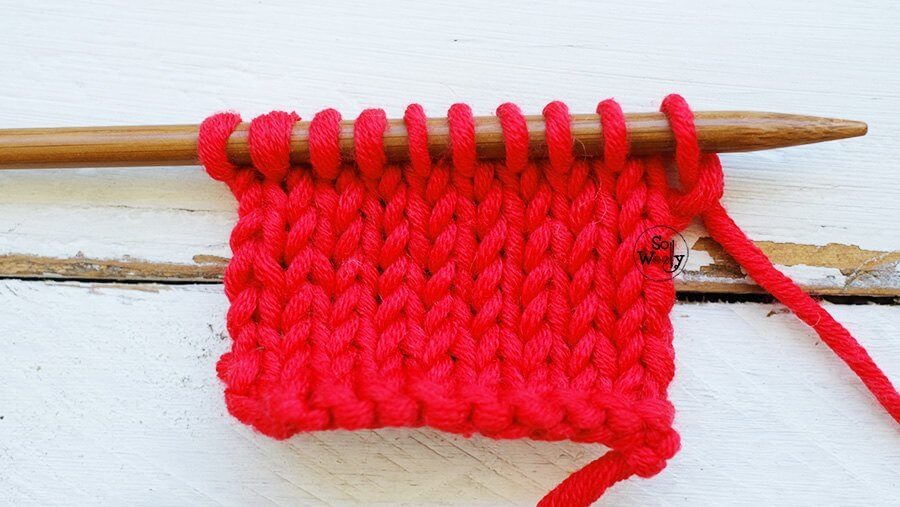
In this lesson, you’ll create one of the most classic knitting fabrics: stockinette stitch.
You’ve probably seen it everywhere — smooth on one side, textured on the other.
And now you’ll know exactly how it works 😊
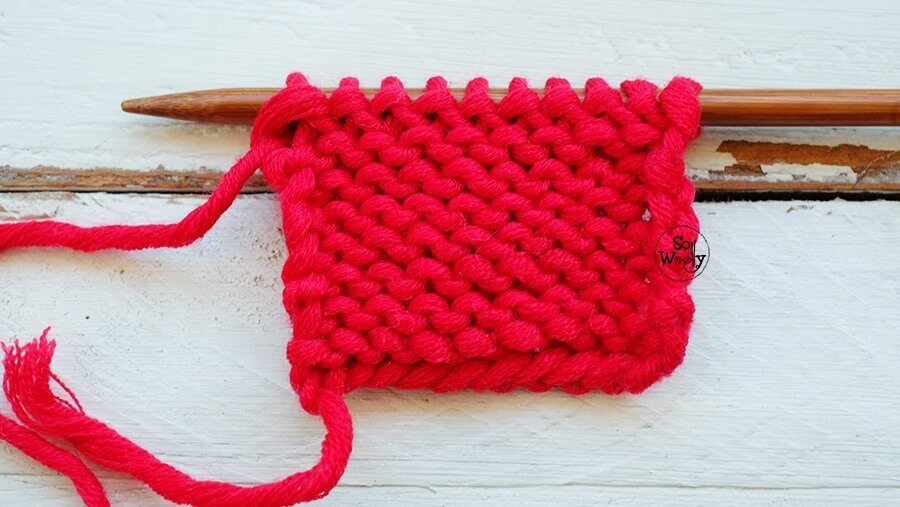
The other side, the wrong side of the work (WS), is really bumpy (the purl side):
🎥 Video
Lesson 5: How to knit the Stockinette / Stocking stitch
What You’re Doing
Stockinette stitch is created by alternating rows of knit and purl stitches:
- Knit on one row
- Purl on the next
This simple combination creates two very different sides:
👉 A smooth side (the “right side”)
👉 A textured side (the “wrong side”)
You’re now controlling how your fabric looks.
How to Knit the Stockinette / Stocking Stitch
It doesn’t matter the number of stitches you cast on nor the method used.
1º Row (RS): Knit every stitch
2º Row: (WS) Purl every stitch
🧶 Why Stockinette Matters
Stockinette stitch is one of the most widely used fabrics in knitting.
It’s used for:
- Sweaters
- Hats
- Socks
- Countless projects!
Understanding it helps you recognize patterns and read your knitting more easily.
✋ What You Learned
- How to combine knit and purl stitches
- How stockinette stitch is formed
- How to identify the right and wrong side
🧪 Practice
Before moving on:
- Knit a few rows of stockinette
- Look at both sides of your fabric
- Try to identify knit vs purl stitches
You’ll start to see patterns in your knitting.
🧶 Why Stockinette Stitch Curls
If your fabric is curling at the edges… you’re not doing anything wrong.
Stockinette stitch curls because it’s made of two very different sides:
- The knit side (right side)
- The purl side (wrong side)
Each side has a different structure and tension, and they naturally pull in opposite directions.
The result?
👉 The fabric rolls:
- Top and bottom edges → toward the knit side
- Side edges → toward the purl side
This is completely normal — and happens to every knitter.
In fact, understanding this is a big step forward.
Because once you know why it happens, you can start choosing stitches that behave differently when you need them to.
If you’d like to explore stitches that stay flat instead, take a look here:
→ [Knitting Stitches That Don’t Curl]
➡️ Next Lesson
Great progress — now let’s explore how to add stretch and structure to your fabric.
→ Lesson 6 — How to Knit 1×1 Rib Stitch
At this point, you’re no longer just learning stitches.
You’re starting to understand how knitting is built.
Happy knitting!
Carolina – So Woolly