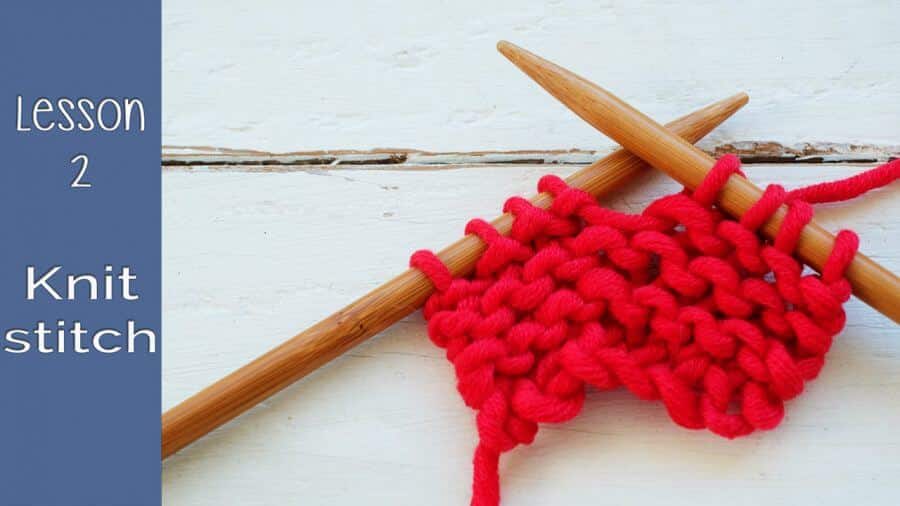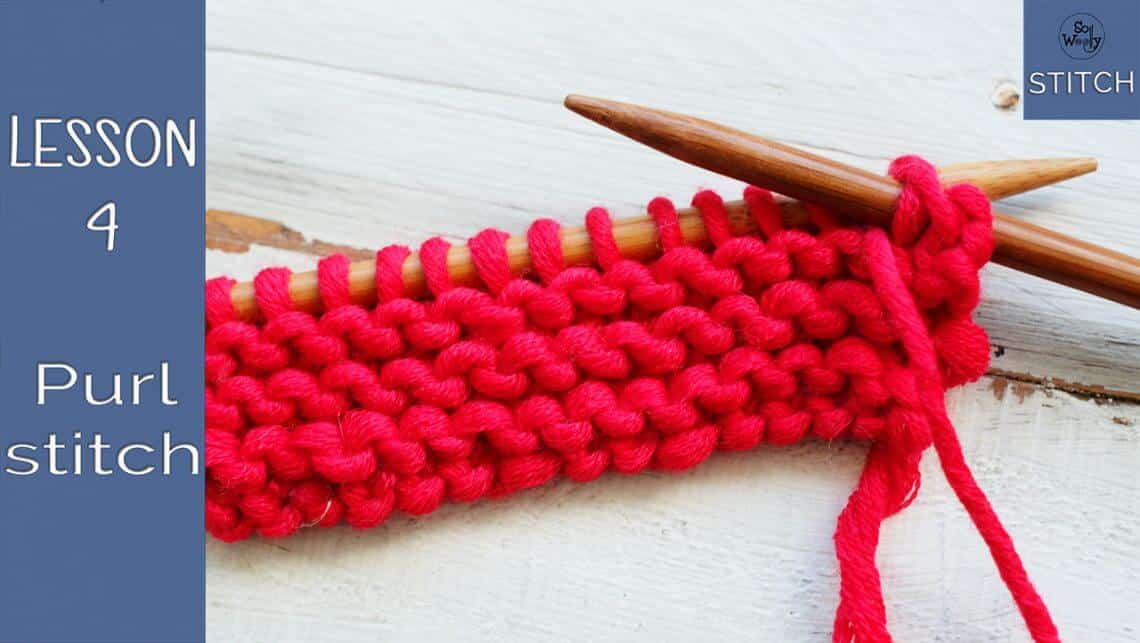
Lesson 4: How to Purl (Purl Stitch) + Video
If you’re new here, start from the beginning:
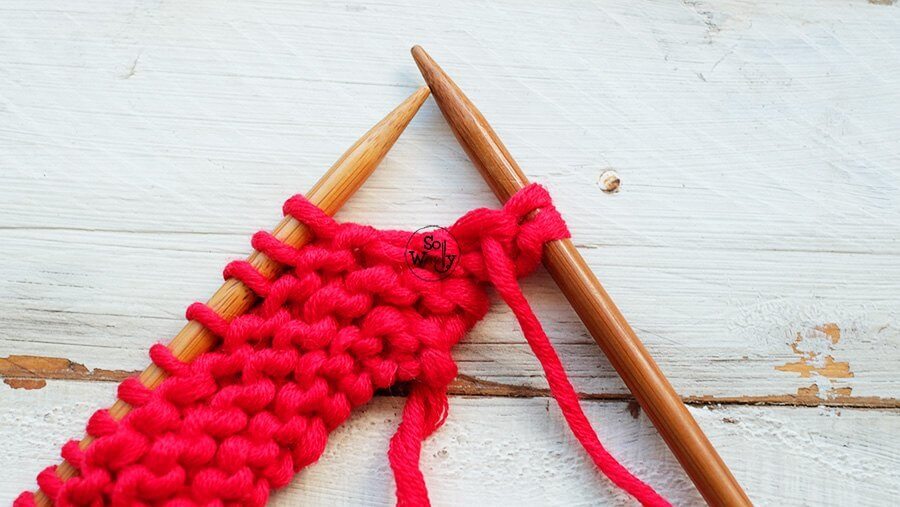
So far, you’ve been working with the knit stitch.
Now it’s time to learn its partner: the purl stitch.
Once you know both, everything starts to open up — because most knitting patterns are simply combinations of knit and purl stitches.
This is where things really begin to click 😊
🎥 Video
Lesson 4: How to Purl – Purl stitch
What You’re Doing
The purl stitch is essentially the opposite of the knit stitch.
Instead of working from the back of the stitch, you work from the front — creating a different texture.
You’ll start to notice something important:
👉 A knit stitch on one side looks like a purl stitch on the other.
This is one of the key ideas in knitting.
🧶 Why the Purl Stitch Matters
With knit and purl stitches, you can:
- Create different textures
- Combine stitches into patterns
- Control how your fabric looks on each side
Almost every knitting pattern is built from these two stitches.
✋ What You Learned
- How to purl a stitch
- The difference between knit and purl
- How texture is created in knitting
🧪 Practice
Before moving on:
- Try alternating knit and purl stitches
- Look closely at how the fabric changes
- Turn your work and observe both sides
This is where your understanding really grows.
➡️ Next Lesson
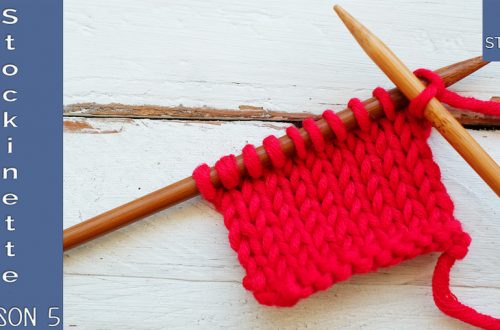
Now that you know both knit and purl stitches, it’s time to combine them.
→ Lesson 5 — How to Knit Stockinette Stitch
This is a big step.
From here, knitting becomes much more flexible — and much more fun.
Happy knitting,
Carolina – So Woolly