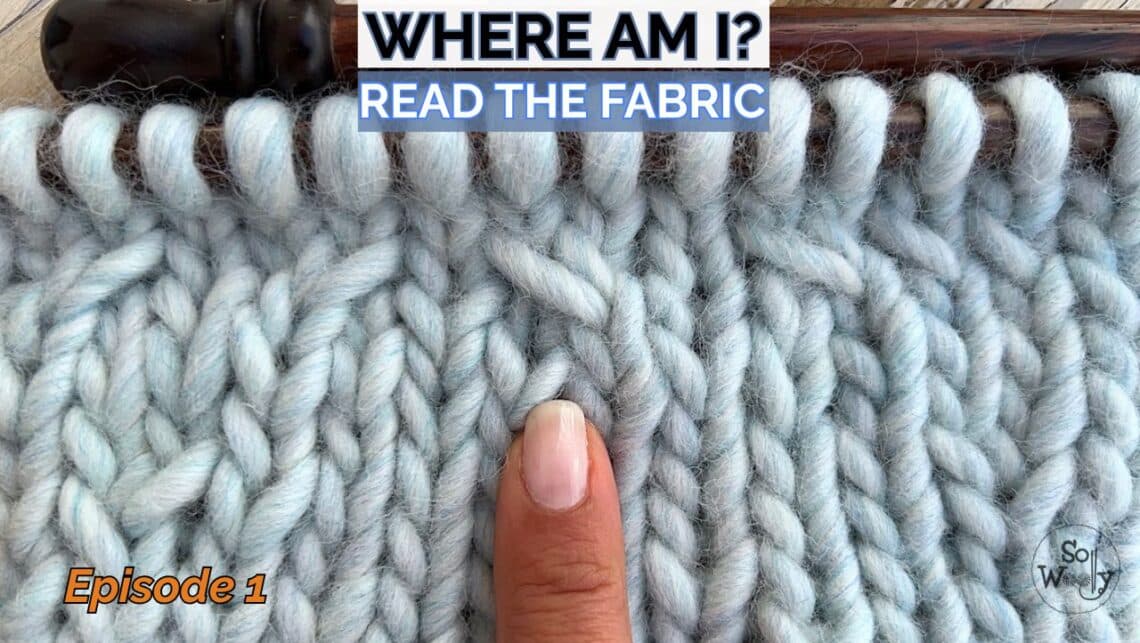
How to Read Your Knitting: Right Side, Wrong Side, and Stitch Clues + Video
If you’re struggling because you don’t know how to read your knitting, this series is for you!
Many knitters follow patterns row by row without really knowing what their fabric is telling them.
But every stitch leaves clues in your knitting.
Once you learn how to recognize those clues — right side vs wrong side, knit columns, holes, and leaning stitches — you can understand where you are and fix mistakes much more easily.
In this tutorial, you’ll learn how to read what your knitting is telling you.
And to help you along the way, you can download a simple Stitch & Row Tracker to keep your place and start reading your knitting with confidence.
Let’s get started!
How to Read Your Knitting
This tutorial is part of the series: Where Am I? Understanding Your Knitting
- Episode 1: What Your Knitting Is Telling You
- Episode 2: Counting Rows and Stitches
- Episode 3: Finding the Pattern Repeat
- Episode 4: When Reading Gets Difficult
How to Tell Right Side vs Wrong Side
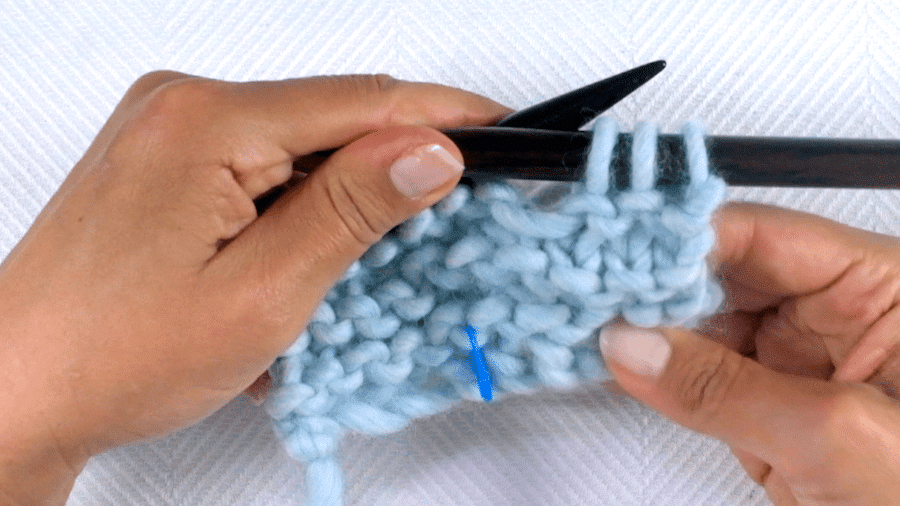
First, we need to know if we are looking at the right side (RS) or the wrong side (WS) of our knitting. And sometimes, that’s not so easy.
If you use the long-tail cast on (or the German twisted cast on), there’s a quick trick to help you.
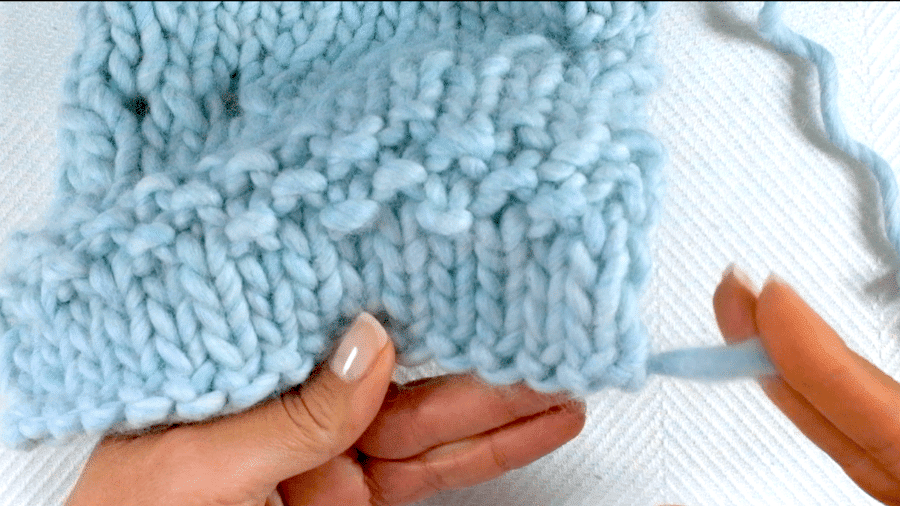
When you’re facing the right side, the tail from the cast-on row is usually on the right-hand side of your work.
Another clue is the look of the cast-on edge. On the right side, the first row often looks like a purl row, with visible bumps. On the wrong side, that same edge looks more like a chain.
What if you use a different cast-on method, such as the knitted cast on or the cable cast on?
In those cases, it’s the opposite: you’re looking at the right side when the cast-on tail is on the left-hand side.
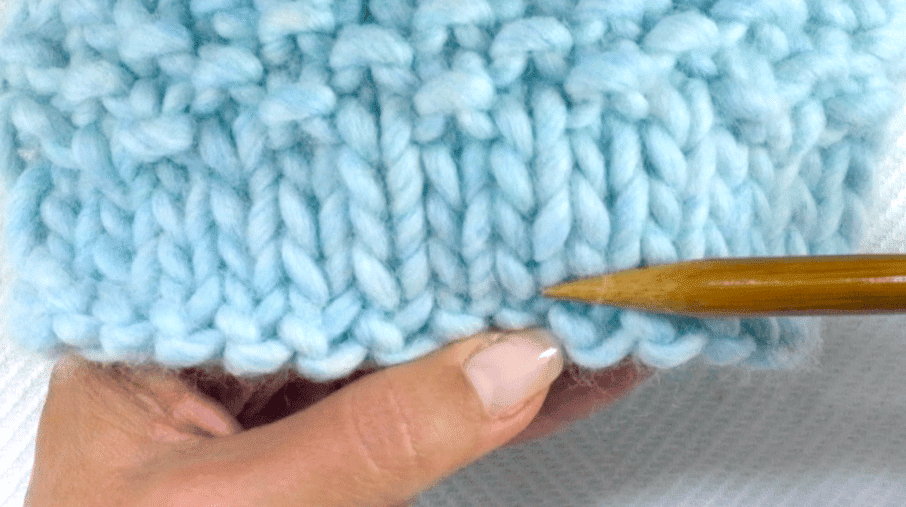
And if all of this still feels confusing, there’s a very simple solution:
After knitting one or two rows, place a marker on the right side of your work.
That way, you’ll always know which side you’re looking at — no guessing needed..
How to Read Your Knitting: Recognize Knit and Purl Stitches
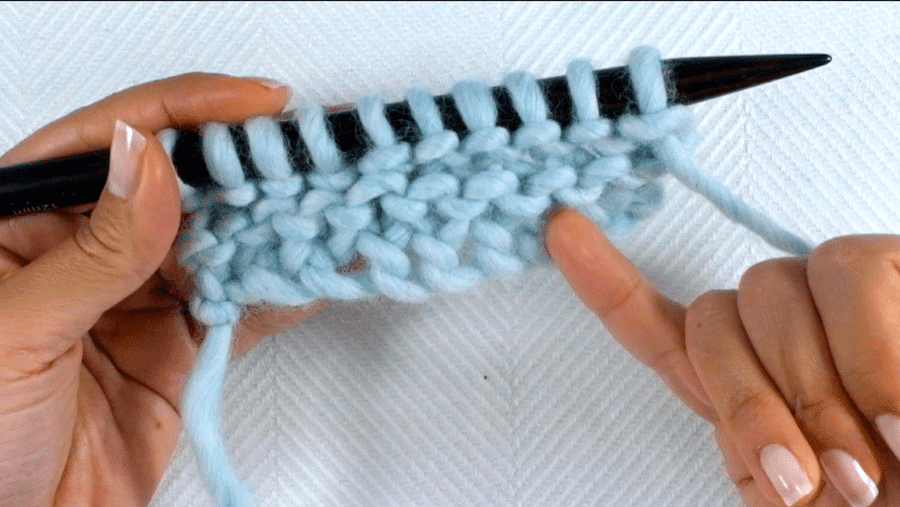
The first stitch we need to identify is the knit stitch.
- On the right side of the work, it looks like a small “V”.
- On the wrong side, it appears as a little bump — often described as an umbrella or a small hyphen.
- When you follow the “V” shapes vertically, you are following a column of knit stitches.
The purl stitch is the opposite.
- On the right side, it looks like a bump (umbrella or hyphen),
- On the wrong side, it appears as a “V”.
- When you follow the bump shapes vertically, you are following a column of knit stitches.
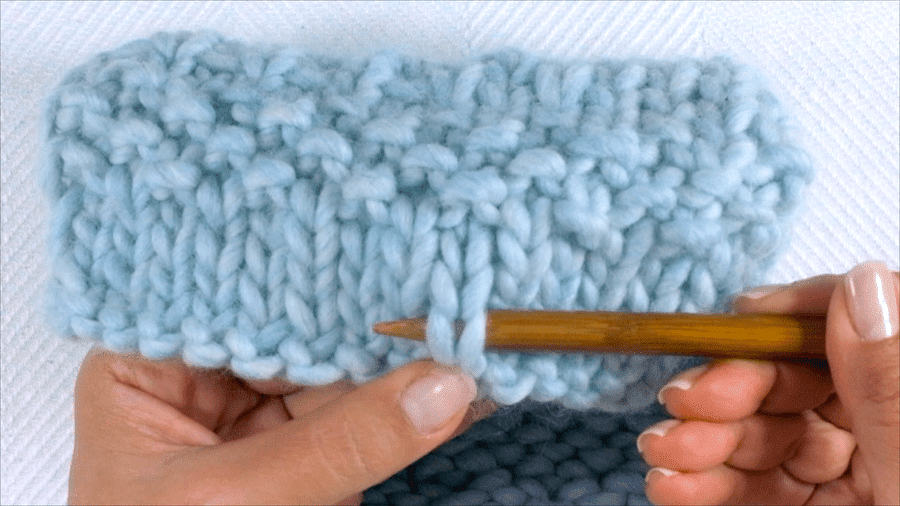
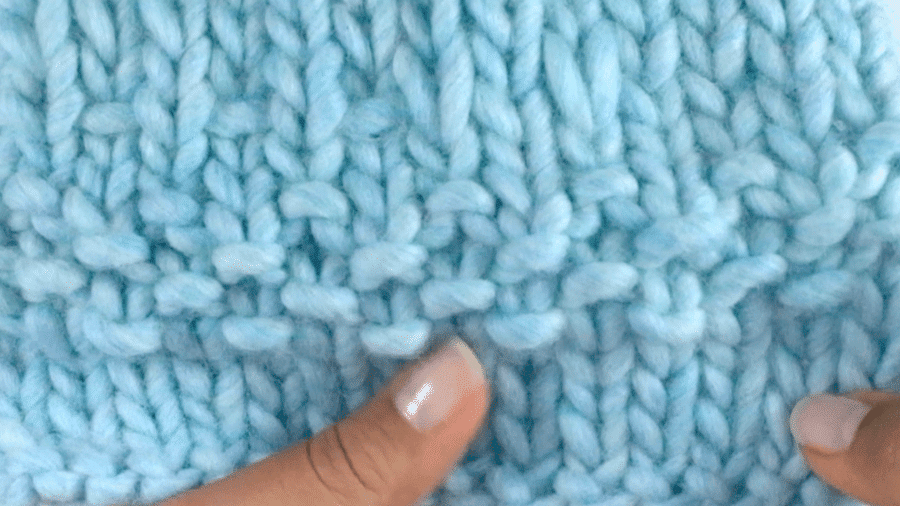
Garter Stitch vs Stockinette: What to Look For
When you knit every stitch of every row, you create a ridged fabric called garter stitch.
One of its main characteristics is that both sides look the same. That means it’s not always easy to tell the right side from the wrong side just by looking at it.
Garter stitch is made of alternating rows of knit stitches.
Because of this, the fabric forms horizontal ridges that look like a series of small bumps or waves.
If you look closely — or gently stretch the fabric — you’ll notice that each ridge is actually made of knit stitches (little “V” shapes) stacked together.
The bumps you see are just those same stitches, seen from the opposite side.
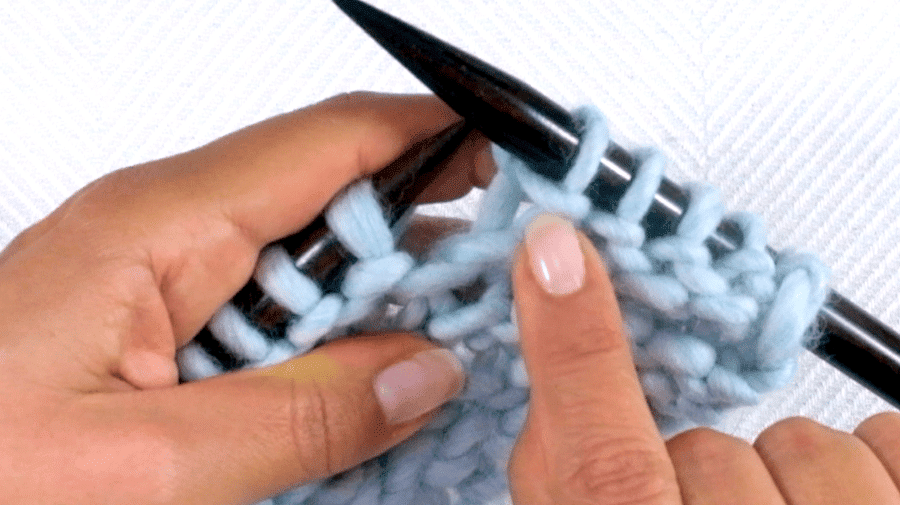
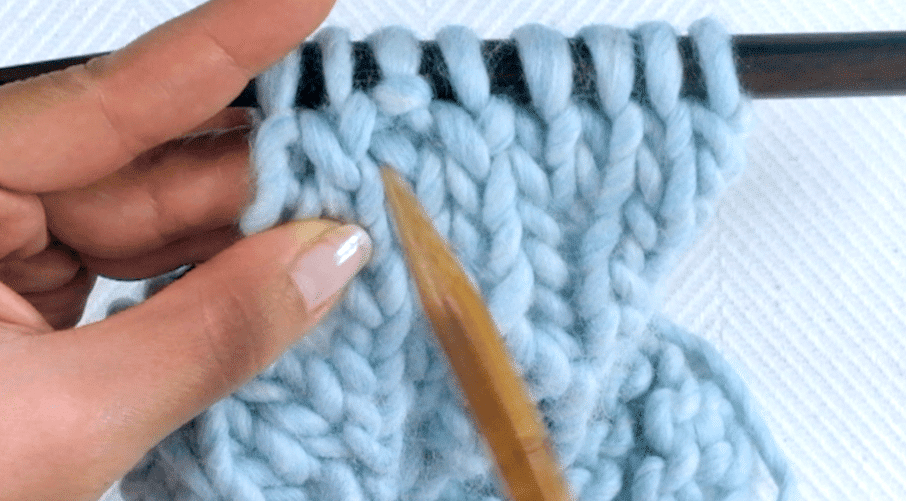
When you knit one row on the right side and purl one row on the wrong side, you create a smooth, even fabric called stockinette stitch (also known as stocking stitch).
On the right side, it’s made of neat columns of “V” shapes.
On the wrong side, those same stitches appear as columns of bumps.
If you can recognize these columns, you can start following your stitches — and that’s how you begin to read your knitting.
How to Read Your Knitting: Recognizing Seed Stitch
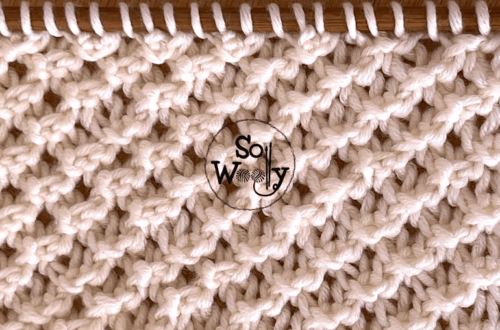
When you alternate knit one, purl one, you create the seed stitch.
On the right side, you’ll see a textured pattern where knit and purl stitches alternate:
knit, purl, knit, purl.
On the wrong side, the stitches appear in the opposite way — where you see a knit stitch on one side, you’ll see a purl stitch on the other.
This creates a fabric where the texture is evenly distributed, and the stitches look mixed or scattered, rather than forming clear columns like in stockinette stitch.
How to Recognize Twisted Stitches
Another important stitch to identify is the twisted stitch.
A normal knit stitch is worked through the front loop, and it sits open in a clear “V” shape.
A twisted stitch is worked through the back loop, which causes the base of the stitch to look crossed or twisted.
You can recognize it because:
• that stitch looks tighter than the others
• the “V” shape appears crossed at the base
• and the legs of the stitch overlap instead of sitting open
The same happens with purl stitches worked through the back loop — they also look twisted.
On both sides of the fabric, the key clue is always the same:
👉 the base of the stitch looks crossed
Once you notice this crossed shape, you’ll never miss a twisted stitch again.
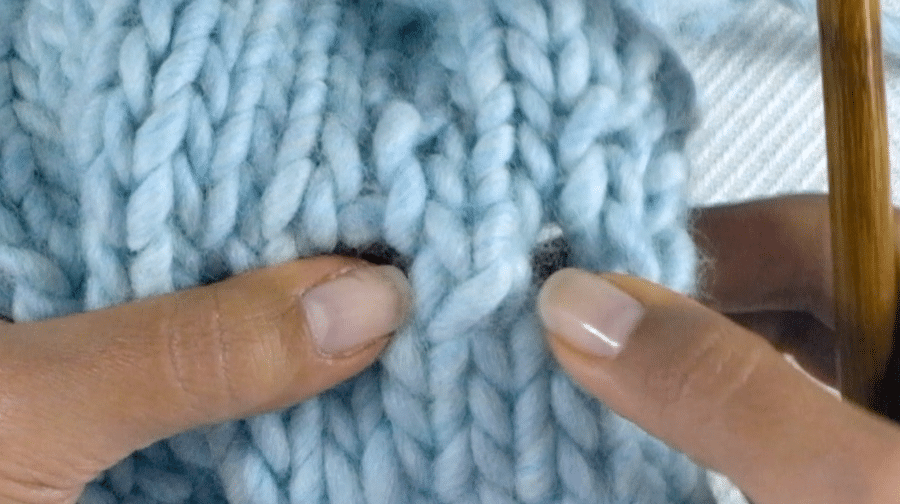
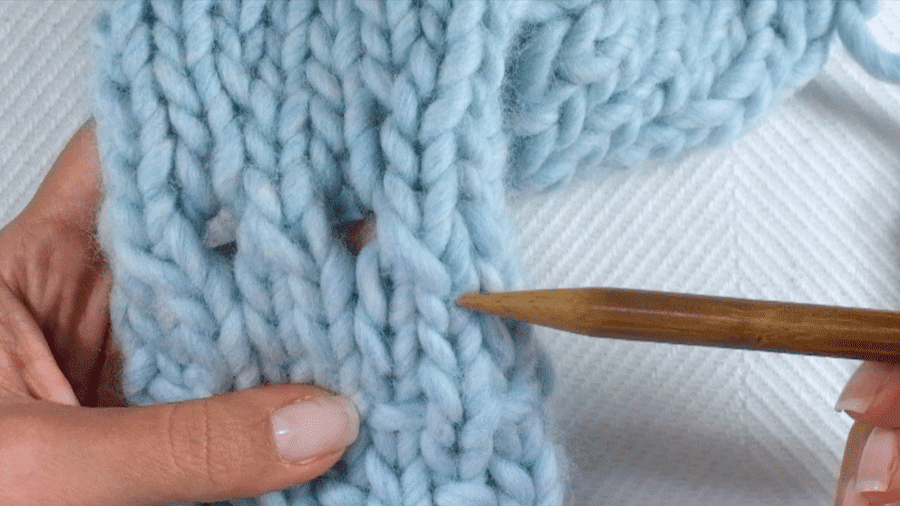
Learn to Read Your Knitting > Stitch Clues: Yarn Overs and Decreases
When you look at your knitting, some stitches leave very clear clues about what happened in the fabric.
Let’s start with a very common combination: yarn overs and decreases.
How to Recognize a Yarn Over
A yarn over creates a small hole in the fabric and adds a new stitch — it’s the simplest type of increase.
This is one of the easiest clues to spot.
Whenever you see a hole, you know that a yarn over was made.
How to Recognize k2tog (Right-Leaning Decrease)
A knit two together (k2tog) is a right-leaning decrease.
On the right side, you can recognize it because:
• it comes from two columns of “V” shapes
• those two stitches become one column
• the left stitch sits over the right stitch, creating a lean to the right
👉 Two stitches become one, and the fabric leans to the right.
On the wrong side, you’ll see something different:
Instead of one purl bump, you’ll see two bumps (umbrellas) close together.
👉 That’s your clue that two stitches were worked together.
How to Recognize ssk (Left-Leaning Decrease)
An ssk (slip, slip, knit) is the opposite of k2tog.
On the right side:
• it also comes from two columns of “V” shapes
• those two stitches become one column
• but now the right stitch sits over the left stitch, creating a lean to the left
👉 The fabric leans in the opposite direction.
On the wrong side, the clue is the same as before:
You’ll see two bumps (umbrellas) instead of one.
Putting It All Together
When you see:
• a hole → yarn over
• a right-leaning stitch → k2tog
• a left-leaning stitch → ssk
• two bumps on the wrong side → a decrease
you can start understanding exactly what happened in your knitting.
These are some of the clues your knitting gives you — once you recognize them, once you learn how to read your knitting, you’re no longer guessing.
Download the Stitch & Row Tracker
If you’d like something to help you track off your rows and stitches while you practice this, I’ve made a simple stitch and row tracker you can download for free.
👉 [Download the Stitch and Row Tracker here]
What’s Next: Counting Rows and Stitches… stay tuned!
Before you Leave: Join the So Woolly Community!
If you enjoyed this tutorial, join me for personal notes, thoughtful lessons, and calm knitting guidance — delivered straight to your inbox.
No overwhelm. No pressure. Just clarity and steady progress.
A big hug, and happy knitting,
Carolina – So Woolly
PS: Would you like to watch all the episodes? Take a look at the playlist here