How to Knit a 2×2 Rib Stitch without Purling (2-row-repeat)
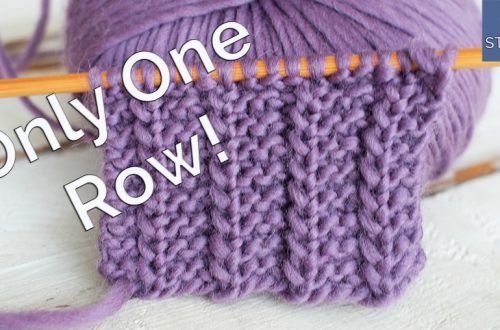
Strange but true, it is possible to knit the Rib stitch without purling 🙂
It’s also possible to knit the Fisherman’s Rib without purling…
YAY!
And in this tutorial, free, gratis, and for no money down, I’ll show you how.
By now you’re asking yourself what’s with all the enthusiasm?
Well, it’s no secret that for many of us knitters, the purl stitch is somewhat of a “necessary evil”.
Let’s just say that the purl stitch goes against the natural hand movement that we all learned from day one when we first started knitting.
Clearly, we have to use it, because, without it, we couldn’t create so many marvelous patterns, but…
If we can avoid it, and obtain fantastic results, even better.
The Rib stitch without purling is a two-row repeat pattern, which includes just two steps.
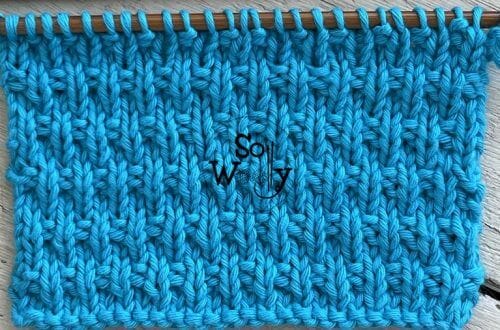
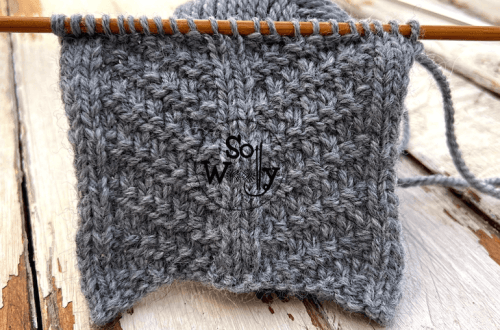
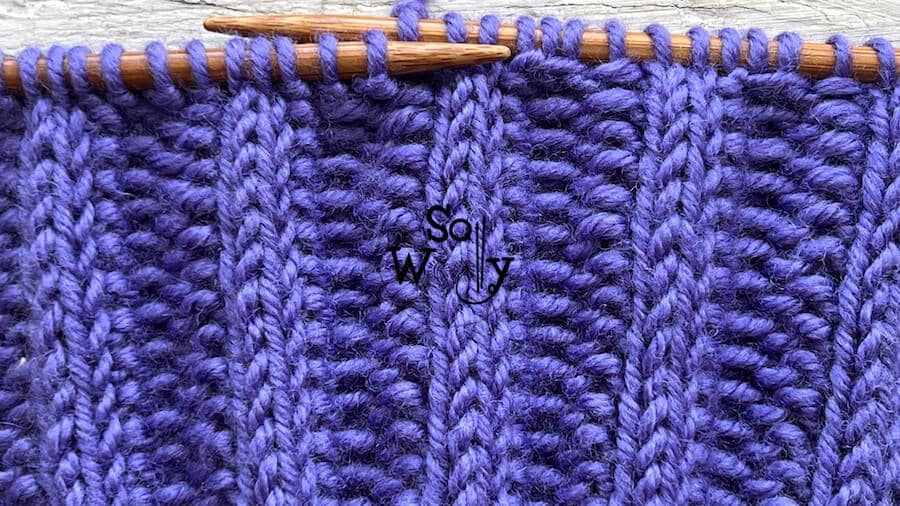
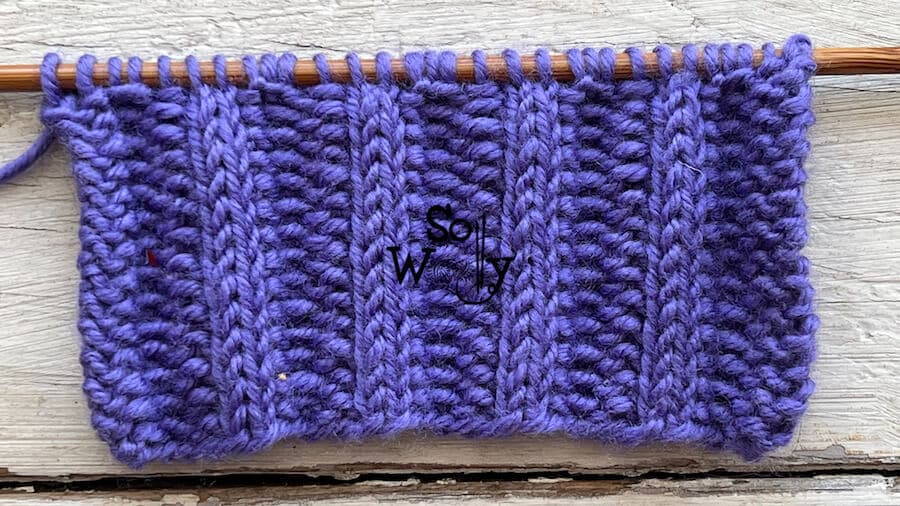
Furthermore, it’s pretty, reversible (both sides of the fabric are identical), and it lays flat (it’s a non-curling pattern).
In fact, it has a rich texture to it, so we can use it as the main stitch for blankets, infinite cowls, scarves, etc.
But also for cuffs and borders of hats, gloves, mittens, sweaters, and cardigans.
Without further ado, grab your needles and some yarn, and let’s get busy!
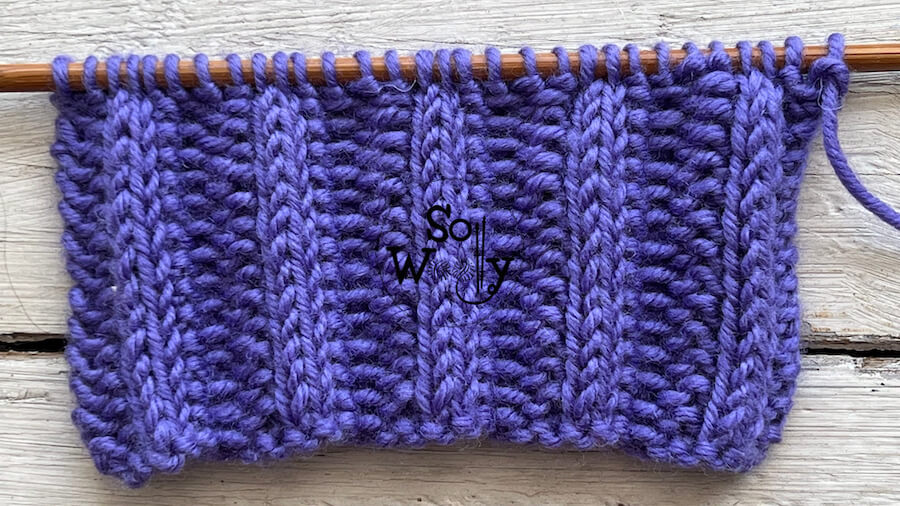
Abbreviations
CO: Cast on
st: Stitch
RS: Right side
K: Knit
P: Purl
wyif: With yarn in front
BO: Bind off
WS: Wrong side
N.B.:
The odd rows form the right side of the work.
The first and the last are selvage stitches and will be knitted on each row.
Rib stitch without purling
CO multiples of 6 (this number will include 2 edge st).
For example, 6 * 3 = 18 st.
Row 1 (RS): K1 (edge), *K4, wyif sl2pw*. Repeat from * to *, to last 5 st, ending with K4, K1 (edge).
Row 2: K1 (edge) K1, wyif sl2pw, K1, *K3, sl2pw, K1*. Repeat from * to *, to last st, K1 (edge).
These two rows create the pattern. Repeat them until the desired length is reached.
When finished BO working each st as it presents (no matter the side of the work).
This is the other side of the work:
Click here for the step-by-step video tutorial:
How to knit the Rib stitch without purling
So, after publishing this tutorial, I had many requests about how to knit this stitch in the round, so there you go:
Rib stitch “without” purling in the round
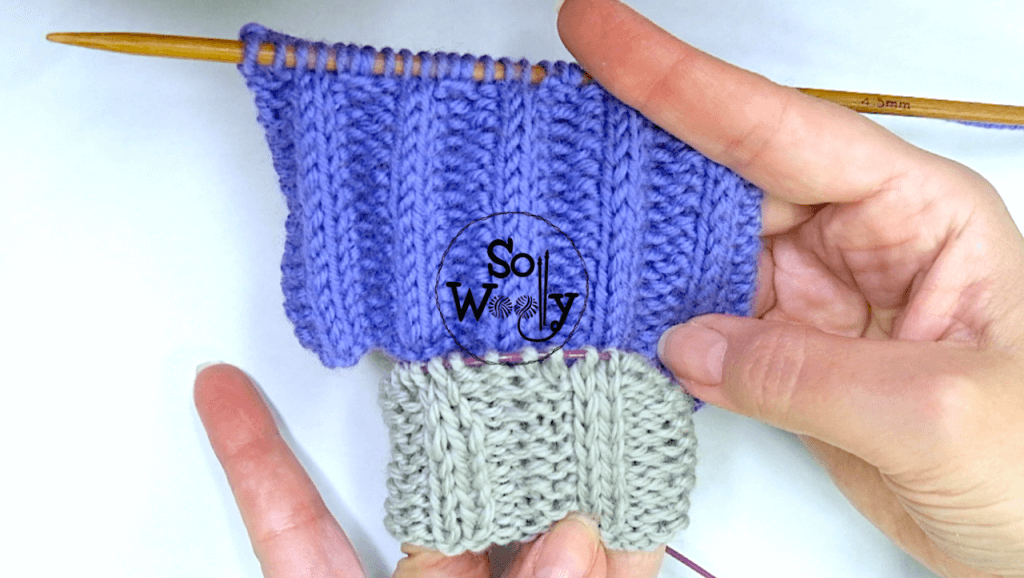
The first difference between this one and the first one is that when knitting in the round, we do have to purl!
There’s no other way to do it (believe me, I tried).
Ok, let’s get started:
CO multiples of 6; i.e.: 6 * 3 = 18 st.
Round 1: *K4, wyif sl2pw*. Repeat from * to *, to end.
Round 2: *K2, P4*. Repeat from * to *, to end.
These two rounds create the pattern. Repeat them until the desired length is reached.
When finished, BO working each st as it presents after row 1.
Enjoy the video tutorial
Hugs, and happy knitting 🙂
xoxo
Carolina – So Woolly
“As an Amazon Associate, I earn from qualifying purchases.”


