How to knit the Pique Rib stitch: Great for beginners
In this tutorial, you’ll learn how to knit the Pique Rib stitch; super easy to do, ideal for beginners (it combines simple knit and purl stitches).
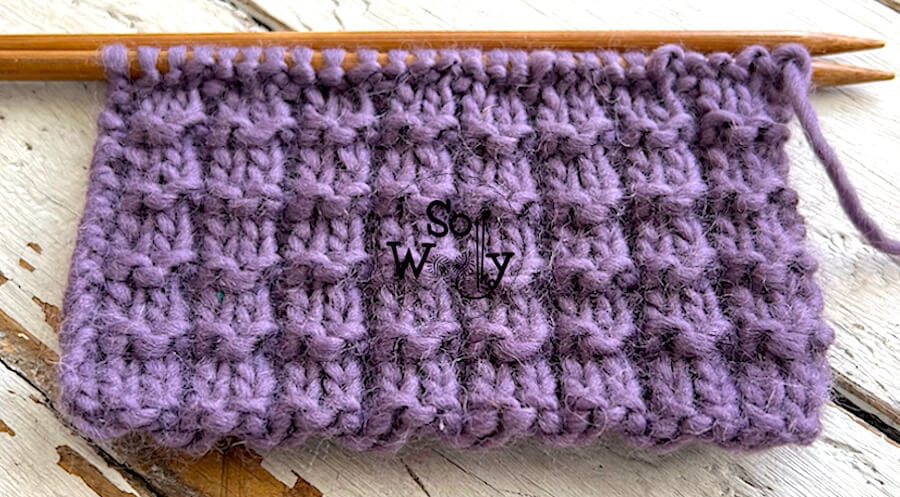
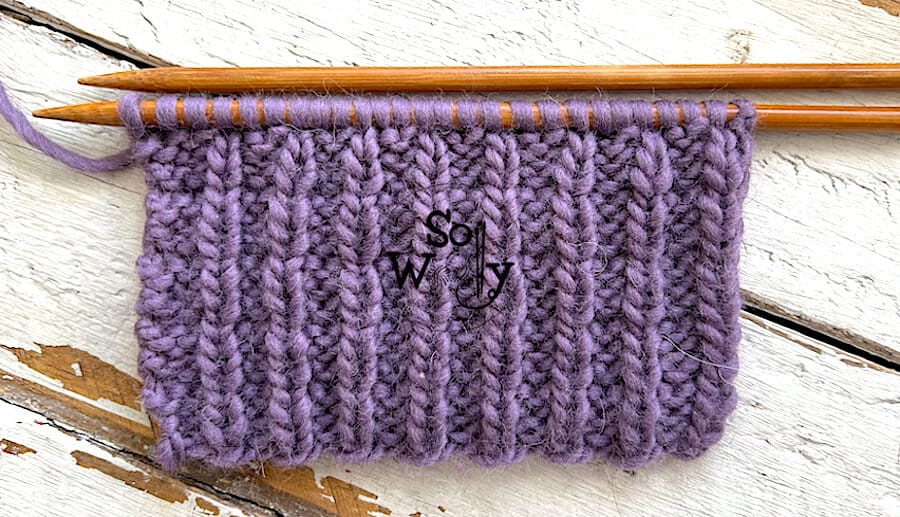
It’s a reversible four-row repeat pattern (although both sides are different, they look pretty); the so-called “wrong side of the work” looks like a “Broken Rib stitch.
Two of the four rows are identical, and one of them is a plain knit row, so if you are just starting to knit, this one is for you!
Furthermore, the Pique Rib stitch stays flat, so it’s perfect for accessories such as scarves, cowls, wraps, etc., but also for larger pieces, such as blankets, sweaters, or cardigans.
Its design has a rich texture to it, very similar to the Grid stitch we practiced a while ago.
Without further ado, grab your needles, a bit of yarn, and let’s get started 🙂
Abbreviations
CO: Cast on
st: Stitch
RS: Right side of the work
K: Knit
P: Purl
BO: Bind off
WS: Wrong side of the work
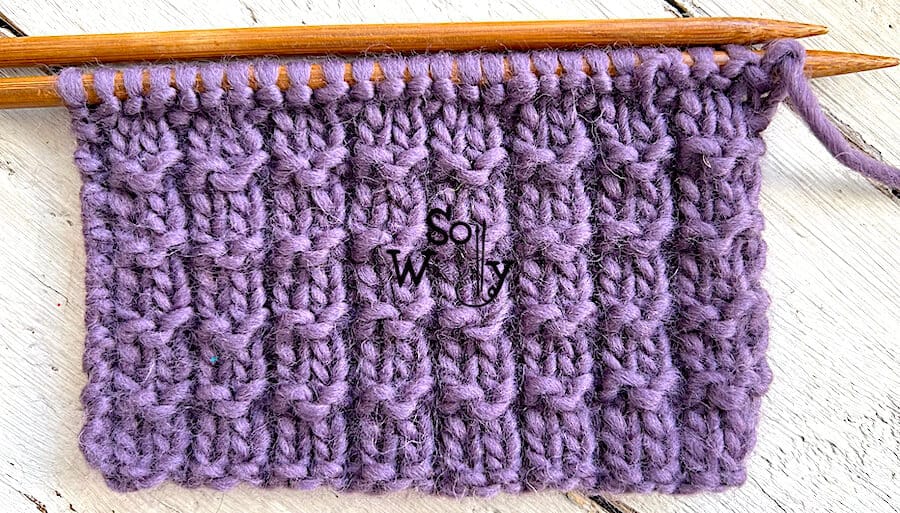
Using my lovely set of bamboo needles (smooth and long, beginner-friendly) #ad
N.B.:
The odd rows form the right side of the work.
The first and the last stitch are selvage stitches, and they will be knitted on each row.
Pique Rib stitch knitting pattern
CO multiples of 3 +2; i.e.: 3 * 5 = 15 + 2 = 17 st.
1º and 3º rows (RS): K1 (edge), *K2, P1*. Repeat from * to *, to last st, K1 (edge).
2º row: K1 (edge), *K1, P2*. Repeat from * to *, to last st, K1 (edge).
4º row: K across.
These four rows create the pattern. Repeat them until the desired length is reached.
When finished, BO knitwise after a row 3 (WS).
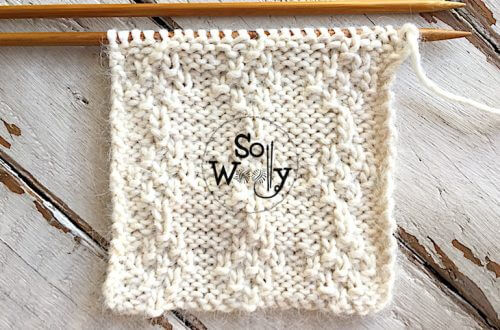
This is the other side of the work:
Enjoy the video tutorial:
How to knit the Pique Rib stitch
I hope you like it!
Hugs, and happy knitting 🙂
xoxo
Carolina – So Woolly
PS: Loving the knit+purl stitch patterns? Then take a look at the following:
How to knit the Pearled stitch
Little Boxes knitting stitch pattern
“As an Amazon Associate, I earn from qualifying purchases.”


