How to knit the Checker stitch (it lays flat)+ Video
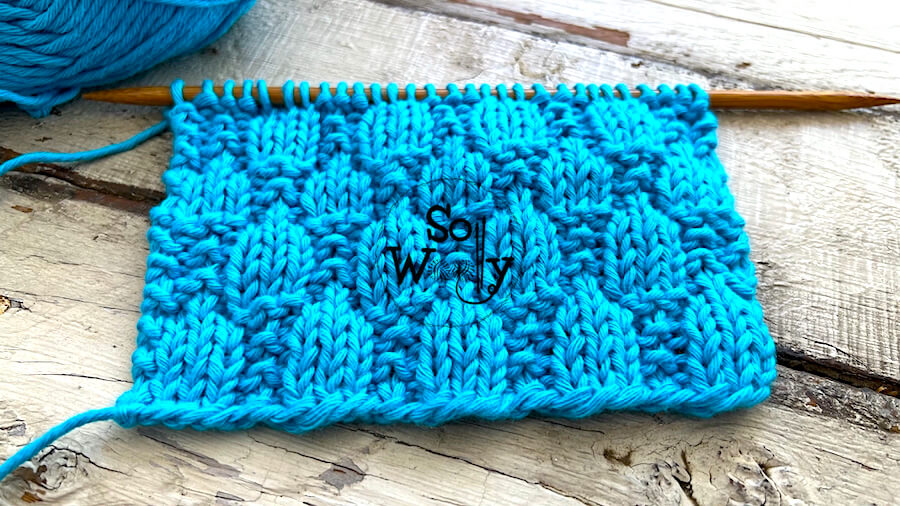
Today, you’ll learn how to knit the Checker stitch, with knits and purls only.
It’s a simple yet pretty pattern, easy to do, and great for beginners (there are no increases or decreases).
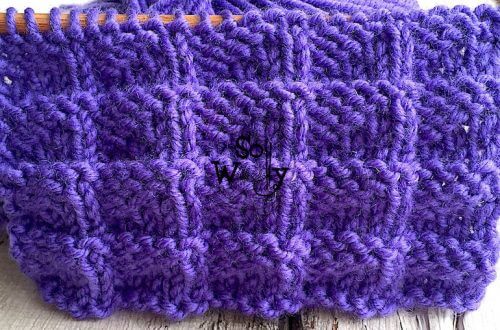
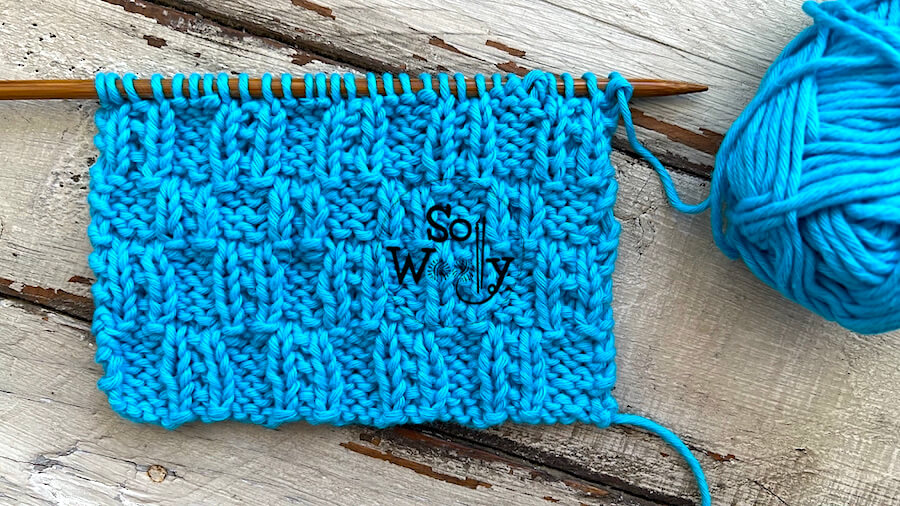
Additionally, the Checker stitch has a lovely texture to it, and although it’s not reversible, both sides look pretty.
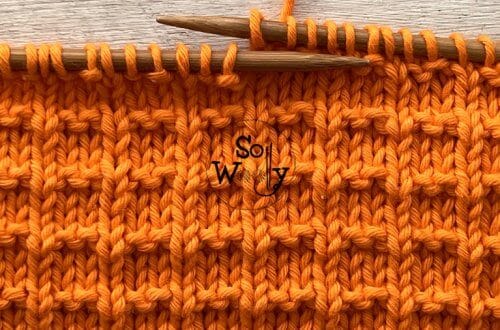
Similar to the Embossed Blocks stitch we practiced a while ago, it stays flat no matter what; so there’s no need to add an edge or border.
Which makes it perfect for scarves, infinite cowls, blankets, hats, but also for a sweater or cardigan.
Without further ado, grab your needles, and some yarn, and let’s get busy!
Abbreviations
CO: Cast on
RS: Right side of the work
st: Stitch
K: Knit
P: Purl
WS: Wrong side of the work
BO: Bind off
N.B.:
The even rows form the right side of the work.
The selvage (edge) stitches will be knitted on each row.
This swatch was made of 100% cotton yarn, smooth, easy to work with, great for beginners #ad
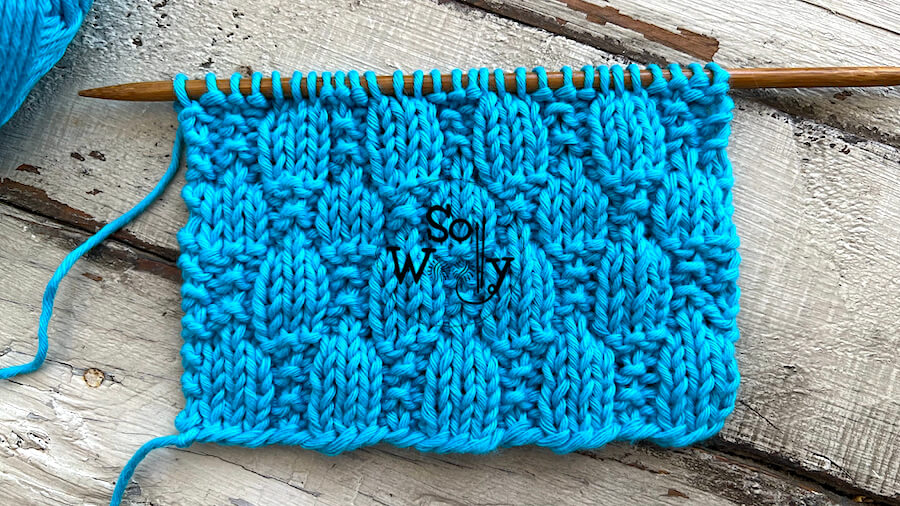
How to knit the Checker stitch
CO multiples of 6 + 3 + 2 (edge st); i.e.: 6 * 3 = 18 + 3 = 21 + 2 = 23 st.
Rows 1, 3, and 5 (WS): K1 (edge), P3, *K1, P1, K1, P3*. Repeat form * to *, to last st, K1 (edge)
Rows 2, 4, and 6: K1 (edge), *K3, P3*. Repeat from * to *, to last 4 st, K3, K1 (edge)
Rows 7, 9, and 11: K1 (edge), K1, P1, K1, *P3, K1, P1, K1*. Repeat form * to *, to last st, K1 (edge)
Roes 8, 10, and 12: K1 (edge), *P3, K3*. Repeat from * to *, to last 4 st, P3, K1 (edge).
These twelve rows create the pattern. Repeat them until the desired length is reached.
When finished, BO after row 11 (RS), working each stitch as it presents.
This is the other side of the work:
Enjoy the video tutorial:
I hope you like it 🙂
Hugs, and happy knitting,
Carolina – So Woolly
“As an Amazon Associate, I earn from qualifying purchases.”


