How to knit the adorable Clover stitch pattern
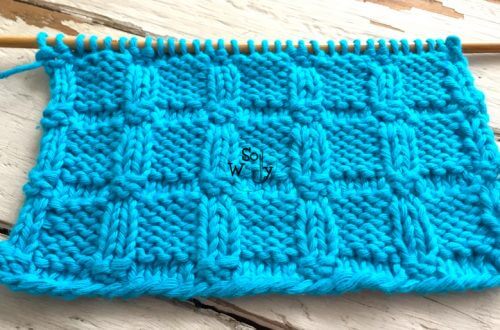
In this post, I’m sharing how to knit the Clover stitch; the perfect combination between an openwork and a dense fabric (especially important when we don’t want too many holes in our knitwork).
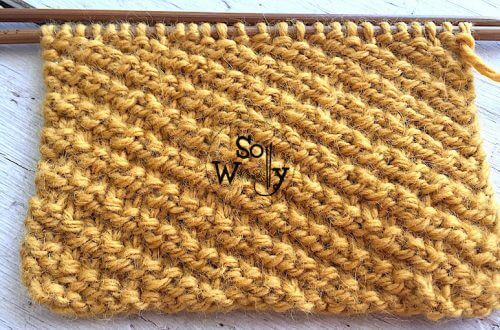
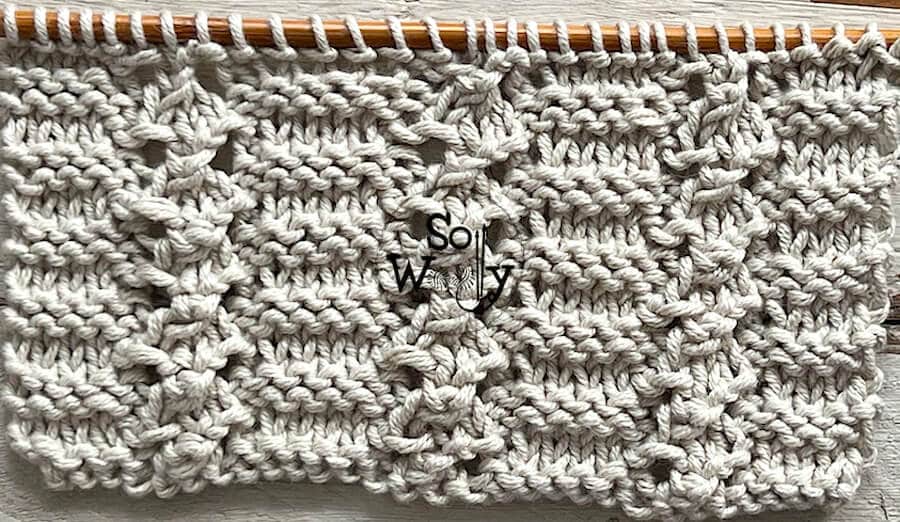
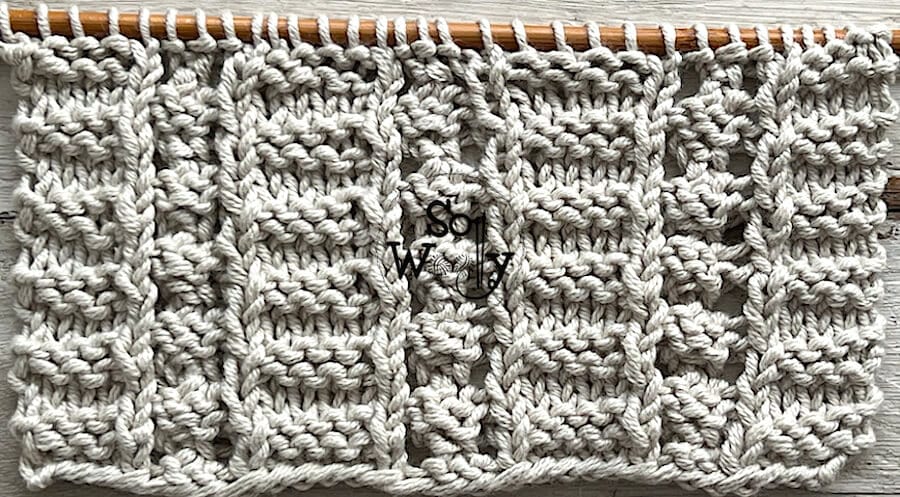
It’s a lovely four-row repeat pattern. Its design creates knit and purl columns, divided by a little touch of lace.
#Texture !!!
In fact, the Clover stitch not only looks pretty; you can use it in a wide range of projects: From a top, or a sleeveless vest (open or closed), to a sweater or cardigan, or even a blanket.
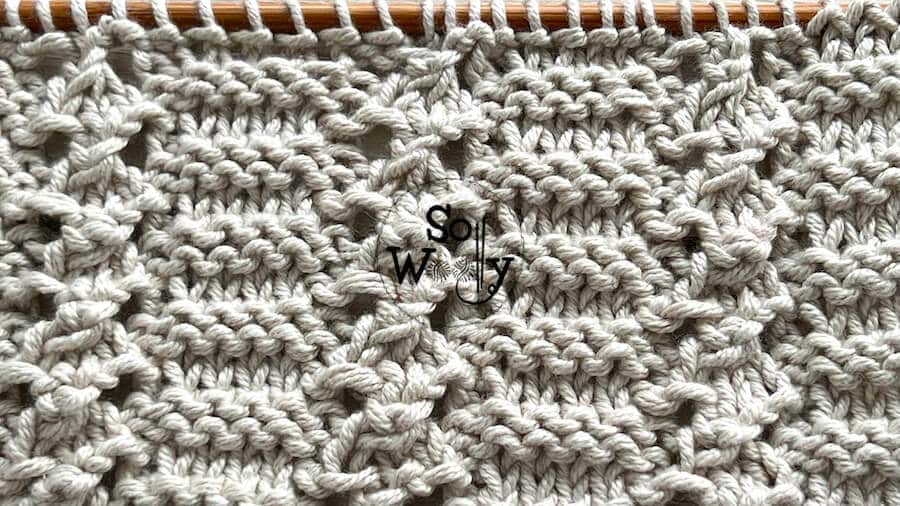
Although it’s not a reversible pattern, the Clover stitch will work even for a scarf, because the “wrong side” of the work looks good too 🙂
Furthermore, it’s a very versatile pattern: Use wool yarn (or its blends) to knit Autumn-Winter garments.
Work with cotton yarn, bamboo, linen, or its blends to create beautiful Spring-Summer garments!
Last, but not least, take a look at my favorite tips:
How to knit the Clover stitch: Tips for knitting lace and survive…
First of all, I suggest using sharp tip needles (they’ll save you a lot of time and effort because they make the decreases a much easier task) #ad
Secondly, try to finish the row (or round) before stopping your knitting (and write it down). This way, if you’re not yet a ninja reading your knitting, you’ll be able to take it up quickly.
If that’s not possible, and you need to leave right away, at least try to complete a whole repeat (the instructions between asterisks on each pattern).
Finally, in order to obtain a professional look (a plain fabric, that features crispy stitches), don’t forget to block the piece once finished.
You simply can’t imagine the difference these rules make 😉
This blocking mat with pins will turn out an excellent ally #ad
Without further ado, grab your needles and some yarn, and let’s get started!
Abbreviations
CO: Cast on
st: Stitch
K: Knit
P: Purl
yo: Yarn over
k3tog: Knit three stitches together
RS: Right side of the work
BO: Bind off
N.B.:
The odd rows form the right side of the work.
There are no selvage stitches included; if you like to have them, add 2 stitches to the calculation.
This swatch was made of 100% cotton yarn (comfortable to wear and beautiful to work with!) #ad
How to knit the Clover stitch
CO multiples of 9 + 4 st; i.e.: 9 * 2 = 18 + 4 = 24 stitches.
1º row: P4, *P1, K3, P5*. Repeat from * to *, to end
2º row: P4, *K1, yo, k3tog, yo, K1, P4*. Repeat from * to *, to end
3º row: K4, *P2, K1, P2, K4*. Repeat from * to *, to end
4º row: K4, *K1, P3, K5*. Repeat from * to *, to end
These four rows create the pattern. Repeat them until the desired length is reached.
When finished, BO working each st as it presents after a row 4 (RS).
This is the other side of the work:
Enjoy the video tutorial:
How to knit the Clover stitch pattern
Thank you for watching, and don’t forget to share the love 😉
Hugs, and happy knitting 🙂
Carolina – So Woolly
“As an Amazon Associate, I earn from qualifying purchases.”