How to knit Mitered Squares for beginners
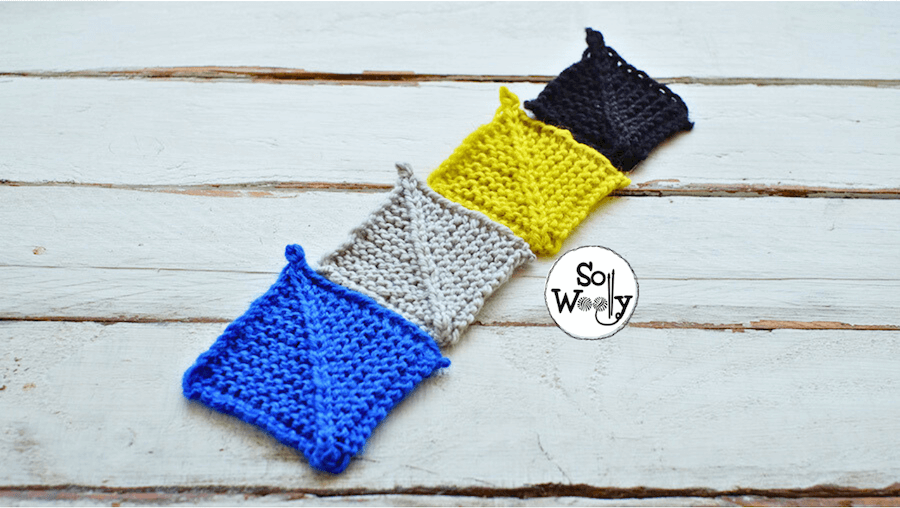
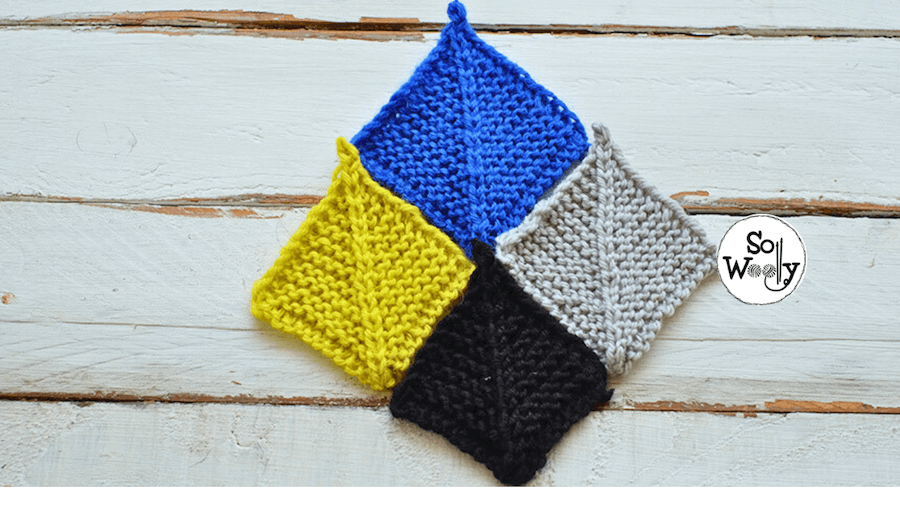
Today, I’m sharing how to knit mitered squares, a great technique for blankets, cushions, table runners, placemats, rugs, and many other square or rectangular projects.
The good news is that squares are easy and fun to do, this is why they’re ideal for beginners 🙂
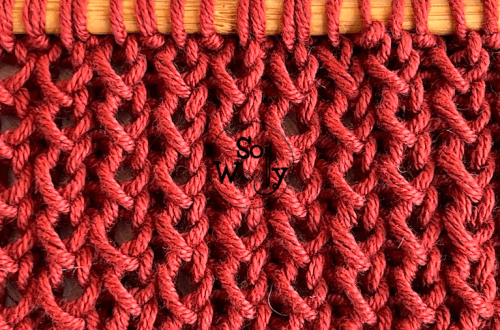
Actually, they work best in Garter stitch, using a double decrease through the center, to create a pleasing 3D texture.
Moreover, they are pretty flexible: Any yarn, any needles, any colors (or combination of colors) in any size, for Summer or Winter… you decide!
Besides that, you can cast on the number of stitches you want, and just knit across the rows, except for the central stitch.
However, some rules apply:
Firstly, cast on an odd number of stitches.
Secondly, always slip the first stitch purlwise (as if to purl).
Thirdly, knit the last stitch through the back loop.
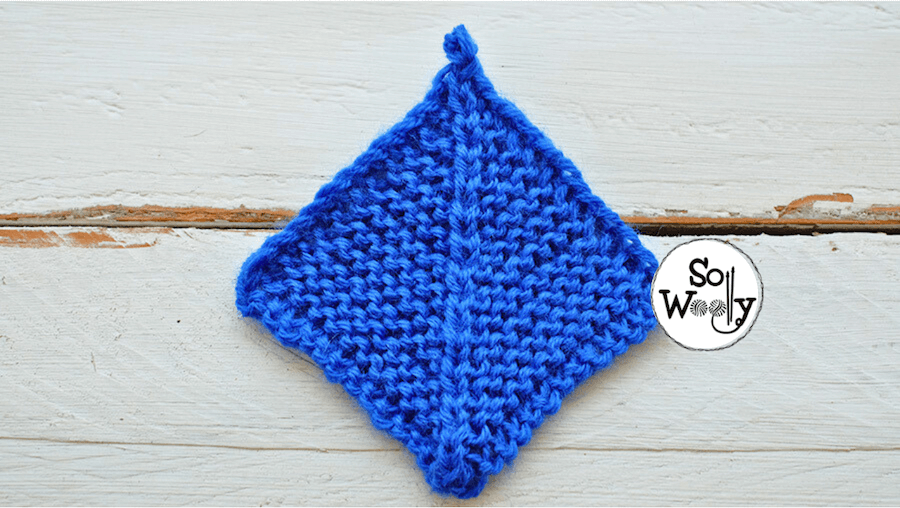
Finally, once your mitered squares are finished, don’t forget to block them to give them the perfect shape.
How to block the Mitered Squares
First of all, soak them for some minutes (without shaking). Simply wait until the fibers absorb the humidity.
Now, squeeze them gently, removing the excess water.
Place them over a towel, using the palm of your hand to flatten them, and give them the right shape.
And let them air dry (avoid sun exposure).
Abbreviations
CO: Cast on
st: Stitch
RS: Right side
sl1pw: Slip one stitch purlwise (pass it onto the right-hand needle as if to purl)
K: Knit
dd: Double decrease. Slip two stitches together knitwise, knit the next, and pass the slipped stitches over the last one
k1tbl: Knit one stitch through the back loop
P: Purl
WS: Wrong side
How to knit mitered squares for beginners
CO an odd number of st.
Subtract three central stitches and divide the remaining stitches into two halves. For example:
CO 21 st.
Subtract 3: 21 – 3 = 18 st.
Divide by 2: 18 / 2 = 9 st for each side.
1º and every odd row (RS):
First Half: sl1pw, K to 3 central st
3 Central stitches: dd (2 st decreased, there’s 1 central st left)
Second Half: K to last st, k1tbl
2º and every even row:
First Half: sl1pw, K to central st
Central stitch: P
Second Half: K to last st, k1tbl
These two rows will be repeated until there are five stitches left:
Next row (RS): sl1pw, dd, k1tbl
Next row: sl1pw, P1, k1tbl
Next row: dd. One st remains.
Cut the yarn and pass it through the last loop to close the mitered square, and you’re ready to knit the next!
Enjoy the video tutorial:
How to knit mitered squares, step by step
I hope you like it!
Hugs, and happy knitting 🙂
Carolina – So Woolly
PS: Are you a fan of blanket knitting? Take a look! #ad
“As an Amazon Associate, I earn from qualifying purchases.”