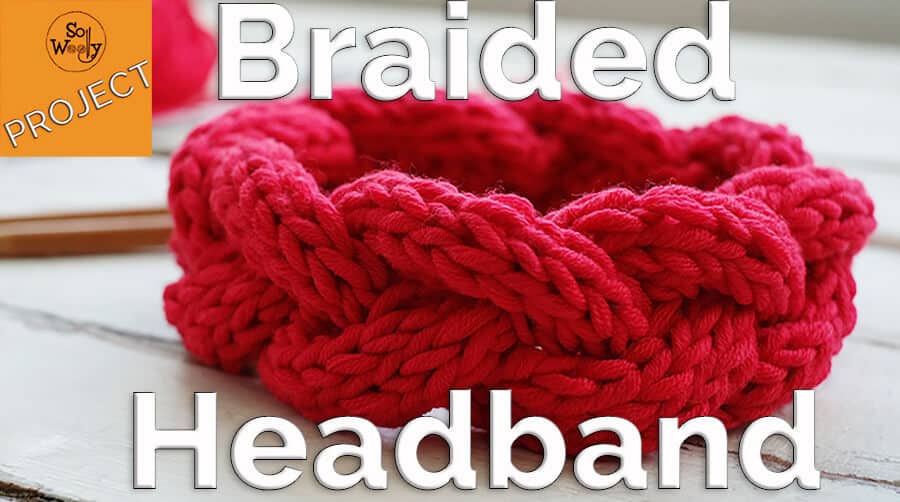
How to Knit a Braided Headband (step-by-step) + Video
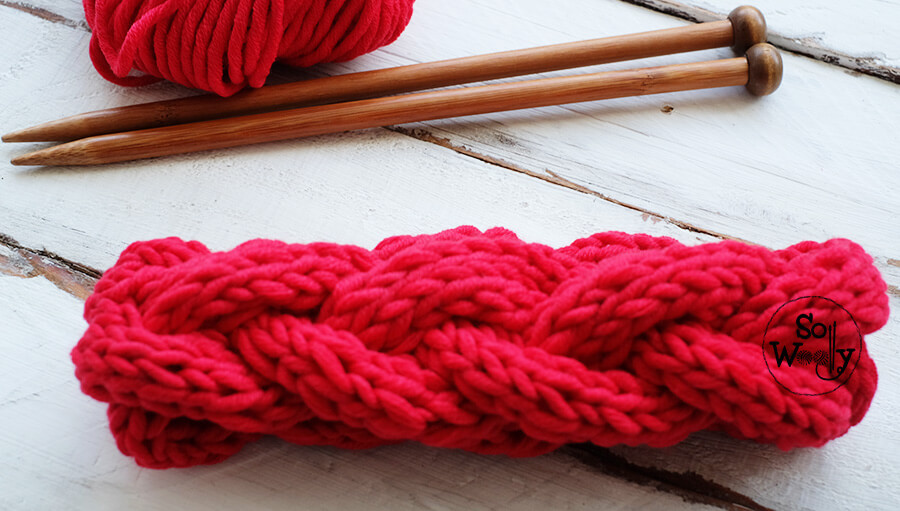
In today’s tutorial, a quick and easy project (it takes less than two hours), with amazing results: A braided headband or diadem.
You’ll learn how to knit a braid from scratch, step by step, and how to join the opposite sides seamlessly, using the grafting technique, perfect for all you knitters that don’t like visible seams!
This braided headband is a very flexible design, you can use the needles and yarn you have on hand.
Just keep in mind that the thinner the yarn and the smaller the needles, the narrower and shorter the headband is going to be (it means that more rows are required to reach the length you want).
If you prefer a finer delicate design, take a look at this headband pattern.
Let’s get started!
Materials for the Braided Headband
50 gr of a soft superwash Merino wool yarn (bulky weight, chunky, or nº 5) #ad
Super important: The softer the yarn, the better 😉
US 13 (9 mm) knitting needles #ad
As we are knitting a braid, and it’s a tight fabric, it’s ok to use 1 needle size less than the recommended on the label
Cable needle, a third needle #ad
Or even a third needle, a hair pin or clip
Tapestry needle, scissors, and measurement tape
This kit contains all the knitting accessories we’d need for any project! #ad
“As an Amazon Associate, I earn from qualifying purchases.”
Abbreviations
CO: Cast on
K: Knit
P: Purl
RS: Right side of the work
cn: Cable needle
How to Knit a Braided Headband
Instructions
CO 15 st and knit 3 rows as follows:
1º, 3º, 5º, 7º rows: P across
2º and 6º row (RS): K across
4º row (left cross): Pass 5 st onto the cn and hold in front. K5 (from the left-hand needle), pass 5 st (from the cn) onto the left-hand needle, and knit them, ending with K5.
8º row (right cross): K5, pass 5 st onto the cn and hold in back, K5 (from the left-hand needle), pass 5 st (from the cn) onto the left-hand needle, and knit them.
These eight rows create the pattern. Repeat them until the desired length is reached (head circumference).
Finishing Tips
- To get a snug headband, stretch it before binding off so it’s not too long. Keep in mind that the yarn will stretch over time (when using animal fibers).
- For continuity, try to bind off after row 8. Cut the yarn leaving an 8 in / 20 cm tail approximately.
My braided headband has 64 rows in total (8 rows * 8 times).
Grafting
Place the work facing the wrong side, and thread the tapestry needle using the tail. Bring the other bottom edge and place it in front of the knitting needle.
Pass the tapestry needle through the first st knitwise; don’t drop it.
Then, pass the tapestry needle below the first st from the bottom edge (below the most exterior “v”). Now pass the tapestry needle through the first st purlwise. Drop the st, and pass the tapestry needle through the next st knitwise. Don’t drop it.
And again, pass the tapestry needle below the first st from the bottom edge (below the most exterior “v”).
From now on, the steps will be repeated (follow the rhythm 😉 … Repeat after me:
“Purl wise and drop, Knit wise and don’t drop, below the “v””…. and repeat, until the last st.
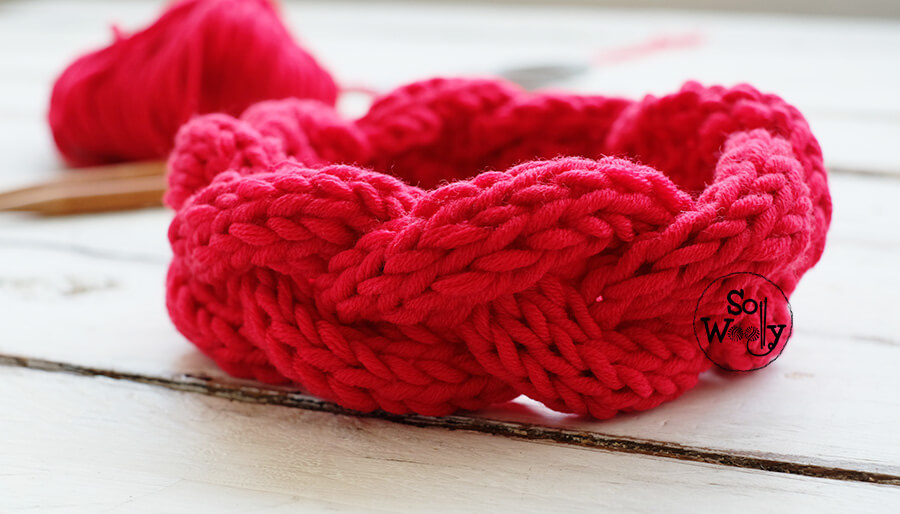
Weave in the ends, and you’ve finished a new braided headband!
Ok, it’s time to watch the video:
I hope you like it, and that it helps take your mind off everything that it’s going on at the moment…
Keep safe, and happy knitting!
Carolina – So Woolly
PS: Looking for more timeless cables with clear guidance? Explore the full Cable Stitch Patterns collection here.