How to do the German Twisted Cast-On + the Long Tail
Today, I’m sharing two ways to cast-on stitches in knitting: The German Twisted and the Long Tail.
When I was a little girl, I learned the Long Tail method, and it’s been my favorite since then.
It’s stretchy, it looks pretty on both sides, and it works for any sort of project; and I do it every time without thinking.
But I always heard that the German Twisted cast-on was better for socks, leg warmers, gloves or mittens, and hats.
Why?
Well, it’s even stretchier, so you’ll never have a cuff that doesn’t fit.
However, when I tried to do it, I couldn’t get my head around it.
At first glance, I thought it was too complicated…
So I forgot about it.
The good news is that recently, I managed to learn it, and it’s worth it!
Surprisingly for me, the German Twisted cast-on is stretchier than the Long Tail method, and now for me, it’s the one to go when knitting cuffs.
OK, let me show you how to do both of them.
How to do the Long Tail Cast-On
The Starting Position
The yarn comes from 2 different places: The tail is on the left side; the working yarn (coming from the ball) is on the right side:
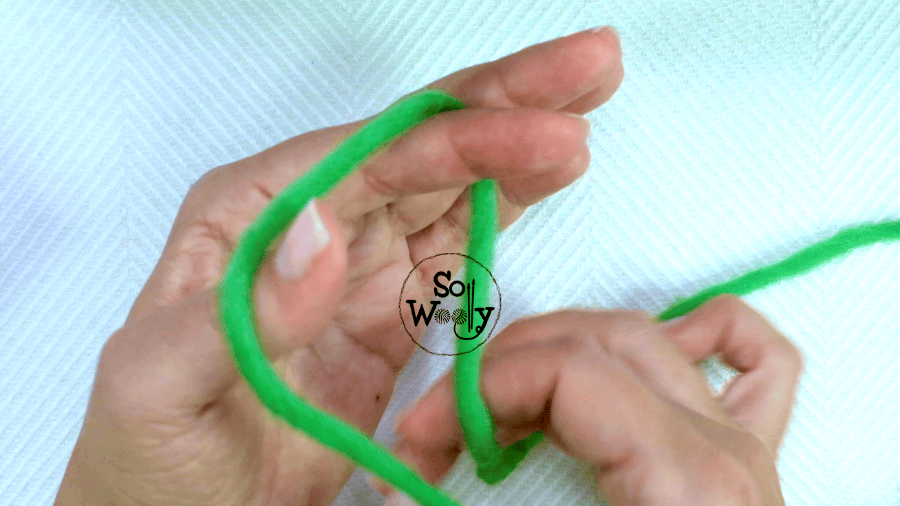
Leave a tail long enough (in this tutorial you’ll see what I do)
Put the long tail over your thumb and around the index finger, forming a triangle:
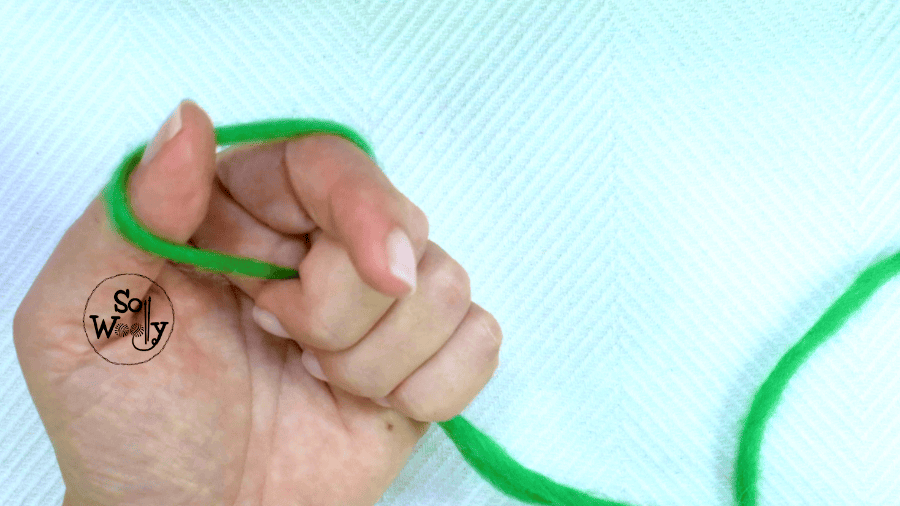
Expand it a little bit, and press both yarns with the other three fingers
Place the needle below the base of the strand:
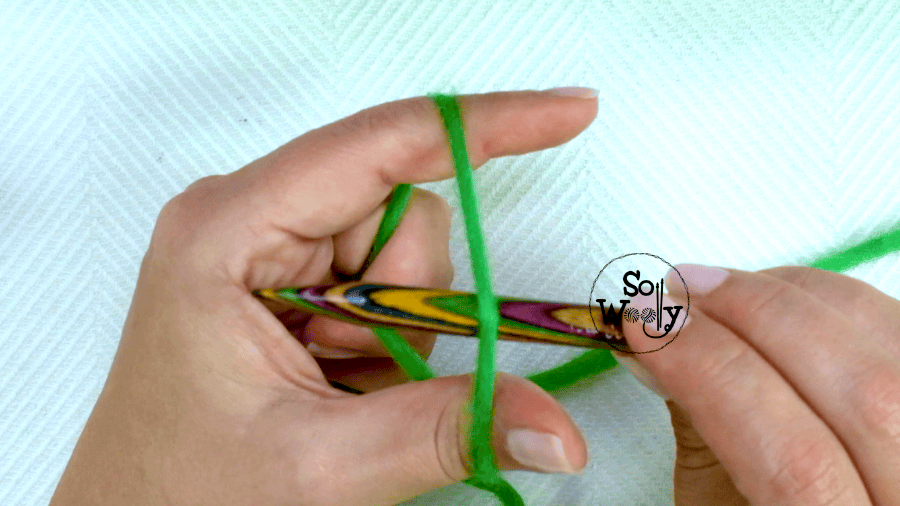
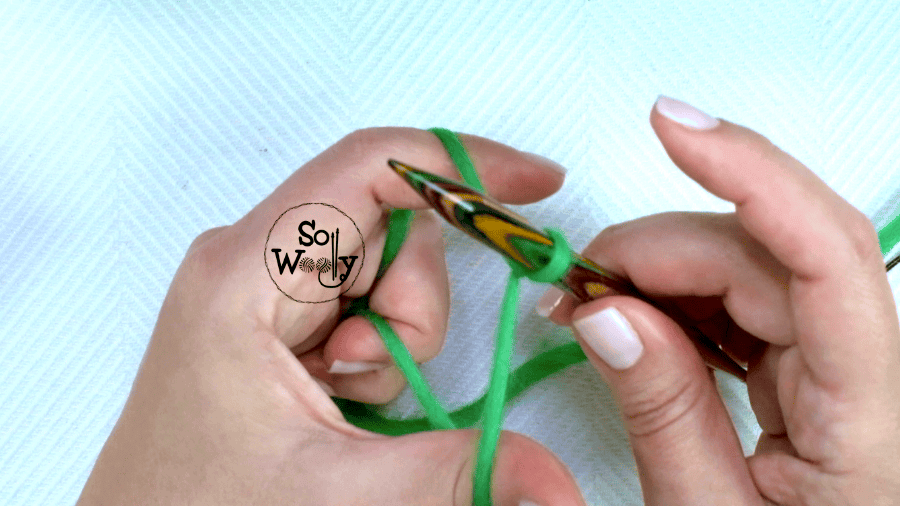
For the next stitches, repeat the following steps:
First, go through the loop on your thumb
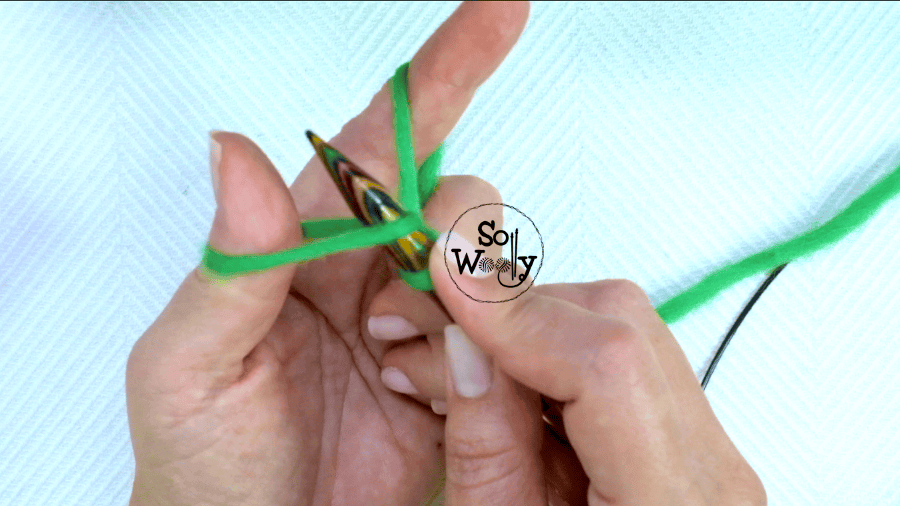
Second, go around the loop on your index finger
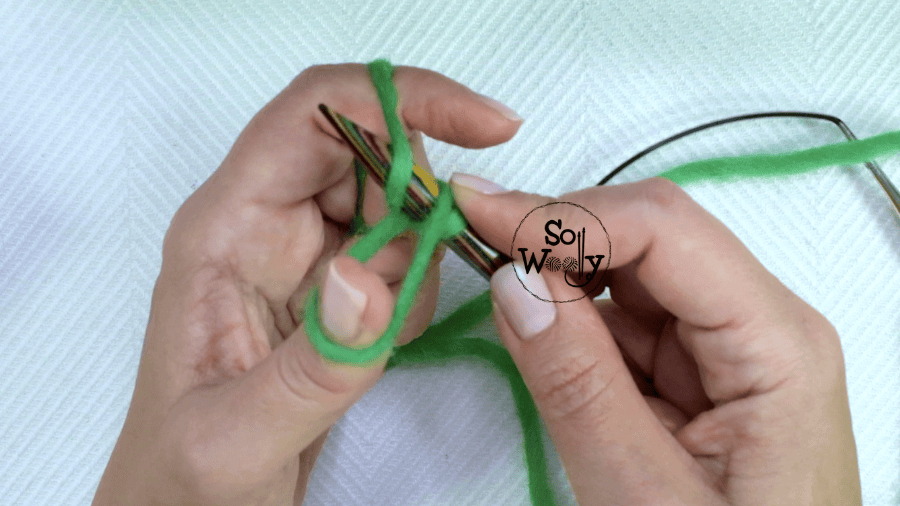
Third, go through the loop on your thumb again
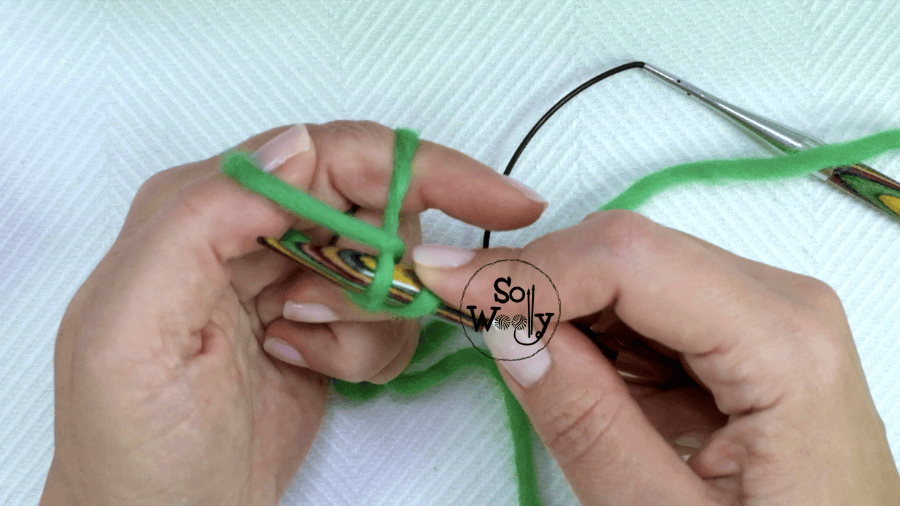
Finally, let the yarn go off the thumb, and pull.
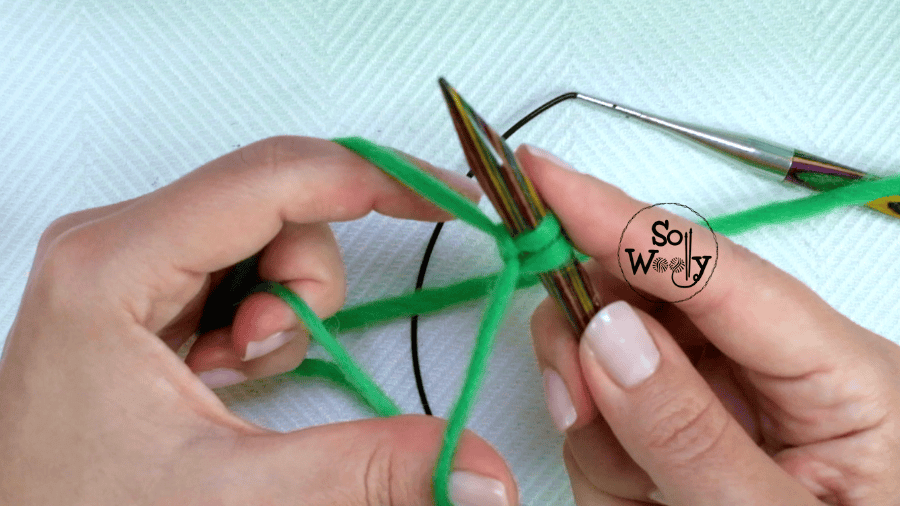
Now you have 2 stitches; repeat the process you have the number of stitches needed.
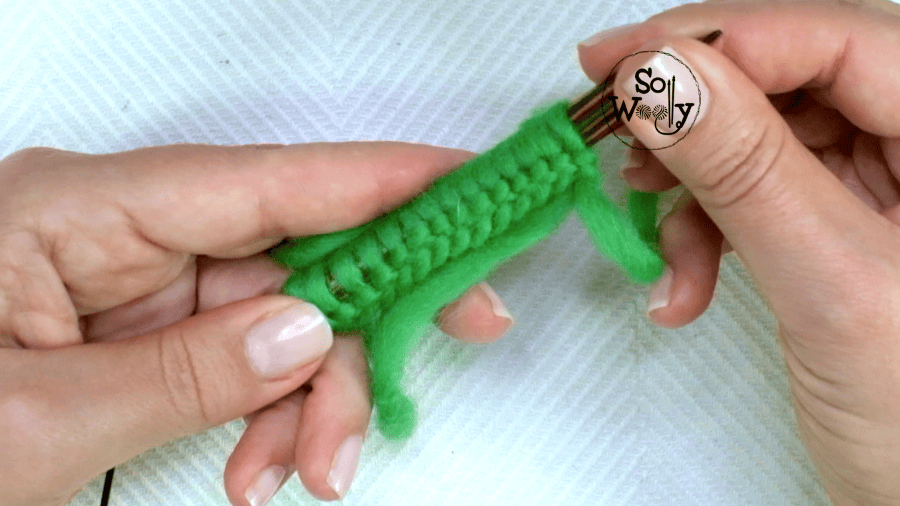
Et voilà! You have mastered the Long Tail Cast-On 😉
How to do the German Twisted Cast-On
For the German Twisted Cast-On, the starting position is the same as explained above.
Go under both of the strands on your thumb
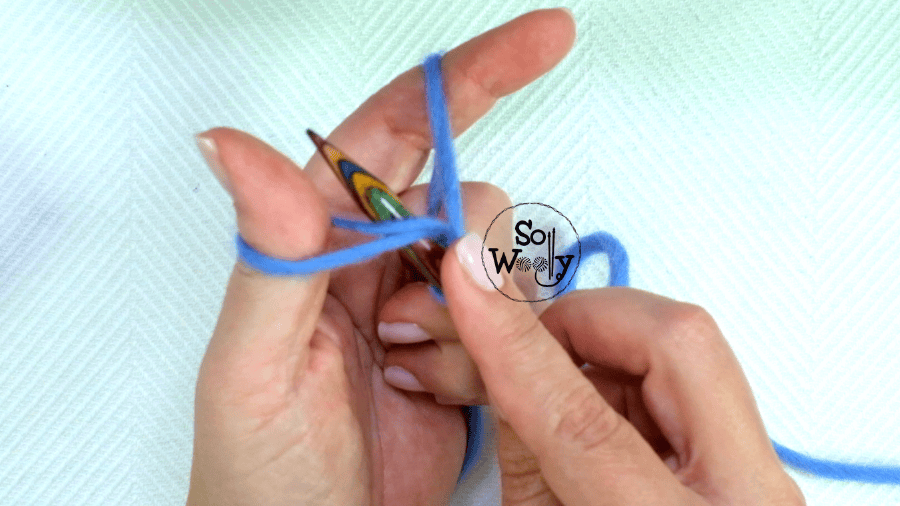
Come down through the loop on your thumb
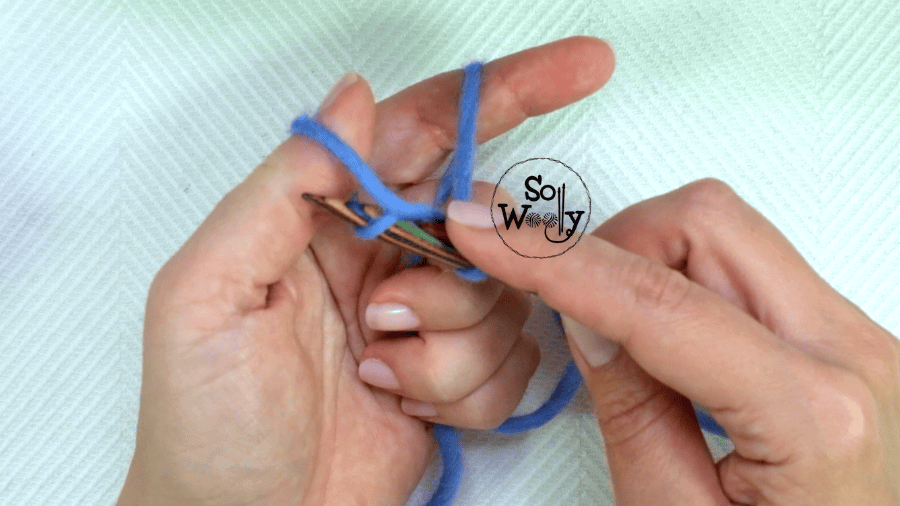
Pick up the yarn on your index finger
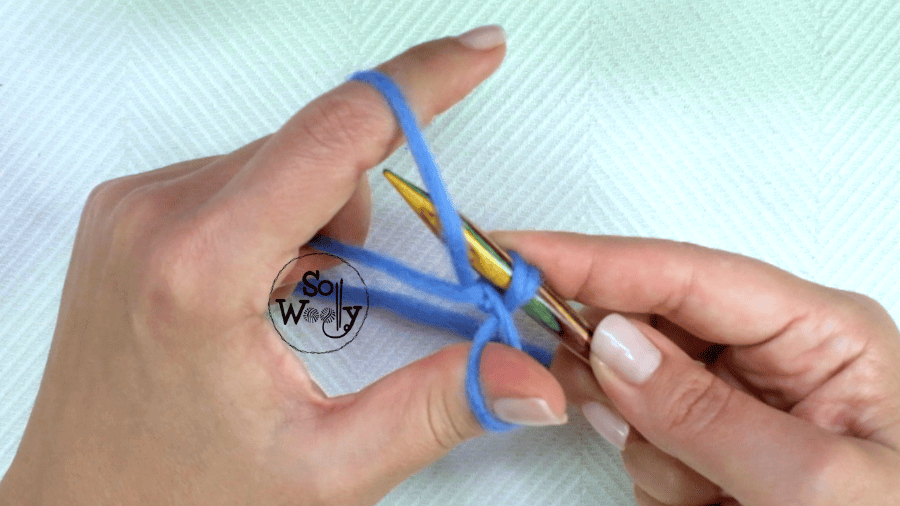
Bend your thumb a little bit
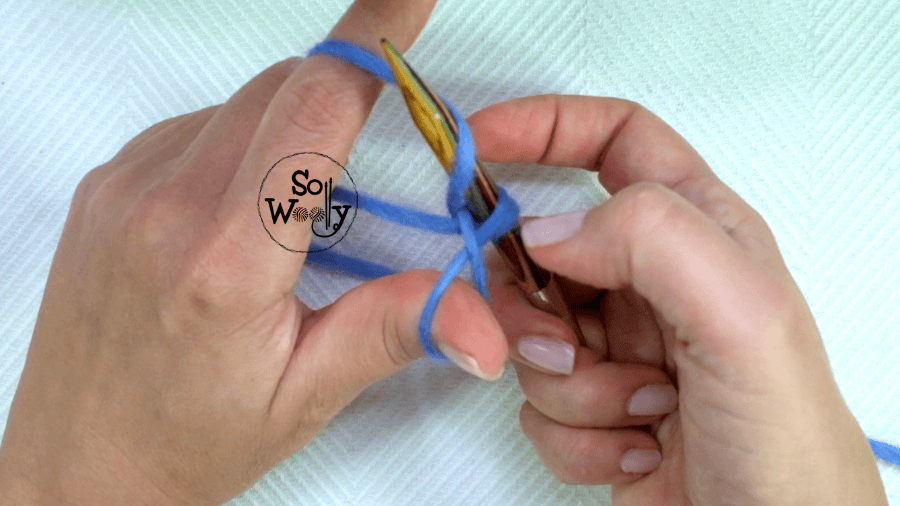
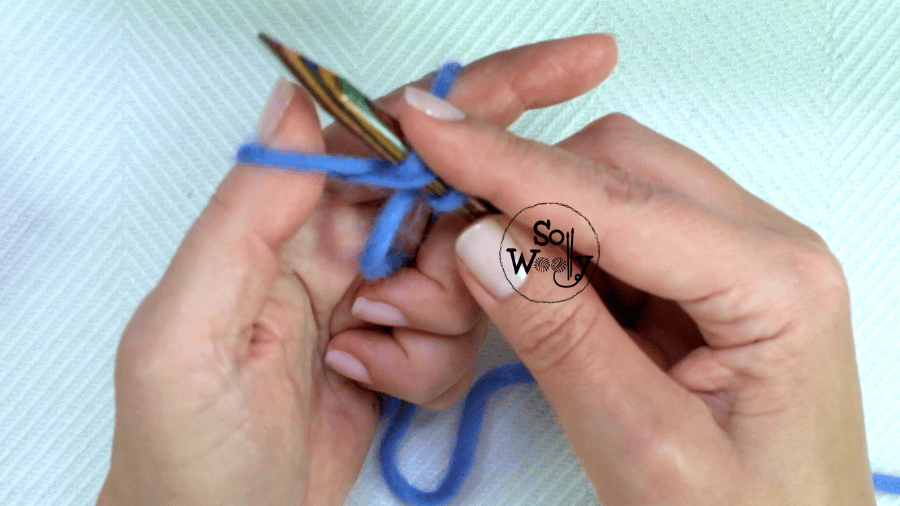
Pull the yarn through the X formed between your thumb and the needle
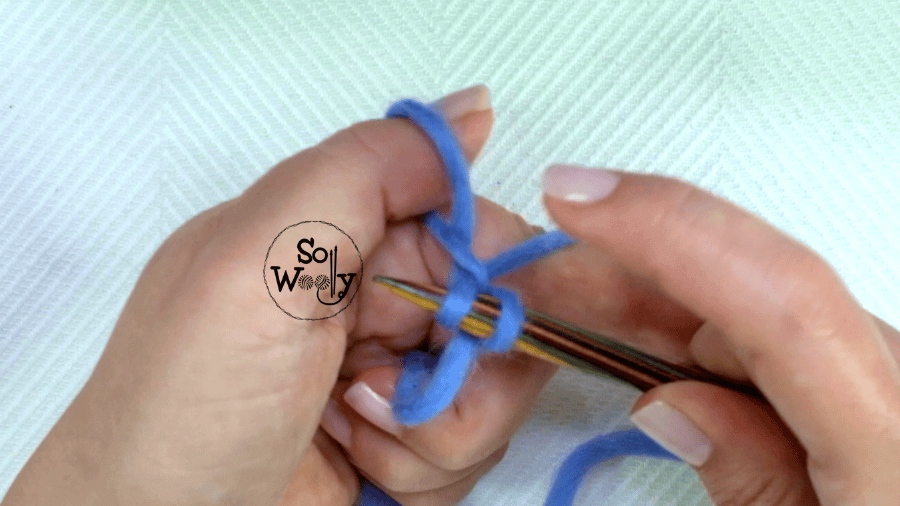
Then, let go of the yarn of your thumb, and pull
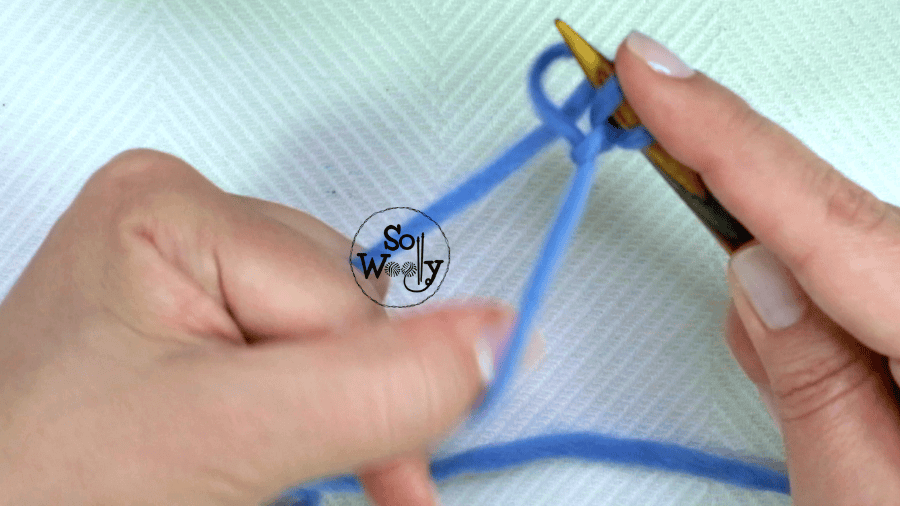
You have cast on 2 stitches. Repeat the process from step 1 until you have the number of stitches needed.
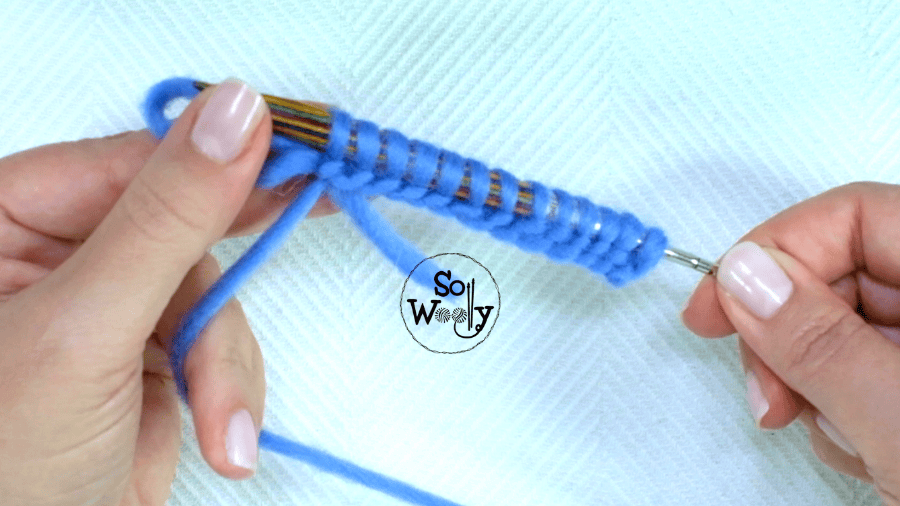
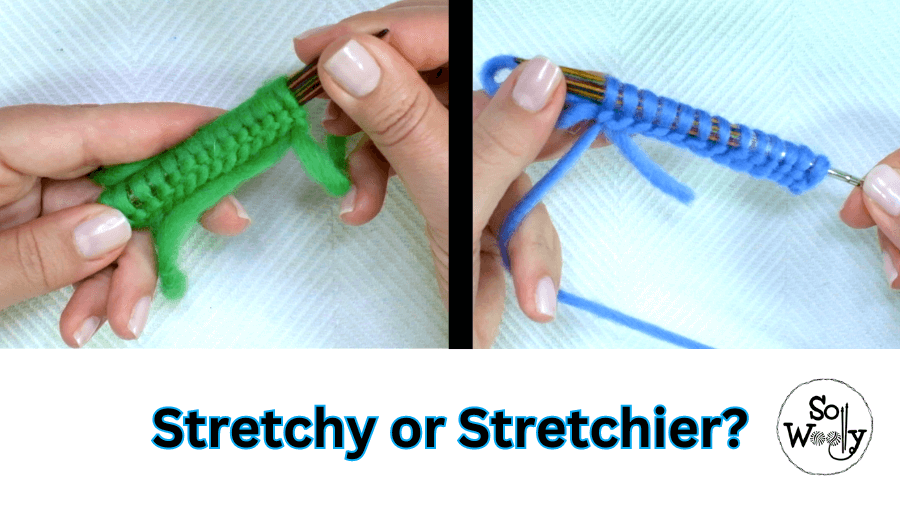
This is how both look (the stretchier is the German Twisted Cast On because although the swatch was made using a smaller needle, there’s more elasticity in the fabric.
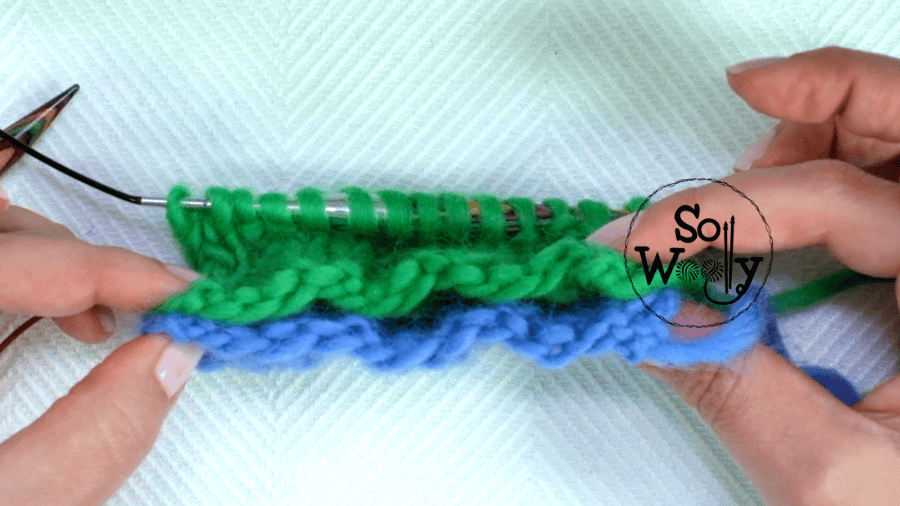
Both swatches were knitted using 100% wool yarn (chunky, and quick to work with) #ad
“As an Amazon Associate, I earn from qualifying purchases.”
Enjoy the video tutorial:
How to do the German Twisted Cast-On + the Long Tail
Well, this is everything for today, my little Woolly!
I hope you enjoyed this tutorial, thank you for watching, and happy knitting 🙂
Carolina – So Woolly


