How to do a Stretchy Bind Off (Knitting Technique)
In this tutorial, you’ll learn how to do a stretchy bind-off, step by step.
It’s a useful knitting technique, for several reasons:
First of all, it will help you with the tension of the stitches.
I’m aware that for some knitters, binding off when using the knitting needles is a real pain in the backside.
In fact, there are many ways of finishing your knit work, including the 3 needles bind-off technique, but it’s also true that some knitters don’t get the results they’re looking for 😉
Either they end up having a too tight finish, or just the opposite, it’s too loose.
Honestly, with this technique, you’ll have total control of the edge of your knitting. It will be your new best friend forever!
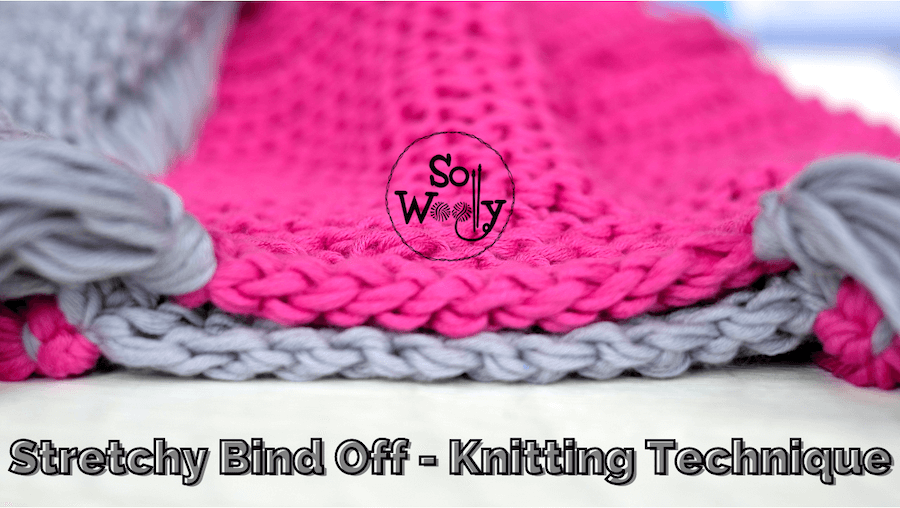
Secondly, I love it because the cast-off row looks exactly the same as the cast-on row.
It’s especially suitable when finishing a project knitted in Garter stitch; a scarf, for example.
You wouldn’t know where it begins or ends (as shown in the following image).
This scarf was knitted using 2 strands at a time of a lovely 100% shiny cotton yarn #ad

Using 10 mm / US 15 bamboo knitting needles #ad
The process is pretty simple:
Once the desired length is reached, cut the working yarn, leaving a tail 3 times the length of the total width of the project.
Thread the tapestry needle (the working yarn is on the left side).
1) Facing the right side of the work, pass the tapestry needle through the first 2 stitches:
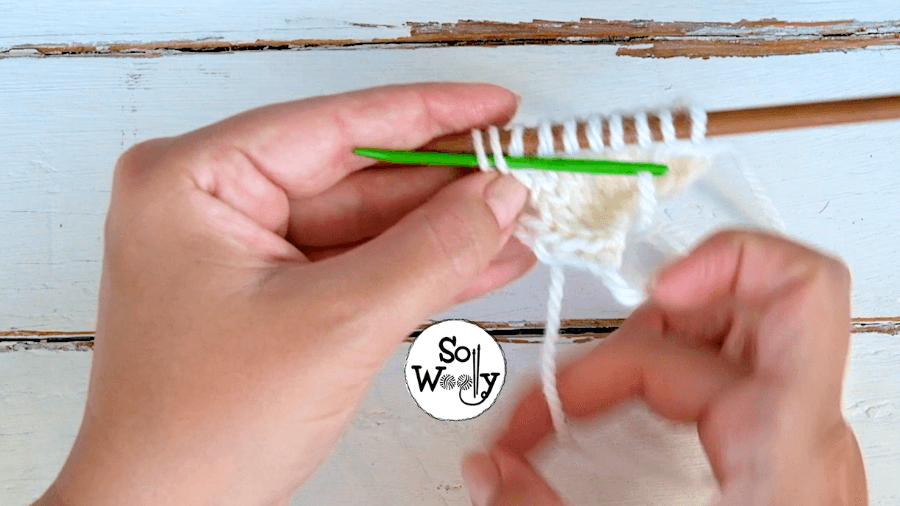
2) The working yarn stays behind the tapestry needle and above the knitting needle):
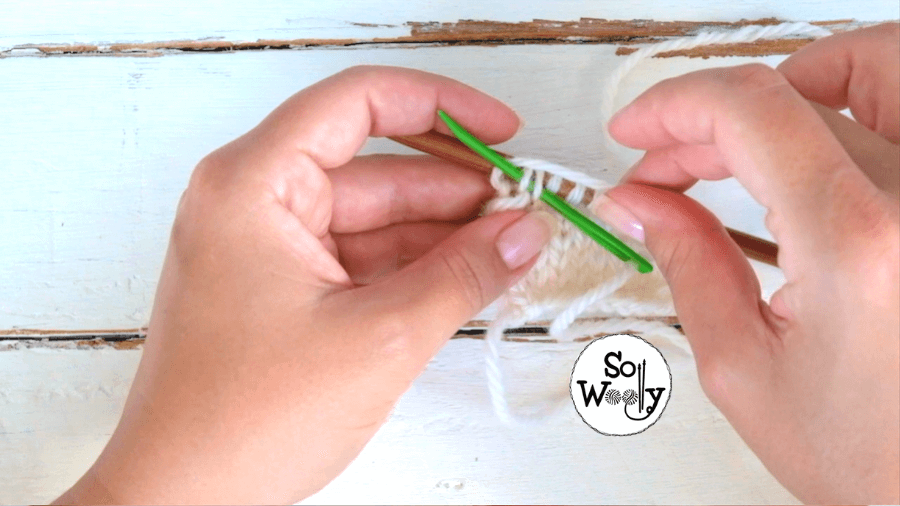
3) Pull the yarn, but not too tight:
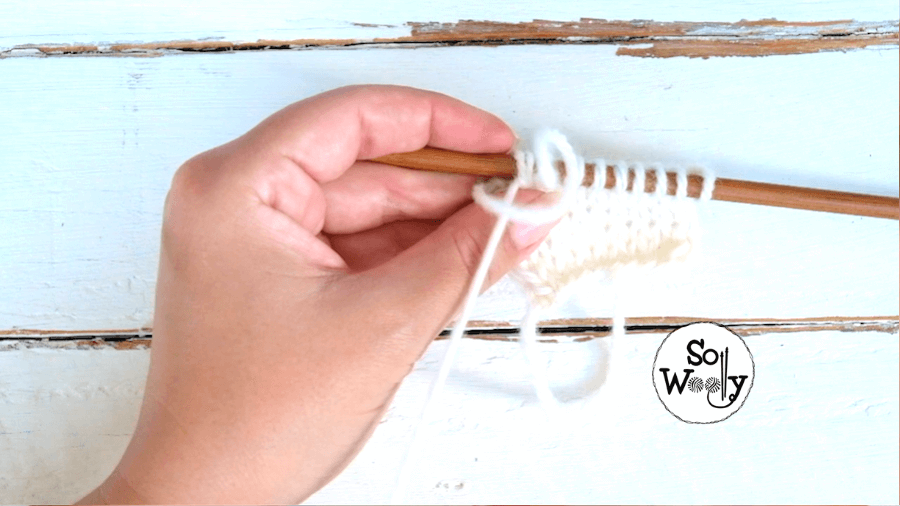
4) Drop the first stitch from the knitting needle (from left to right):
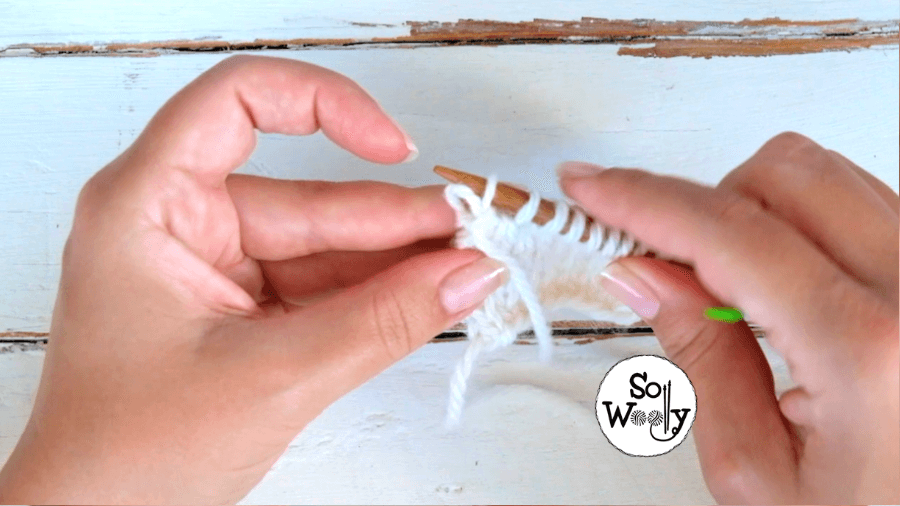
Repeat steps 1-3.
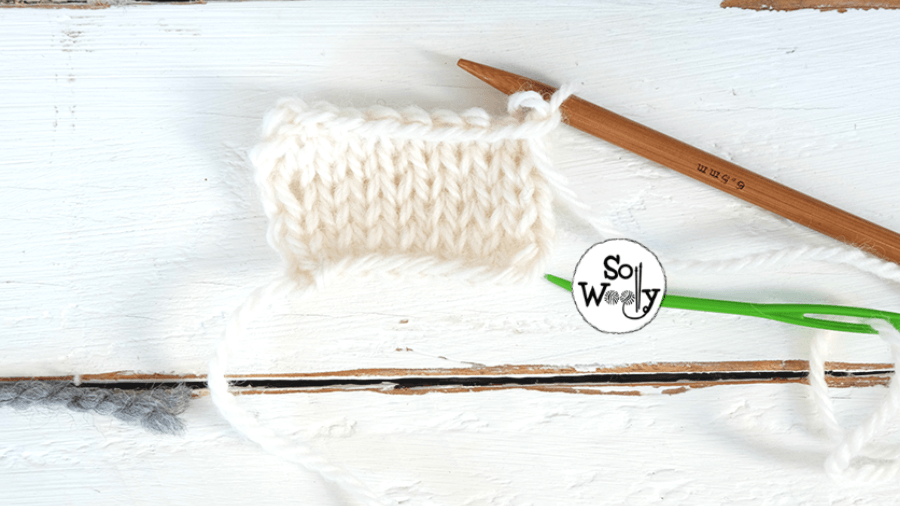
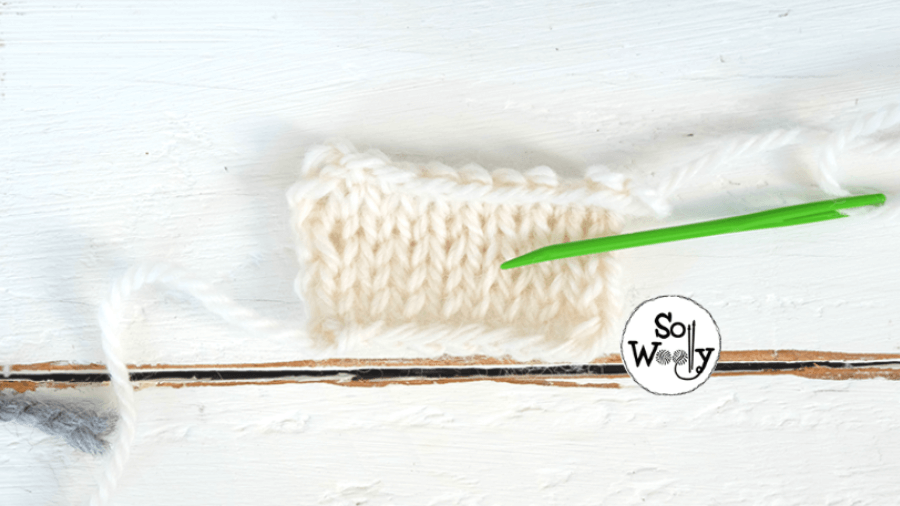
4) When there is one stitch left, pass the tapestry needle through that last loop, and you’ve finished!
Enjoy the video tutorial:
Stretchy Bind-Off / Knitting Technique
Thank you for watching!
Carolina – So Woolly
PS: Looking for more knitting tips and techniques? Click here 😉
“As an Amazon Associate, I earn from qualifying purchases.”


