How to Fix the Last Stitch Like a Pro + video
Today, I’ll show you how to fix the last stitch in your knitting, to finish your work like a pro!
More often than not, after binding off the last stitch, a huge loop remains, spoiling the edge, and making it more difficult to finish the seam…
Which will make our blankets, scarves, and any other garment that should stay flat and look pretty specially on the edges.
In this tutorial, you’ll learn a devastatingly effective knitting tip to prevent a huge loop on that corner.
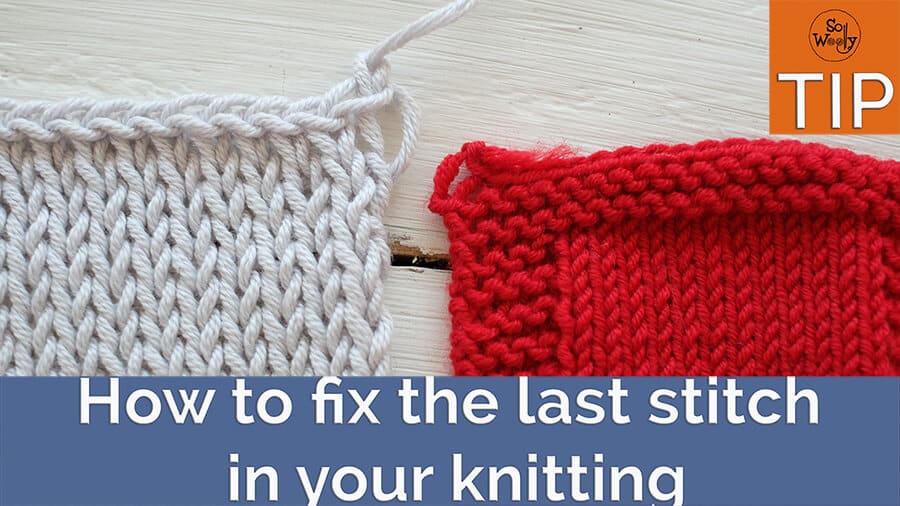
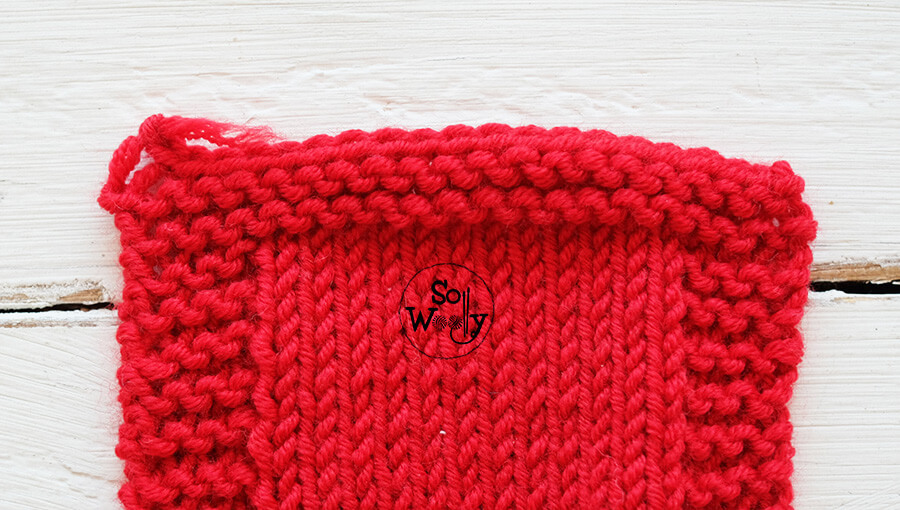
So, rather than finishing the work like this:
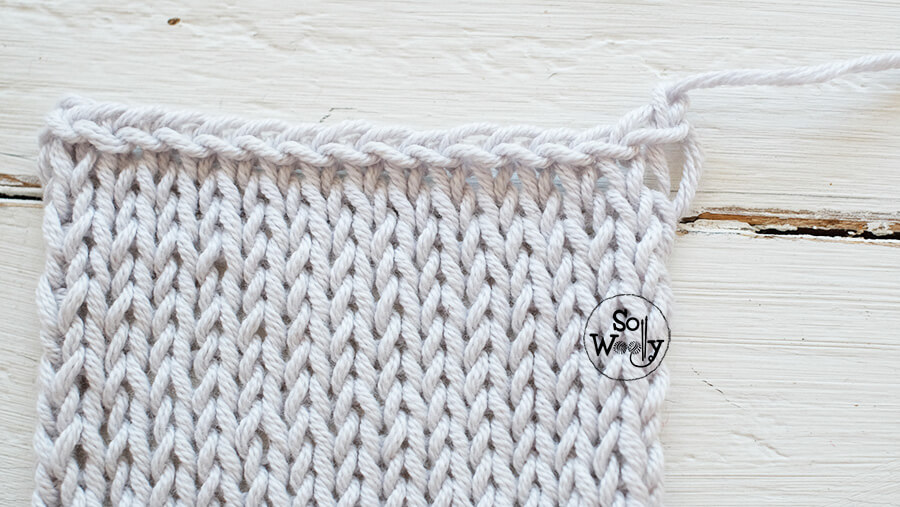
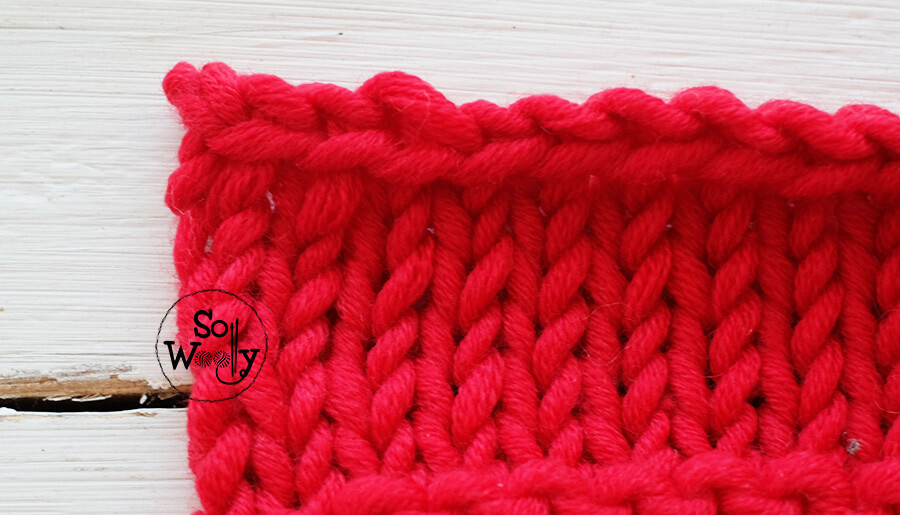
The result looks more like this:
The following steps fix the last stitch and avoid a loose loop on the edge:
Step one: Before binding off the last stitch, slip it onto the right-hand needle.
Now there are 2 stitches on the right-hand needle.
Step two: Insert the left-hand needle into the left “leg” of the “v” or edge stitch from the row below.
There is now one stitch on the left-hand needle, and two stitches on the right-hand needle.
Step three: Pass the slipped the stitch back onto the left-hand needle.
You have 2 stitches on the left-hand needle, and one stitch on the right-hand needle.
Step four: Knit together the two stitches from the left-hand needle.
Step five: Bind off the last stitch as usual.
This will help you to make a neat and tidy edge, which is especially helpful when knitting a single piece such as a blanket or a scarf, or when joining sweater pieces.
Enjoy the video tutorial:
How to Fix the Last Stitch
I hope that helps!
And don’t forget to share the love if you think this would be useful for someone else!
Hugs and happy knitting,
Carolina – So Woolly
PS: I love little things that can help my knit work! Click here for more knitting tips