How to Knit Teardrops: Texture + Volume in One Stitch Pattern!
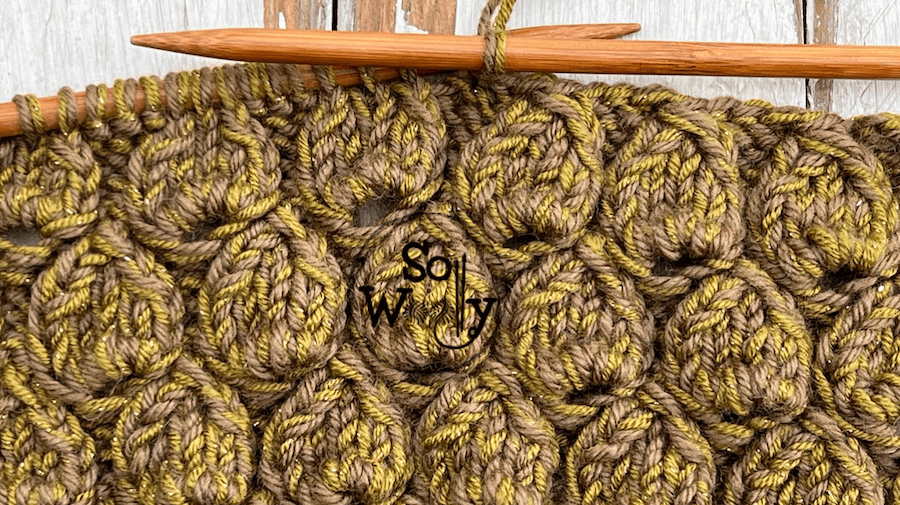
Today, I’m teaching you how to knit teardrops, to create an eye-catching fabric.
Honestly, it looks complicated, I know, but the truth is that is fun to knit, and pretty intuitive…
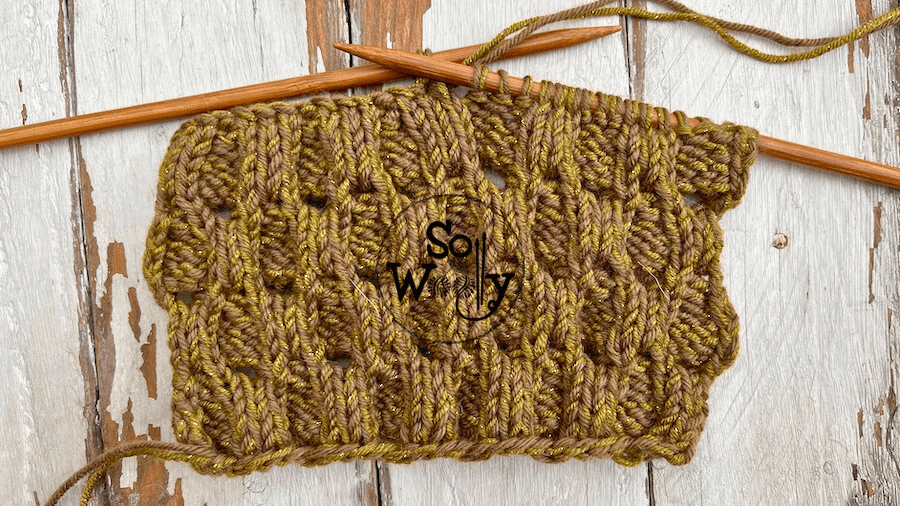
On the one hand, most of the rows are knit and purl rows and this is why the so-called “wrong side” of the work resembles a beehive, also rich in texture and volume.
So I’d say it’s a reversible stitch.
Moreover, it doesn’t curl!
On the other hand, we have practiced the other techniques required several times, as we did when I shared how to knit The 14 Stitches Scarf, so there’s really nothing scary here 😉
Last but not least, the Teardrop Stitch is a twelve-row repeat pattern, perfect for a wide range of projects: It not only works for accessories but also for large garments.
For example, I can think of the sleeves of an oversized and chunky sweater or cardigan (this is why I knitted a swatch using two strands of wool yarn at a time).
However, it would look great on a delicate baby blanket, when knitted with one strand of a nice and smooth yarn…
Without further ado, grab your needles, and some yarn, and let’s knit together!
Abbreviations
CO: Cast on
st: Stitch
WS: Wrong side of the work
K: Knit
P: Purl
M5: Make 5 stitches. Into the next stitch, Knit 1, Purl 1, Knit 1, Purl 1, and Knit 1. You’ll have 5 stitches where you had 4.
ssk: Slip, slip, knit. Slip one stitch as if to knit, slip the next as if to knit, put both back onto the left-hand needle, and knit them together (left-leaning decrease)
k2tog: Knit two stitches together (right-leaning decrease)
dd: Double decrease. Slip one stitch as if to knit, knit the following two stitches together, and pass the slipped stitch over (central decrease)
BO: Bind off
RS: Right side of the work
N.B.:
There are no selvage (edge) stitches included; if you like to have them add two stitches to your calculations.
We’ll start with a setup row. It will be made just at the beginning and isn’t part of the pattern.
The even rows form the right side of the work.
After the first row, the number of stitches will increase (you’ll end up with 4 more stitches per repeat).
You’ll get back to the original number after the bind-off row (in the video tutorial I’ll show how).
Using pointy needles will help you while decreasing, so take a look at this lovely set #ad
“As an Amazon Associate, I earn from qualifying purchases.”
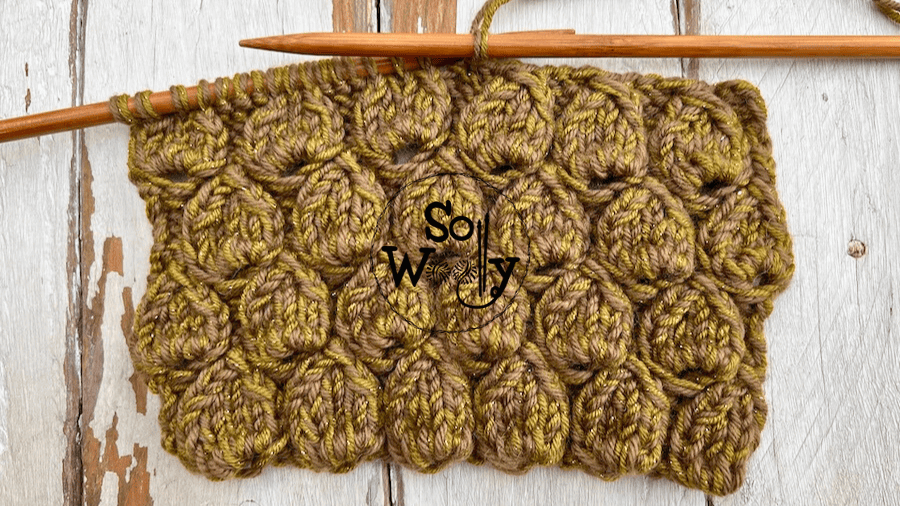
How to knit the Teardrop stitch pattern
CO multiples of 4 + 1; i.e.: 4 * 3 = 12 + 1 = 13 st.
Setup row: P1, *M5, P3*. Repeat from * to *, to end
1º and 3º rows (WS): *K3, P5*. Repeat from * to *, to last st, K1
2º row (RS): P1, *K5, P3*. Repeat from * to *, to end
4º row: P1, *ssk, K1, k2tog, P3*. Repeat from * to *, to end
5º row: *K3, P3*. Repeat from * to *, to last st, K1
6º row: P1, *dd, P1, M5, P1*. Repeat from * to *, to end
7º and 9º rows: K1, *P5, K3*. Repeat from * to *, to end
8º row: *P3, K5*. Repeat from * to *, to last st, P1
10º row: *P3, ssk, K1, k2tog,*. Repeat from * to *, to last st, P1
11º row: K1, *P3, K3*. Repeat from * to *, to end
12º row: P1, *M5, P1, dd, P1*. Repeat from * to *, to end.
These last 12 rows create the pattern. Repeat them until the desired length is reached.
When finished, you can BO on row 6 (or 12), without the M5 (in the video tutorial I’ll show you what to do).
This is the other side of the work:
Enjoy the video tutorial:
How to knit Teardrops, step by step
Thank you for watching, and remember: Sharing is caring 😉
Hugs, and happy knitting,
Carolina – So Woolly
PS: Loving the 3D stitch patterns? I have more tutorials to show you how to knit them!


