How to Knit the Ribbed Garter Stitch + Video (1 row)
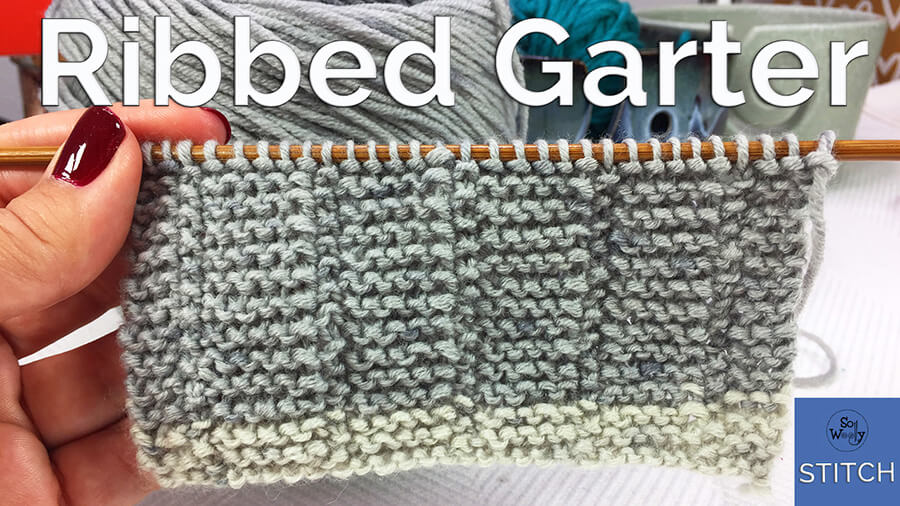
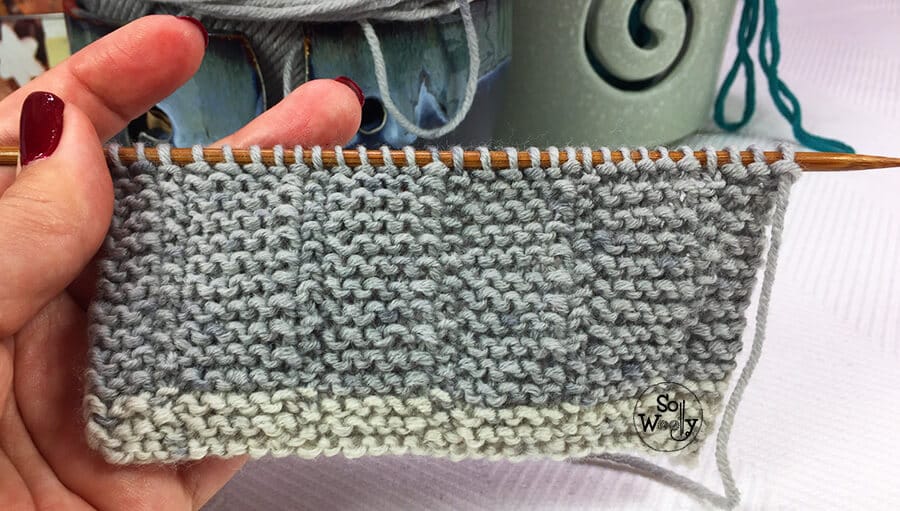
In today’s tutorial, you’ll learn how to knit the Ribbed Garter Stitch, step by step.
I believe it’s one of those stitches all knitters enjoy…
Why?
There are several reasons!
Key Features
First, it’s super easy to knit; it doesn’t matter if you are an experienced knitter or are just starting your knitting journey.
The only techniques required are knitting and purling!
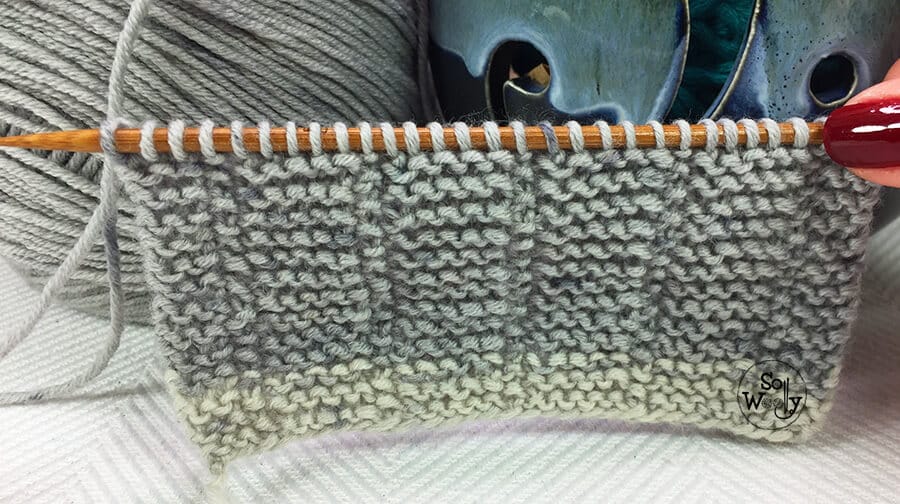
Second, it’s a reversible pattern, identical on both sides!
Third, it’s a one-row repeat pattern (quick to memorize).
Last but not least, it stays flat no matter what!
Where to use the Ribbed Garter Stitch
In summary, the Ribbed Garter stitch is really versatile; there is a wide range of projects where it can be used: Cowls, scarves, blankets, placemats, hats, bags, cushions… and many more!
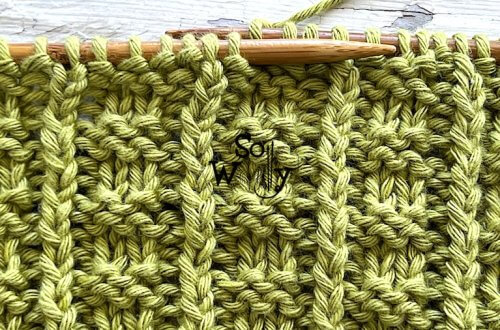
Furthermore, it’s a figure-refining pattern: It forms delicate vertical lines, for a sleeker look (which some of us love ;D).
This is also a perfect stitch for beginners, or for knitting while watching your favorite TV show:
It has just a couple of easy steps to memorize, and only one row to be repeated until finished.
Abbreviations
CO: Cast on
st: Stitch
K: Knit
P: Purl
BO: Bind off
How to Knit the Ribbed Garter Stitch
CO multiples of 6 + 1; i.e.: 6 * 4 = 24 + 1 = 25 stitches.
1º and only row: K3, P1, *K5, P1*. Repeat from * to *, to last 3 st, K3.
This row creates the pattern. Repeat it until the desired length is reached. When finished, BO in pattern, (working every st as it presents).
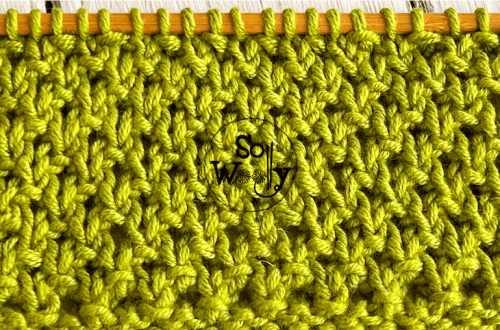
This is the other side of the work:
Notes:
After knitting some swatches using different yarn qualities, I suggest using fine wool or cotton yarn.
It will help to create a subtle vertical look!
And of course…
…a couple of needles with a gorgeous design!
“As an Amazon Associate, I earn from qualifying purchases.”
Enjoy the video tutorial:
Thank you for reading and watching, and don’t forget to share the LOVE!
Hugs and happy knitting 🙂
xoxo
Carolina – So Woolly


