Slipped Honeycomb stitch: Ideal for knitting hats, cowls, and sweaters
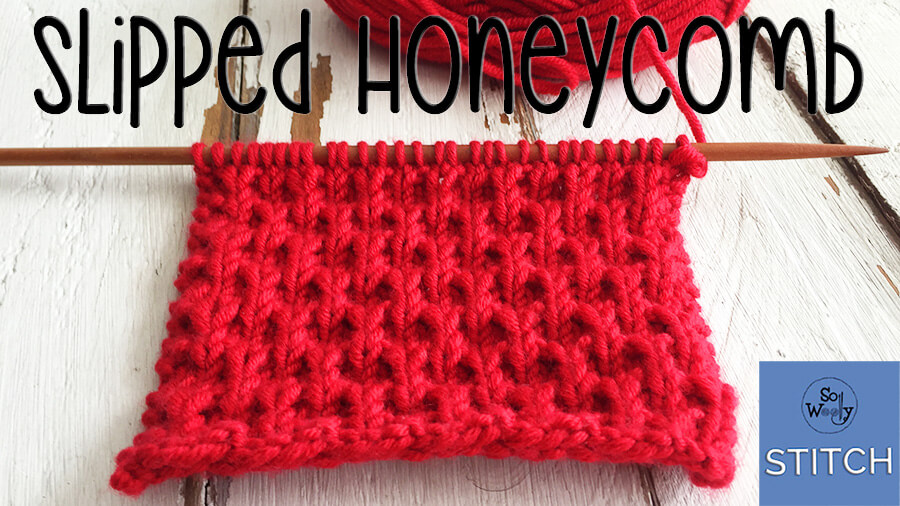
In today’s tutorial, you’ll learn to knit the Slipped Honeycomb stitch, a simple version of the traditional Honeycomb pattern.
The Slipped Honeycomb stitch pattern is created by knitting eight rows, combining knits, purls, and slipping one stitch purl-wise every now and then. Some of these rows are the same, so it’s not complicated at all.
This is a spongy stitch, it has a cozy and warm texture to it, great for knitting cowls, hats, sweaters, and even a blanket (if you add a lovely edge on each side).
This swatch is knitted using 100% Superwash Merino wool
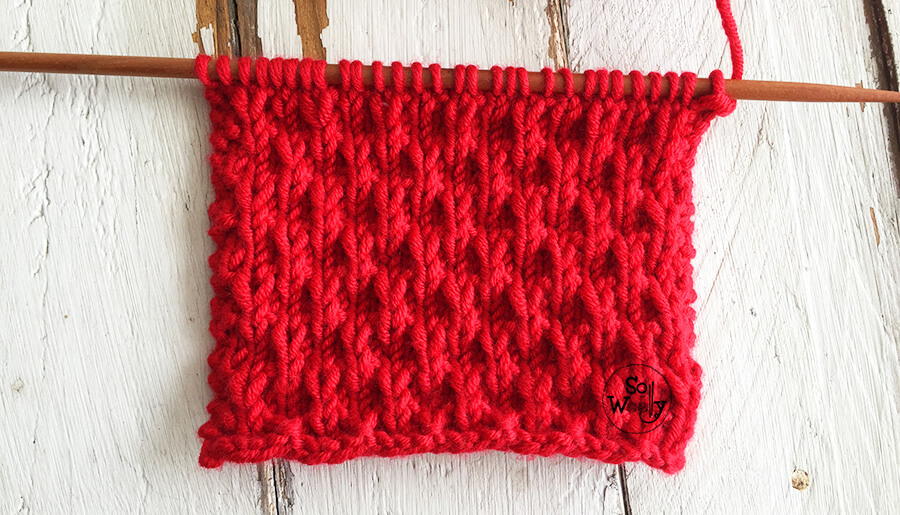
And my favorite wooden needles
Abbreviations
CO: Cast on
RS: Right side of the work
st: Stitch
K: Knit
P: Purl
S1wyb: Slip one stitch purl-wise with yarn in back
S1wyf: Slip one stitch purl-wise with yarn in front
BO: Bind off
Slipped Honeycomb stitch
If you like the needles I used recording the video tutorial, click here!
CO multiples of 4 + 3 (+ 2 selvedge stitches); i.e.: 4 * 4 = 16 + 3 = 19 + 2 = 21 stitches.
1º row (RS): K1, *K3, S1wyb*. Repeat from * to *, to last 4 st, K4.
2º row: K1, *P3, S1wyf*. Repeat from * to *, to last 4 st, P3, K1.
3º and 7º rows: K1, *P1, K1*. Repeat from * to *, to last 2 st, P1, K1.
4º and 8º rows: K1, P to last st, K1.
5º row: K2, S1wyb, *K3, S1wyb*. Repeat from * to *, to last 2 st, K2.
6º row: K1, P1, *S1wyf, P3*. Repeat from * to *, to last 3 st, S1wyf, P1, K1.
These eight rows form the pattern. Repeat them until the desired length is reached. When finished, BO knit-wise after a row 8.
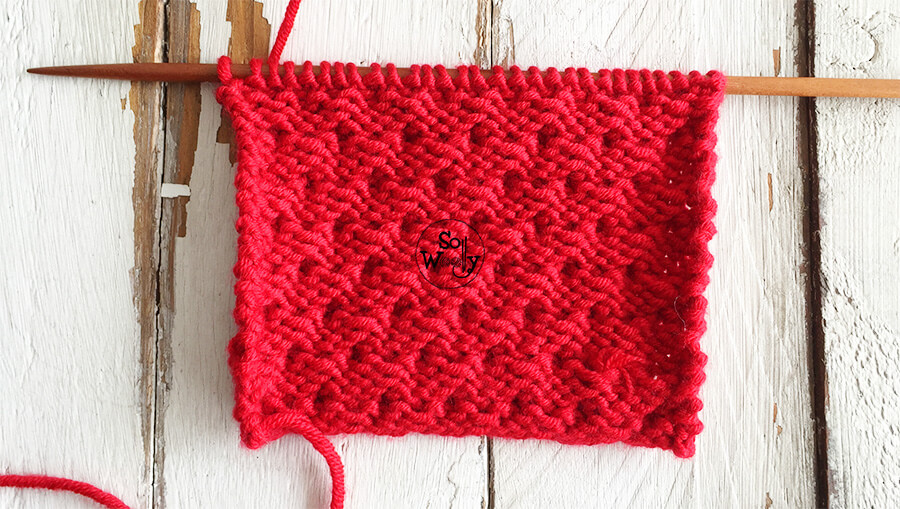
The Slipped Honeycomb stitch is not reversible, this is the wrong side of the work:
Enjoy the video tutorial:
I hope you like it!
Hugs and happy knitting,
xoxo
Carolina – So Woolly


