How to Knit the Amazing Pearl Brioche + video
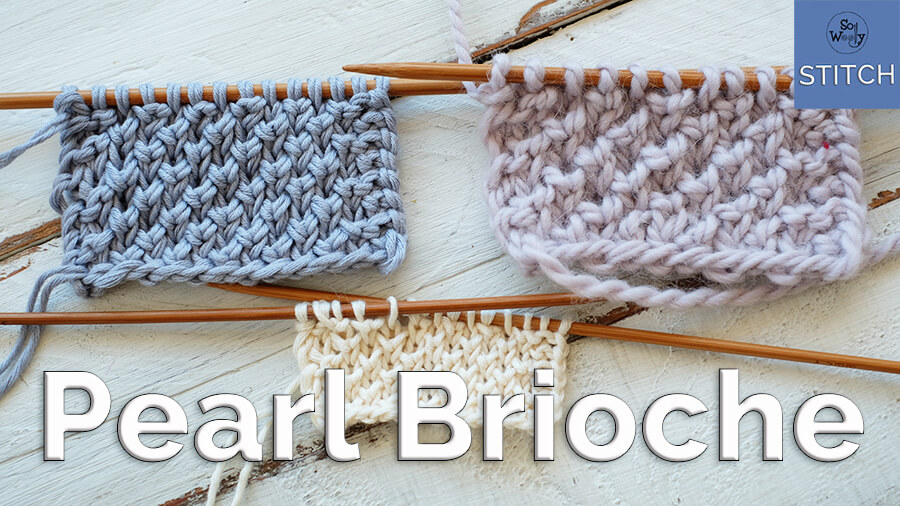
In today’s tutorial, you’ll learn how to knit the Pearl Brioche pattern, a spongy stitch, and full of texture!
Honestly, it’s perfect for blankets, sweaters, cardigans, cowls, amongst other projects. Really cute!
The Pearl Brioche stitch is a great introduction for Brioche knitting, because it’s easier, getting familiar with the main steps takes very little time and effort unlike Brioche…
… Which rumor has it is the reason so many people decide to study astrophysics instead…
So, let’s get started!
This swatch was knitted in 100% cotton yarn (using 2 strands at a time):

And US 10 (6 mm) bamboo needles
Abbreviations
CO: Cast on
sl1kw: Slip one stitch knitwise
sl1pw: Slip one stitch purlwise
K: Knit
P: Purl
yo: Yarn over (bring the yarn forward)
k2tog: Knit two stitches together
BO: Bind off
This swatch was knitted in Alpaca:
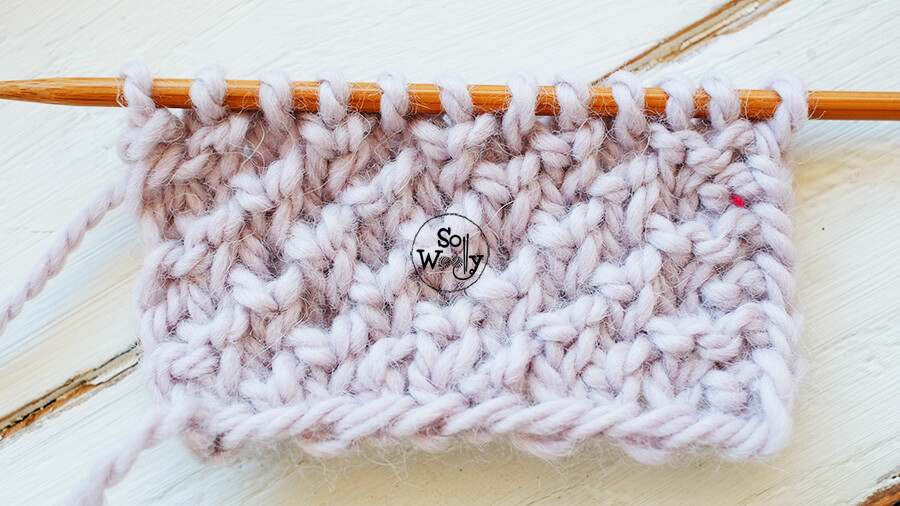
And US 13 (9 mm) bamboo needles
Instructions
Notes:
The even rows form the right side of the work. Always slip the first stitch knitwise, and purl the last (these are edge stitches).
CO an even number of stitches (including 2 edge stitches).
1º row: sl1kw (edge) *yo, sl1pw, K1*. Repeat from * to *, ending with P1 (edge).
2º row (RS): sl1kw (edge) *K1, k2tog (knit the yo together with the next st)*. Repeat from * to *, ending with P1 (edge).
3º row: sl1kw (edge), K1 *yo, sl1pw, K1*. Repeat from * to *, ending with K1, P1 (edge).
4º row: sl1kw (edge), K2, *k2tog, K1*. Repeat from * to *, ending with K1, P1 (edge).
These four rows create the pattern. Repeat them until the desired length is reached. When finished, BO knitwise after a row 3.
This is the wrong side of the work:
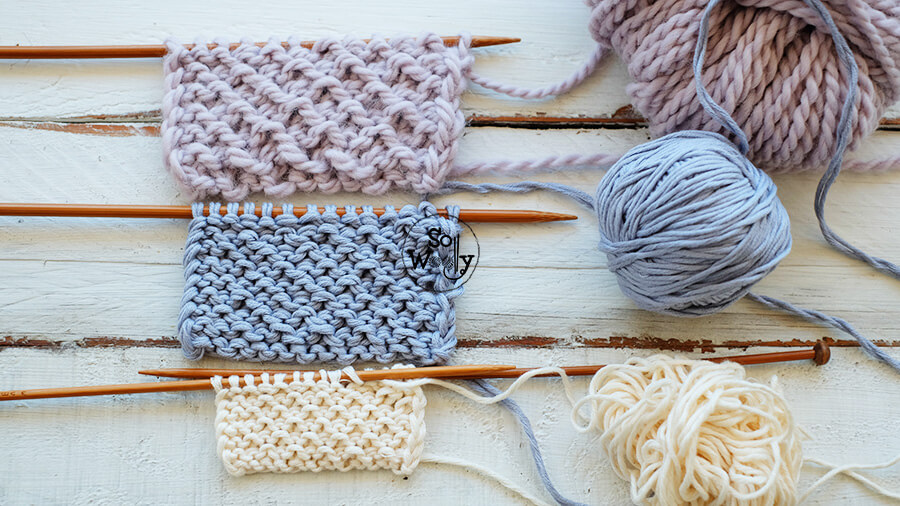
You can watch the video here:
How to Knit the Pearl Brioche step by step
And this is it for today, my little Woollies 🙂
I hope you enjoyed this tutorial, thank you for watching, and happy knitting!
xoxo
Carolina – So Woolly


